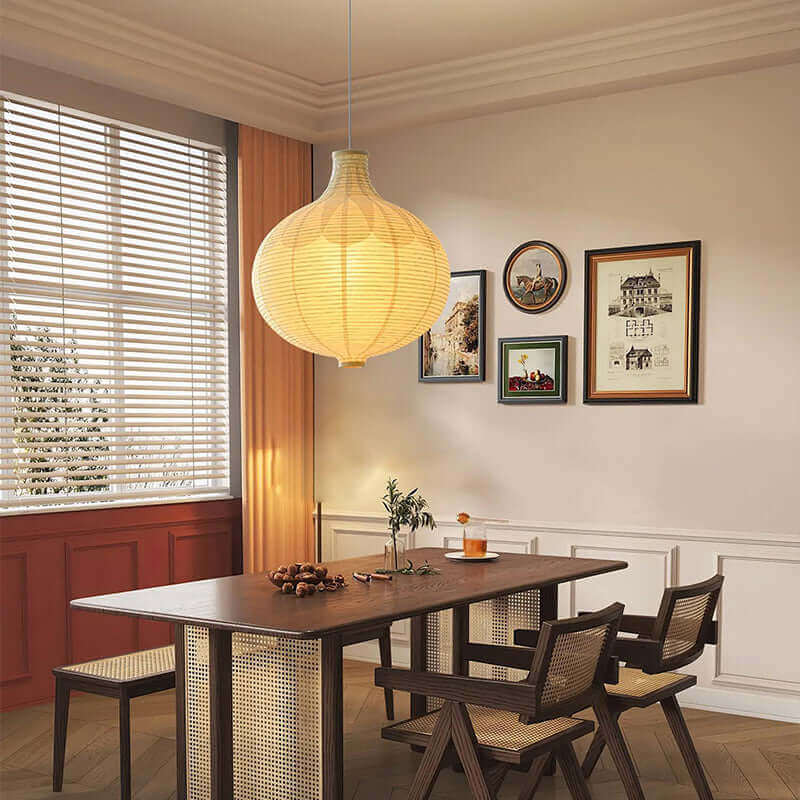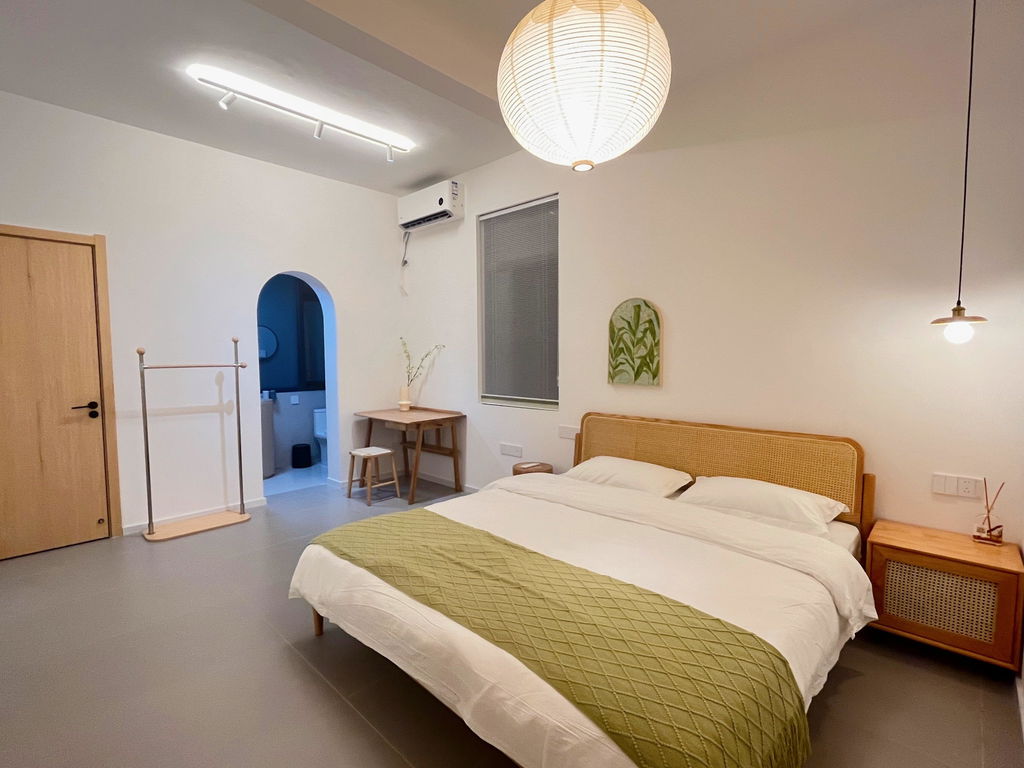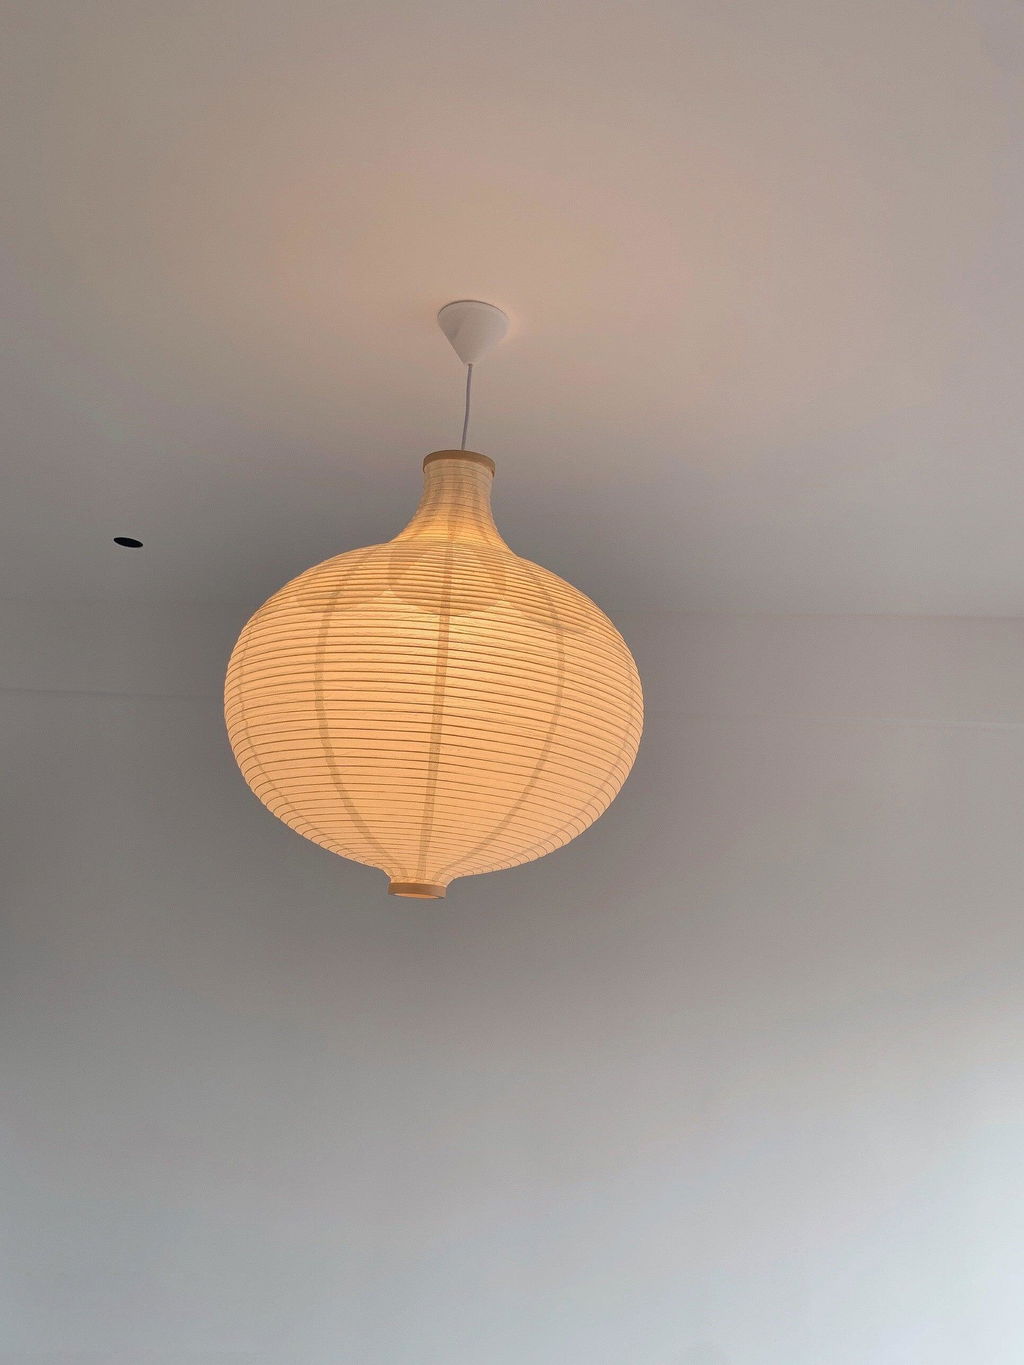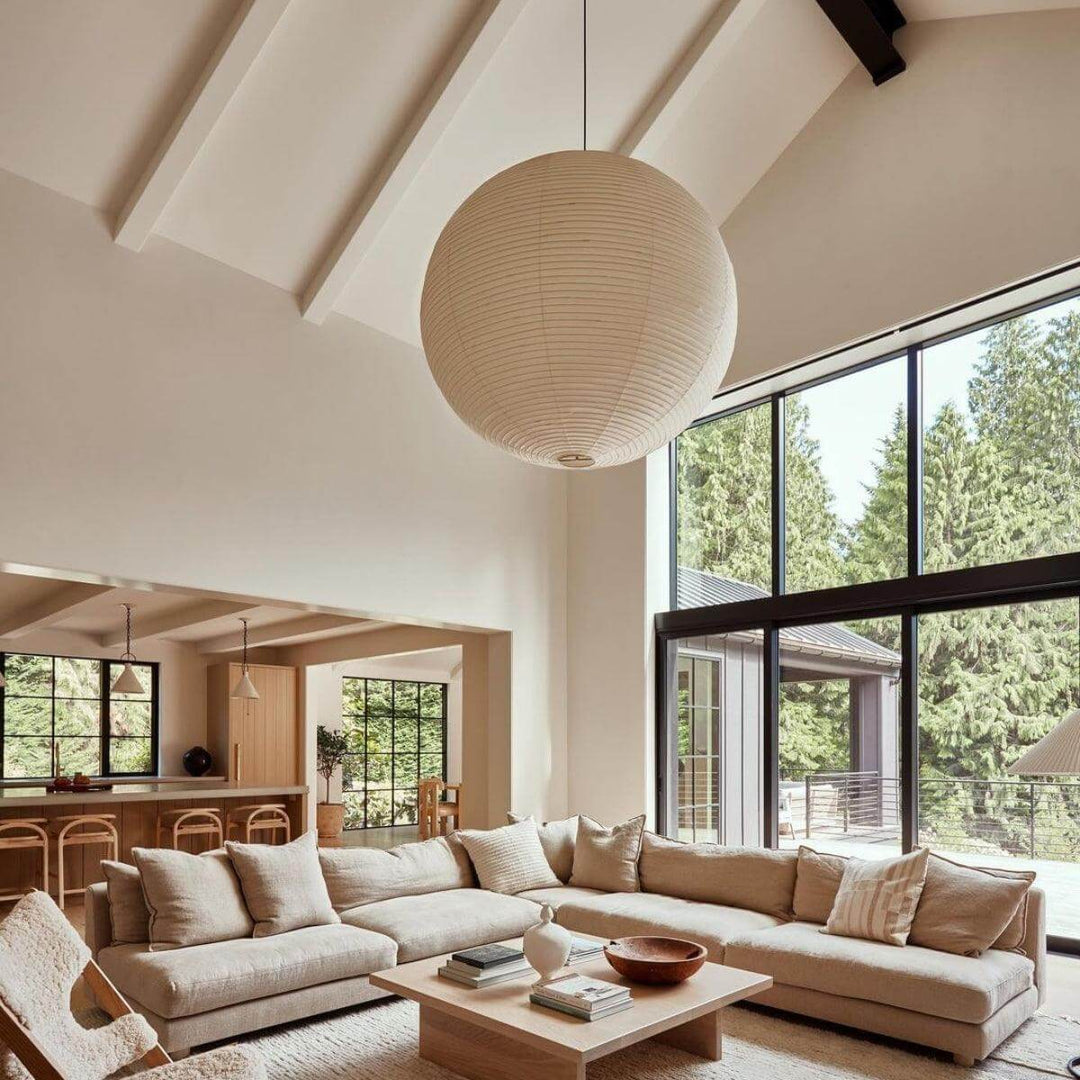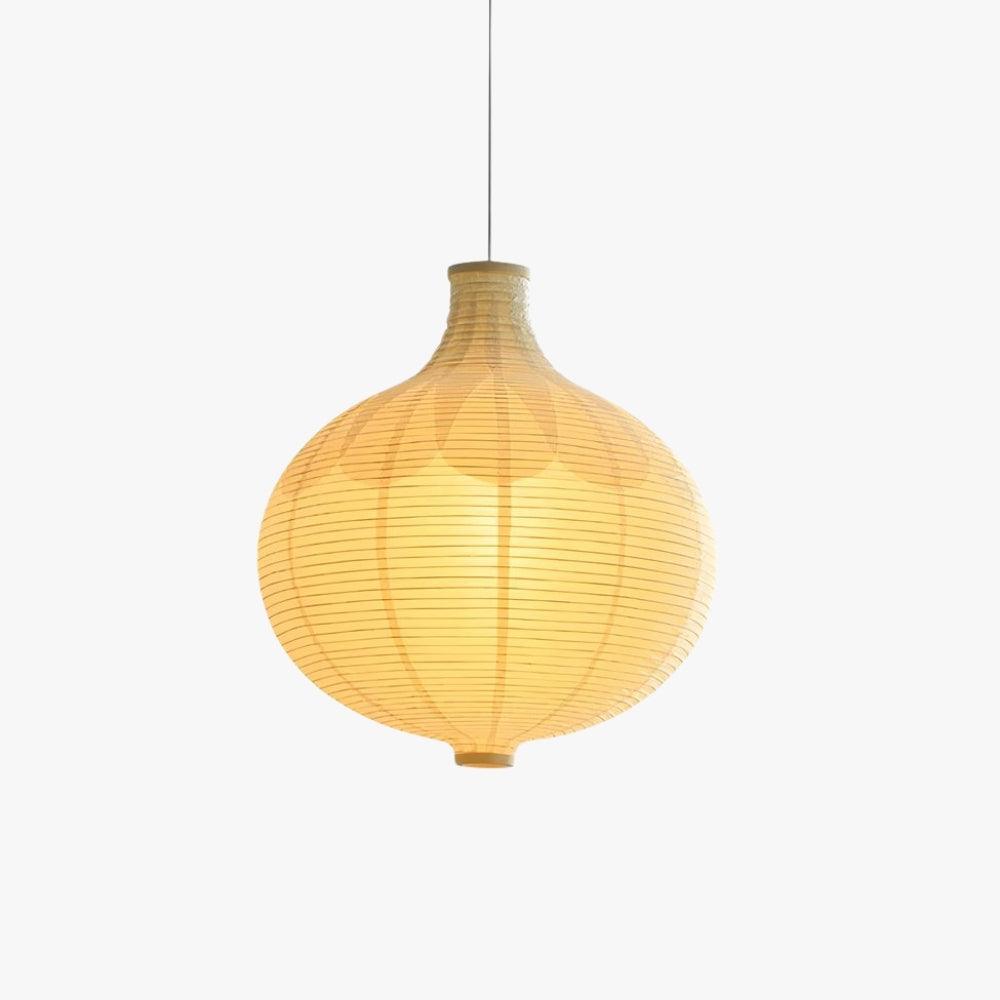
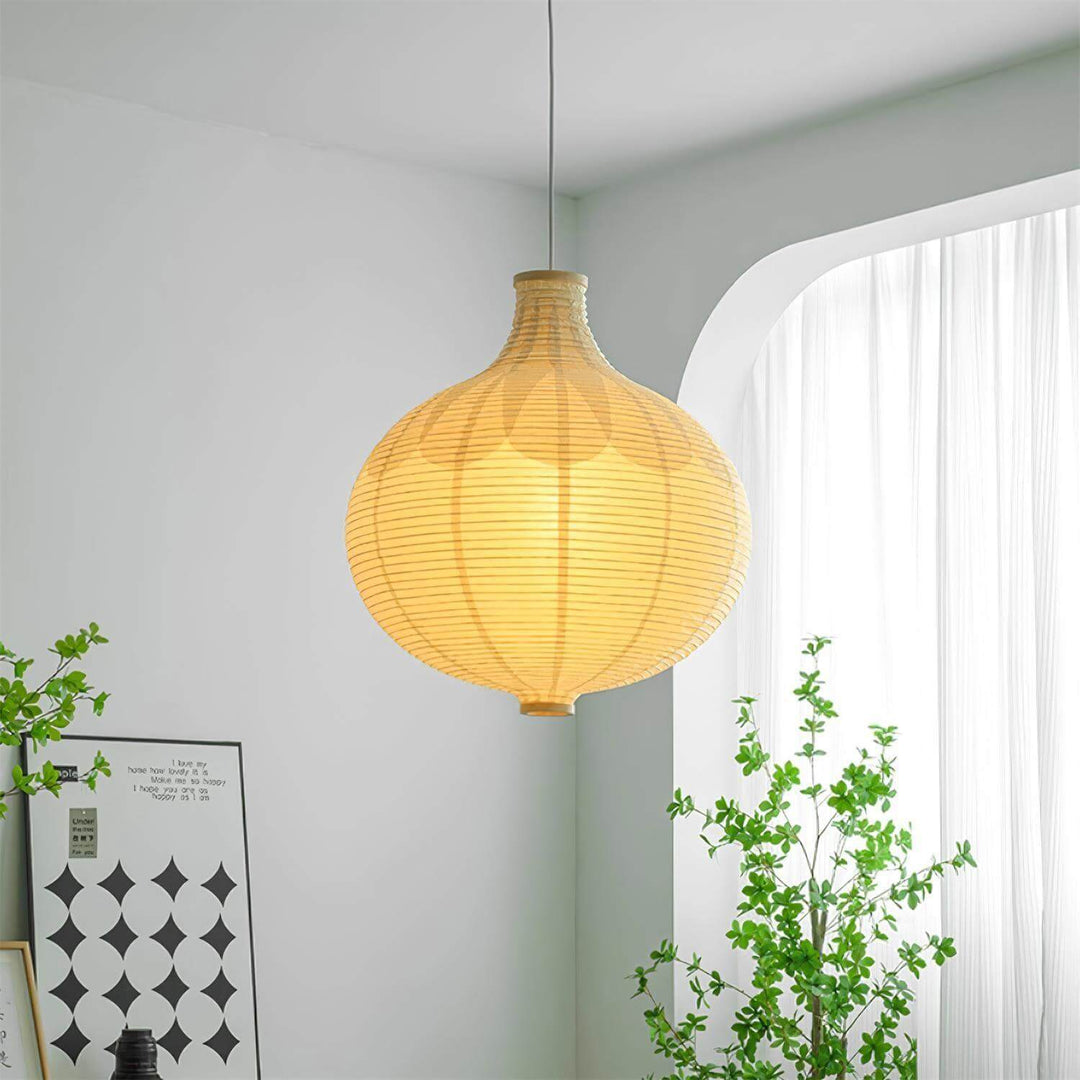
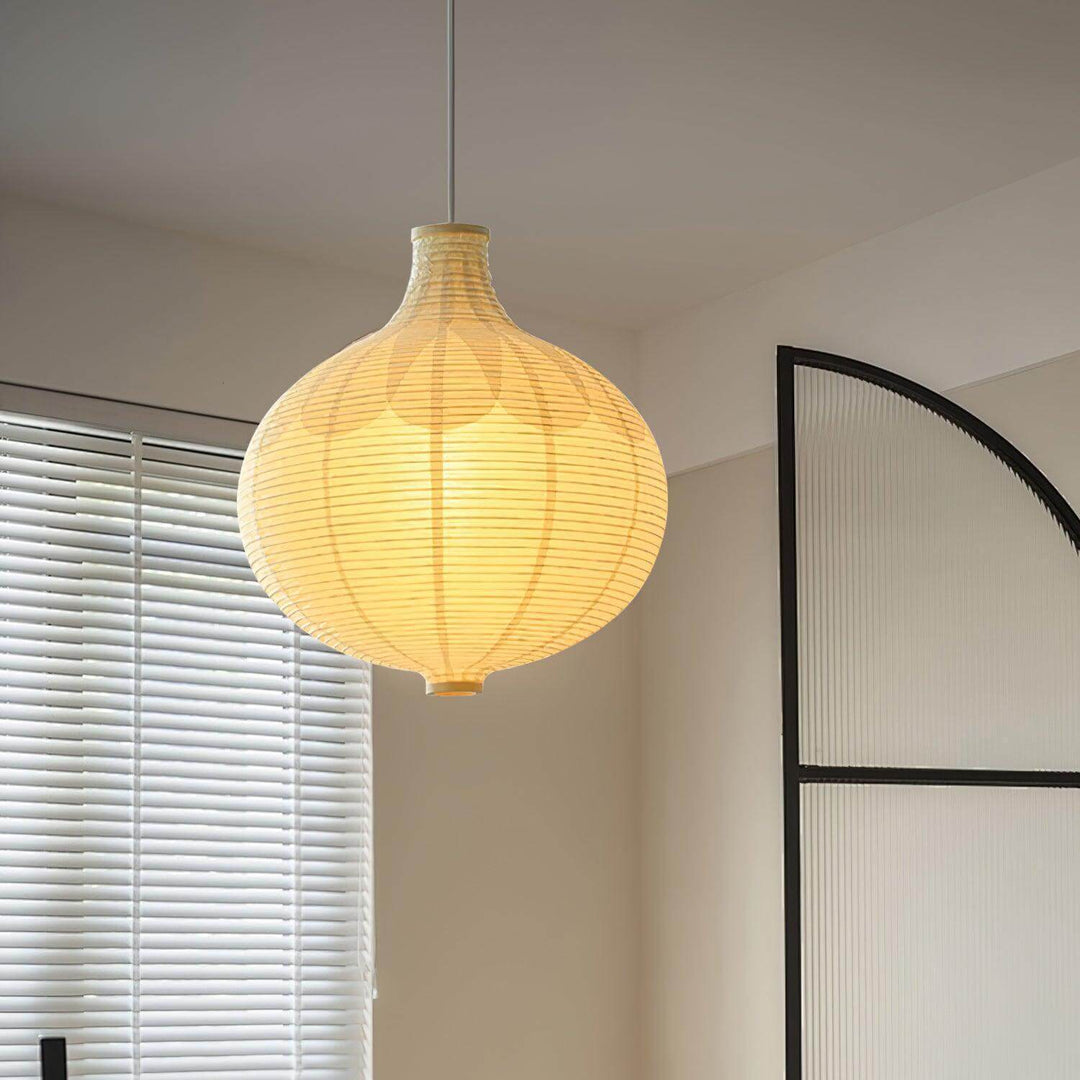
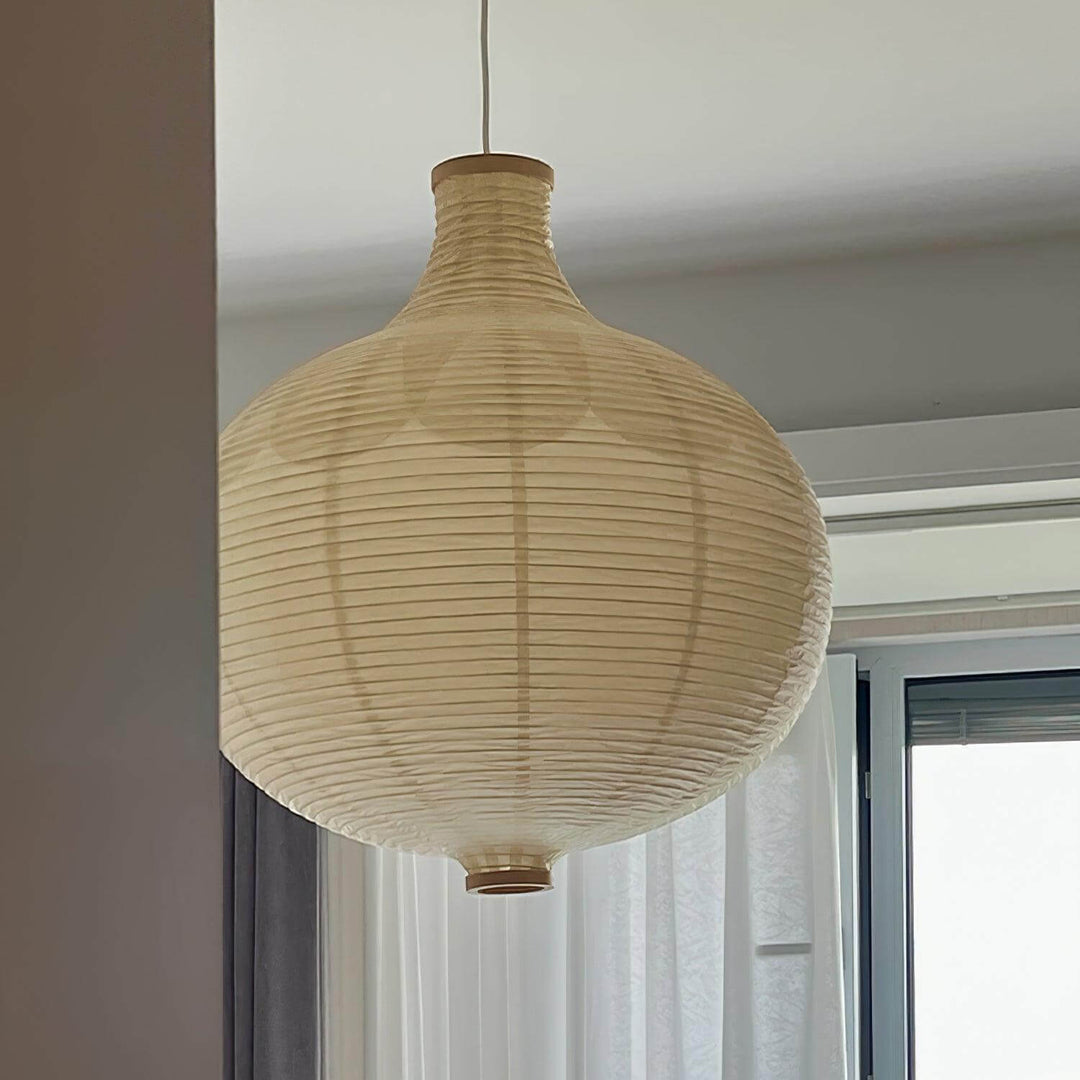

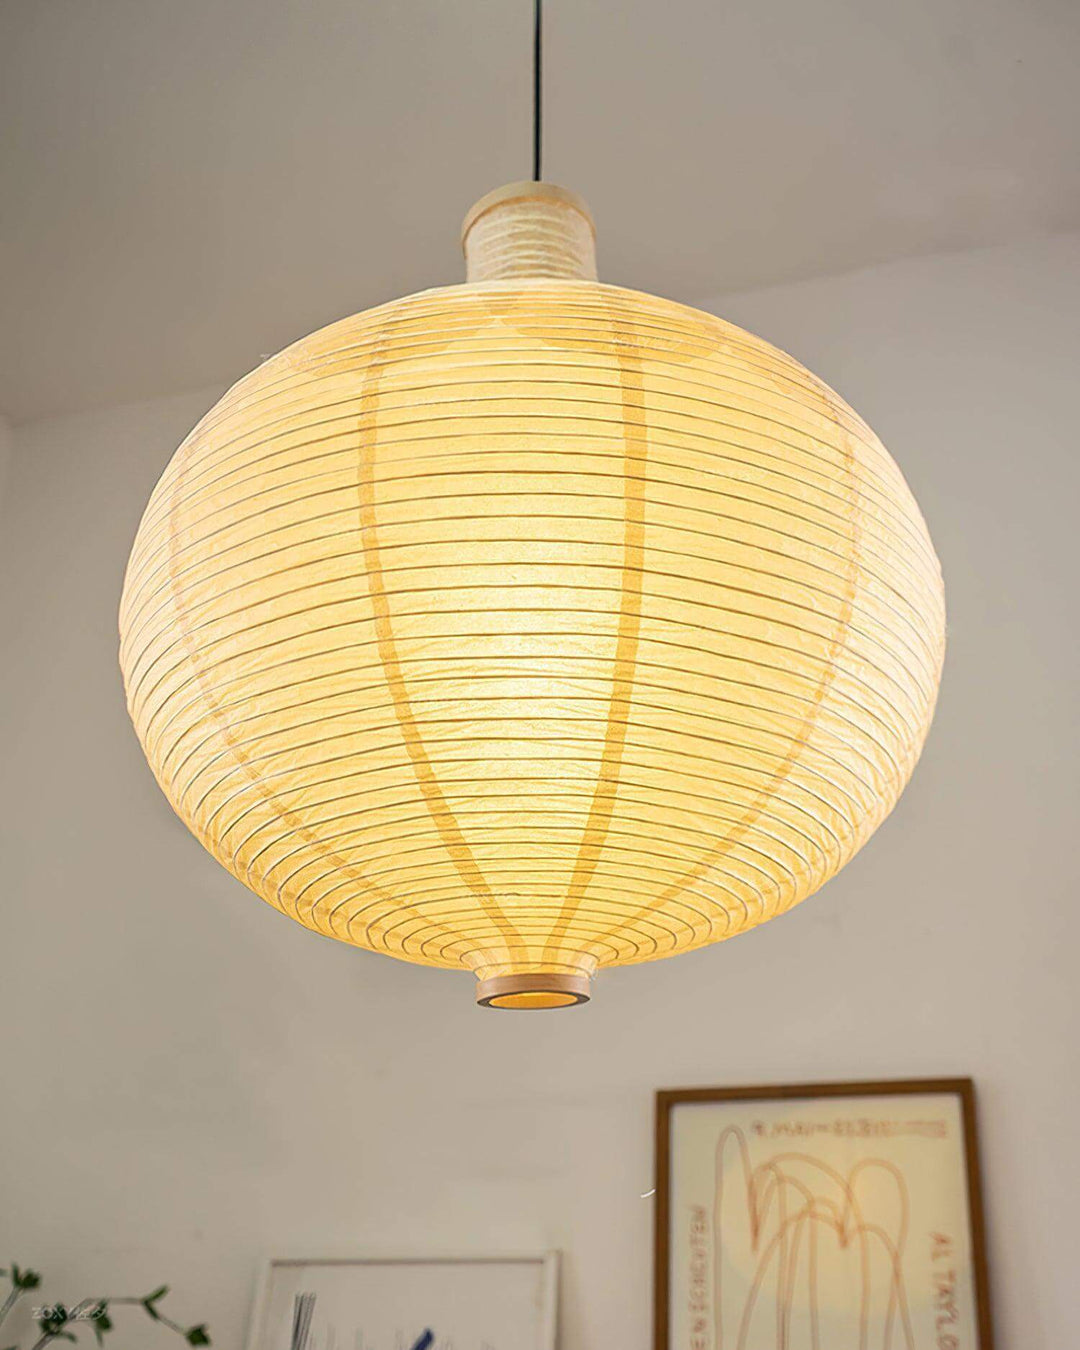
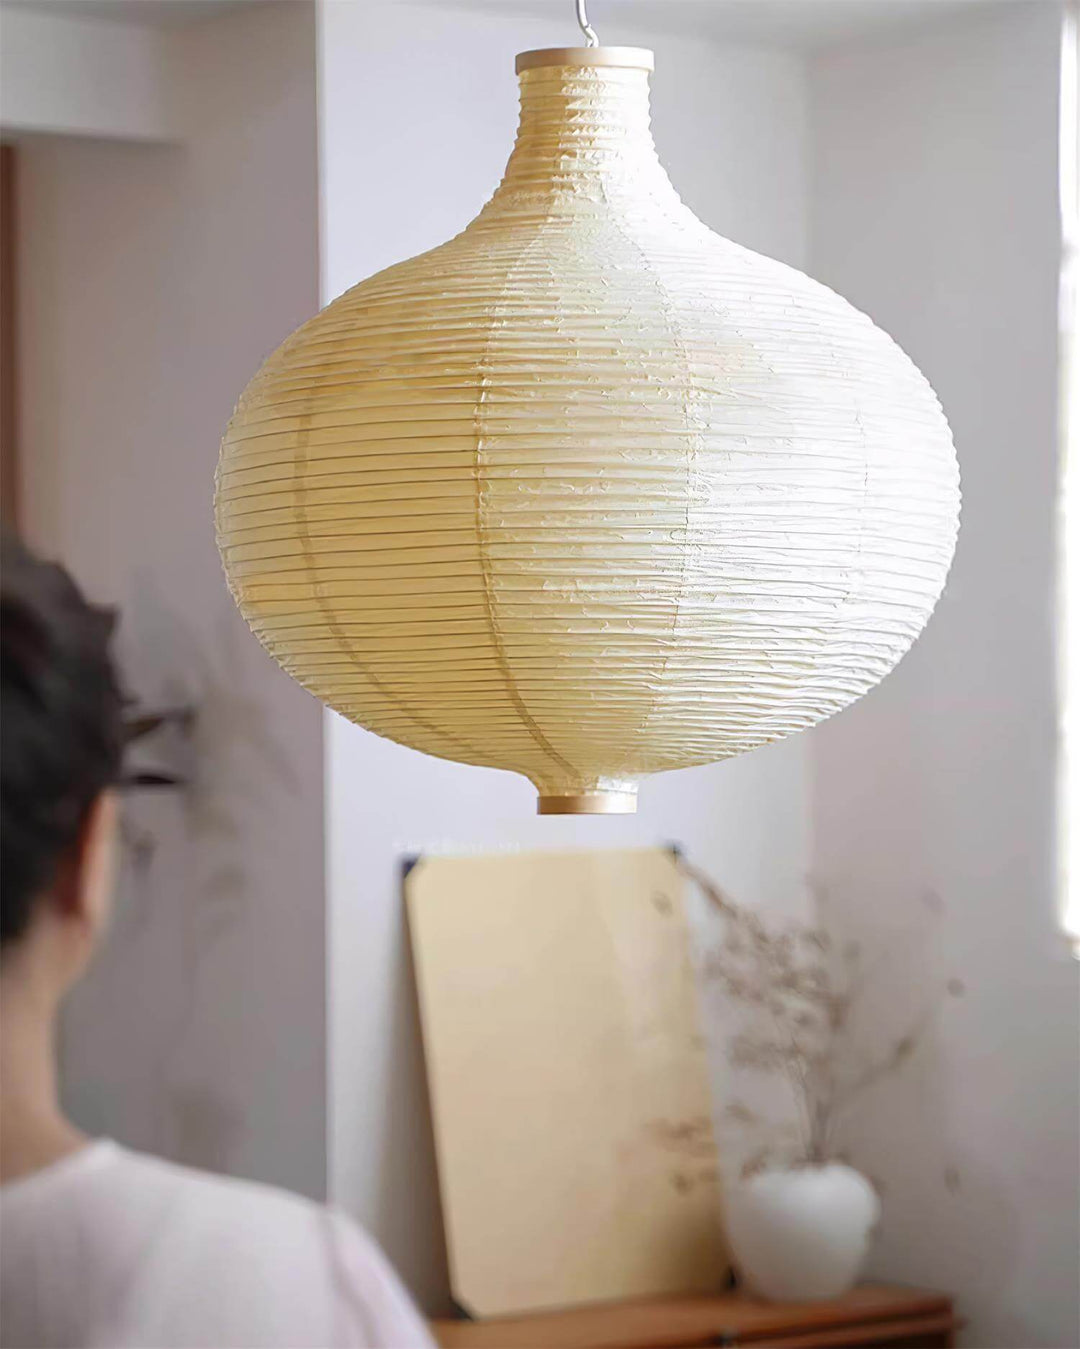


Washi Risbyn Pendant Light
Vin-CH14301
- In stock, ready to ship
Coupon Code: 2026 | Summer Glow Sale - Enjoy 10% Off All Lighting and Refresh Your Home for the Season.
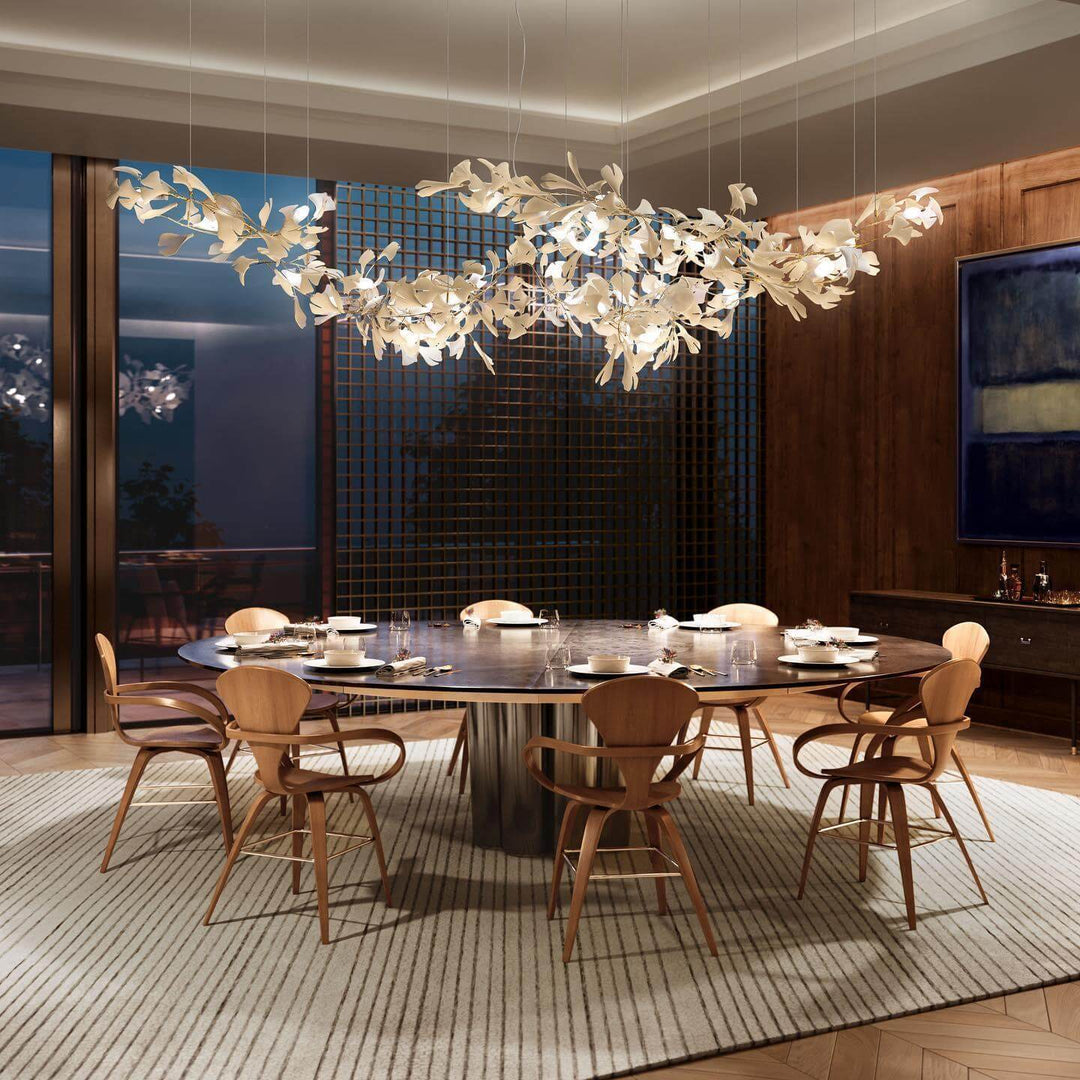
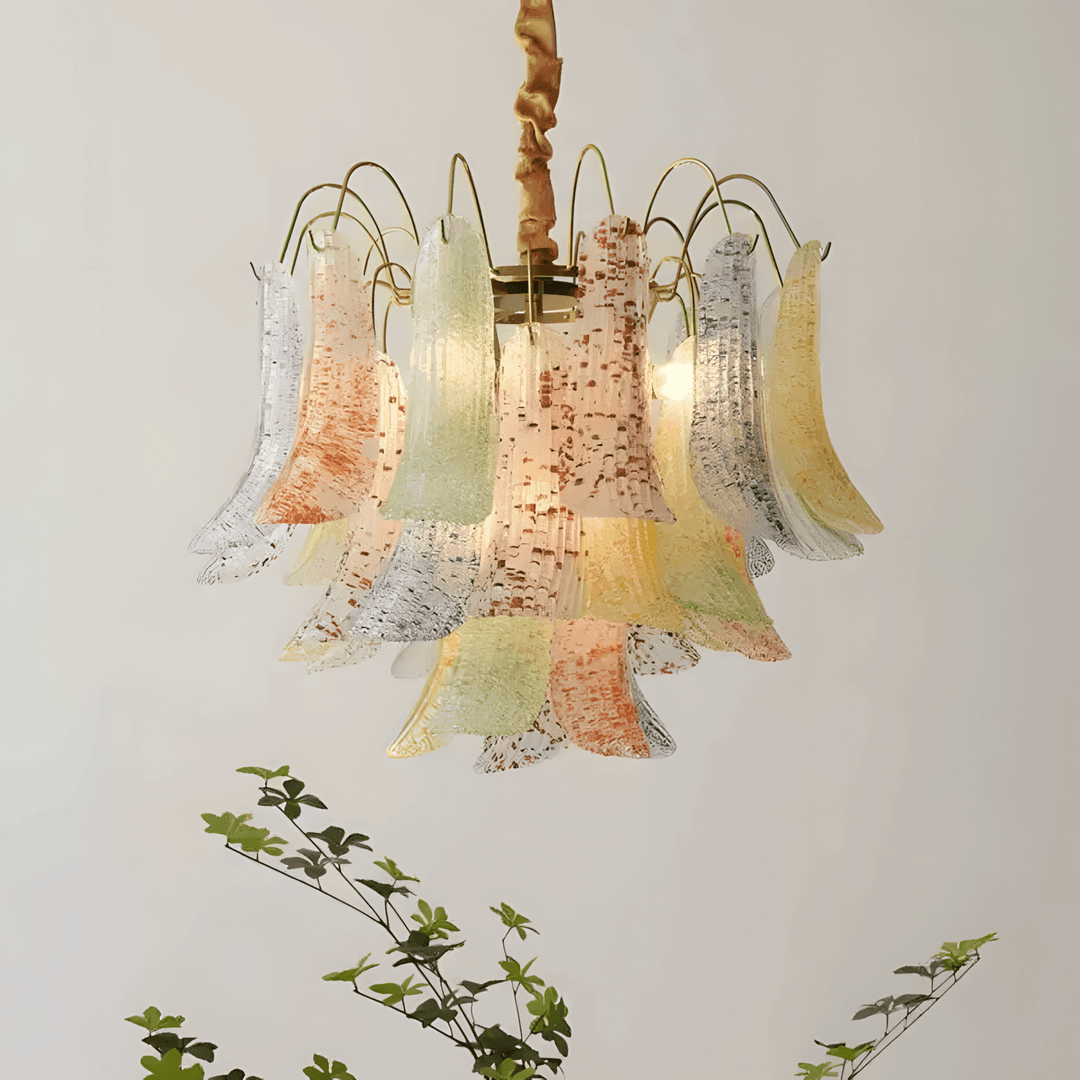
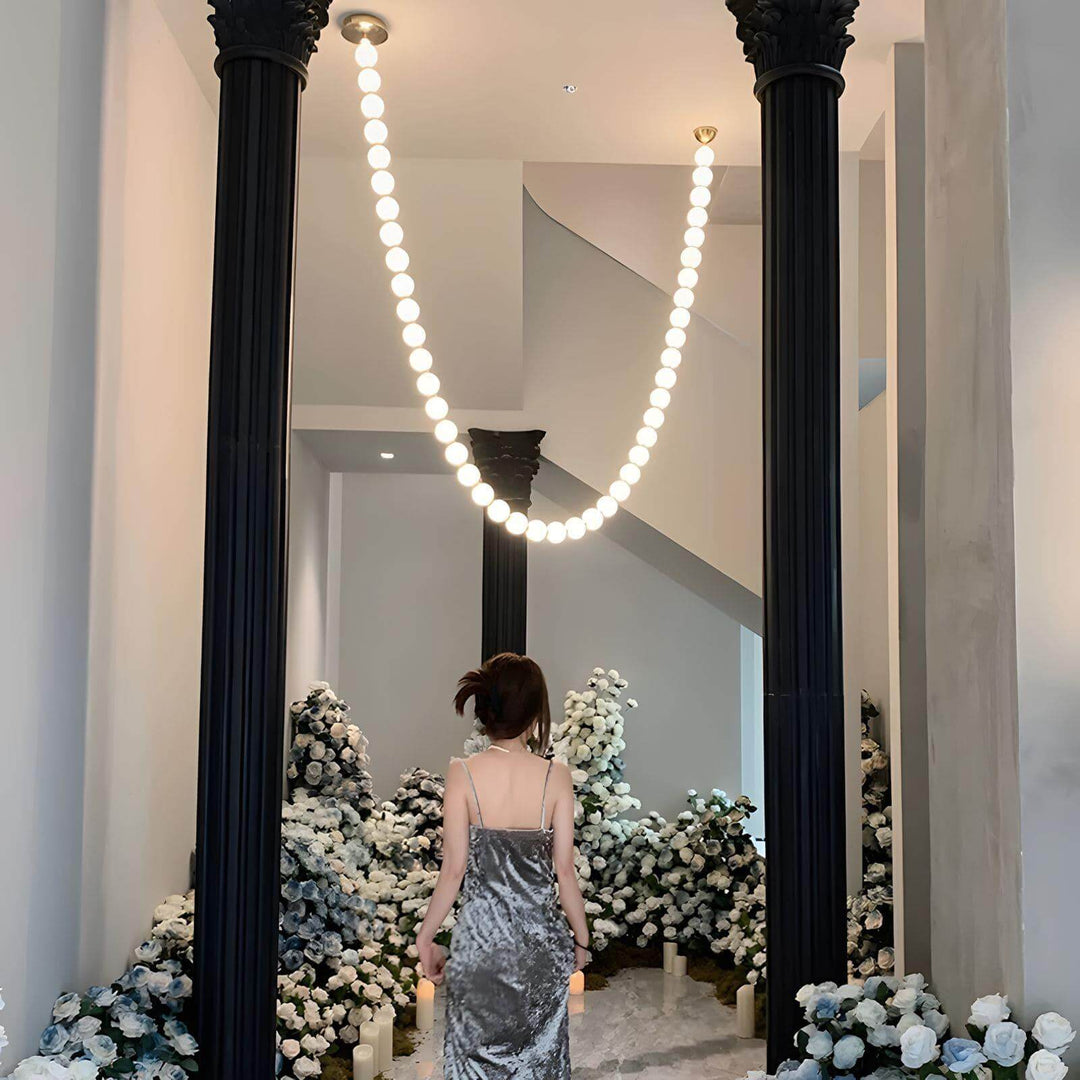
Pairs well with

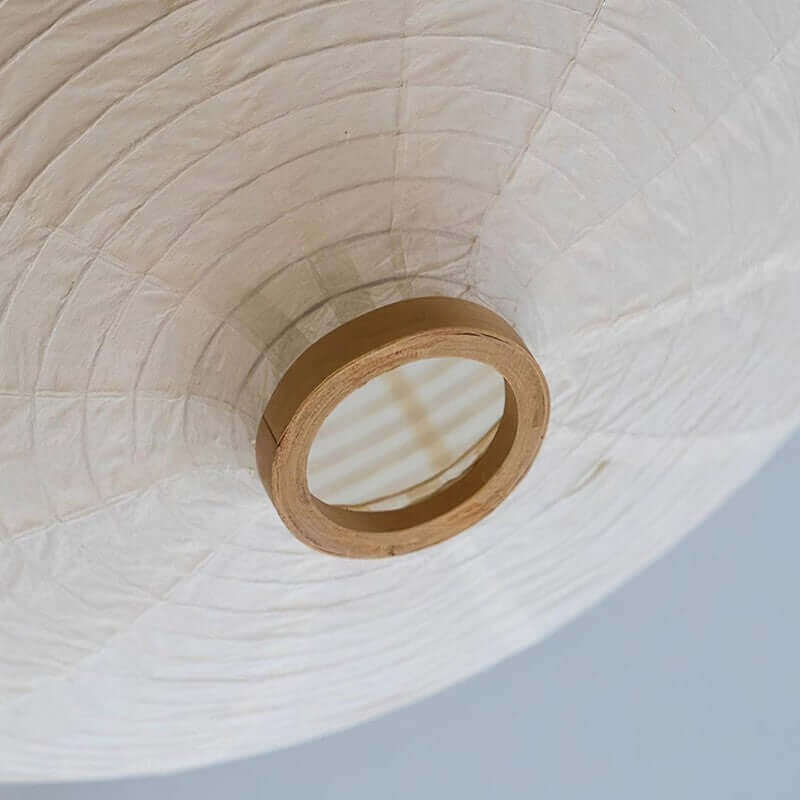
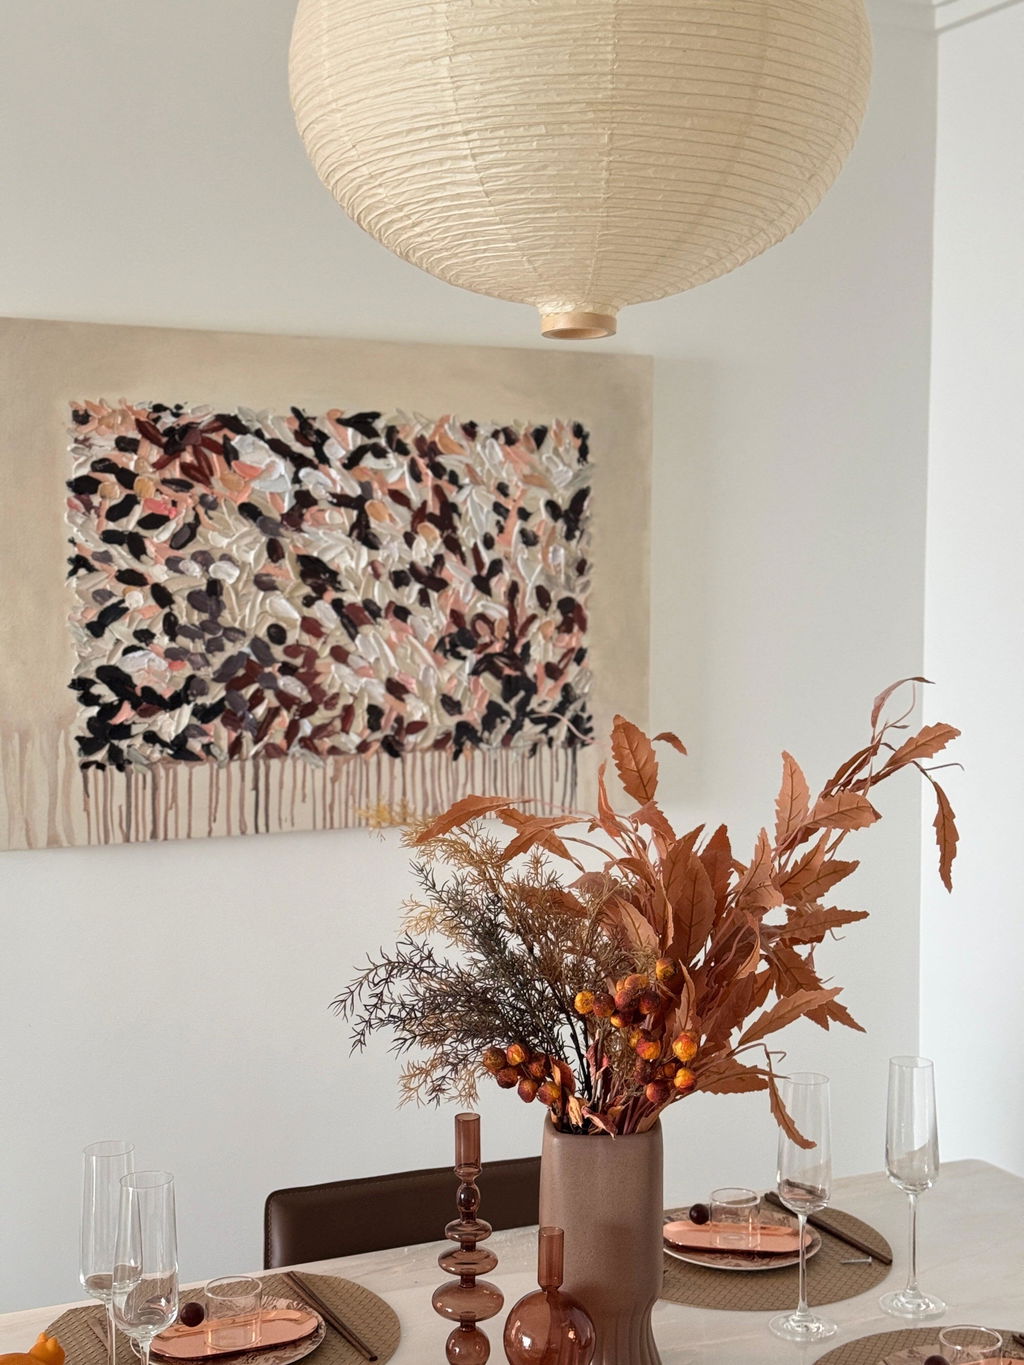
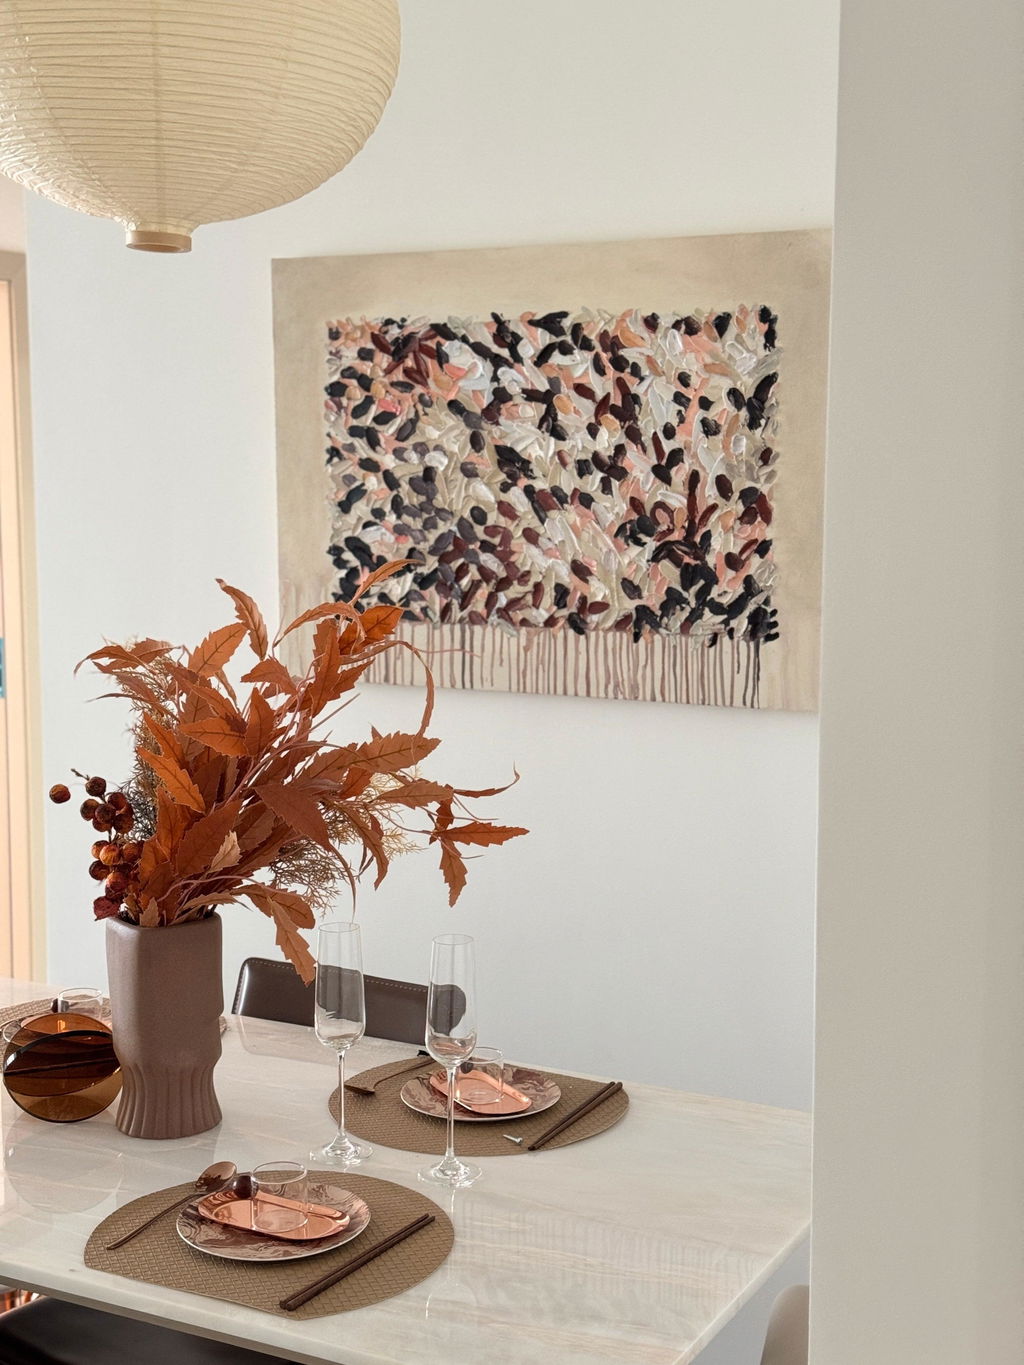
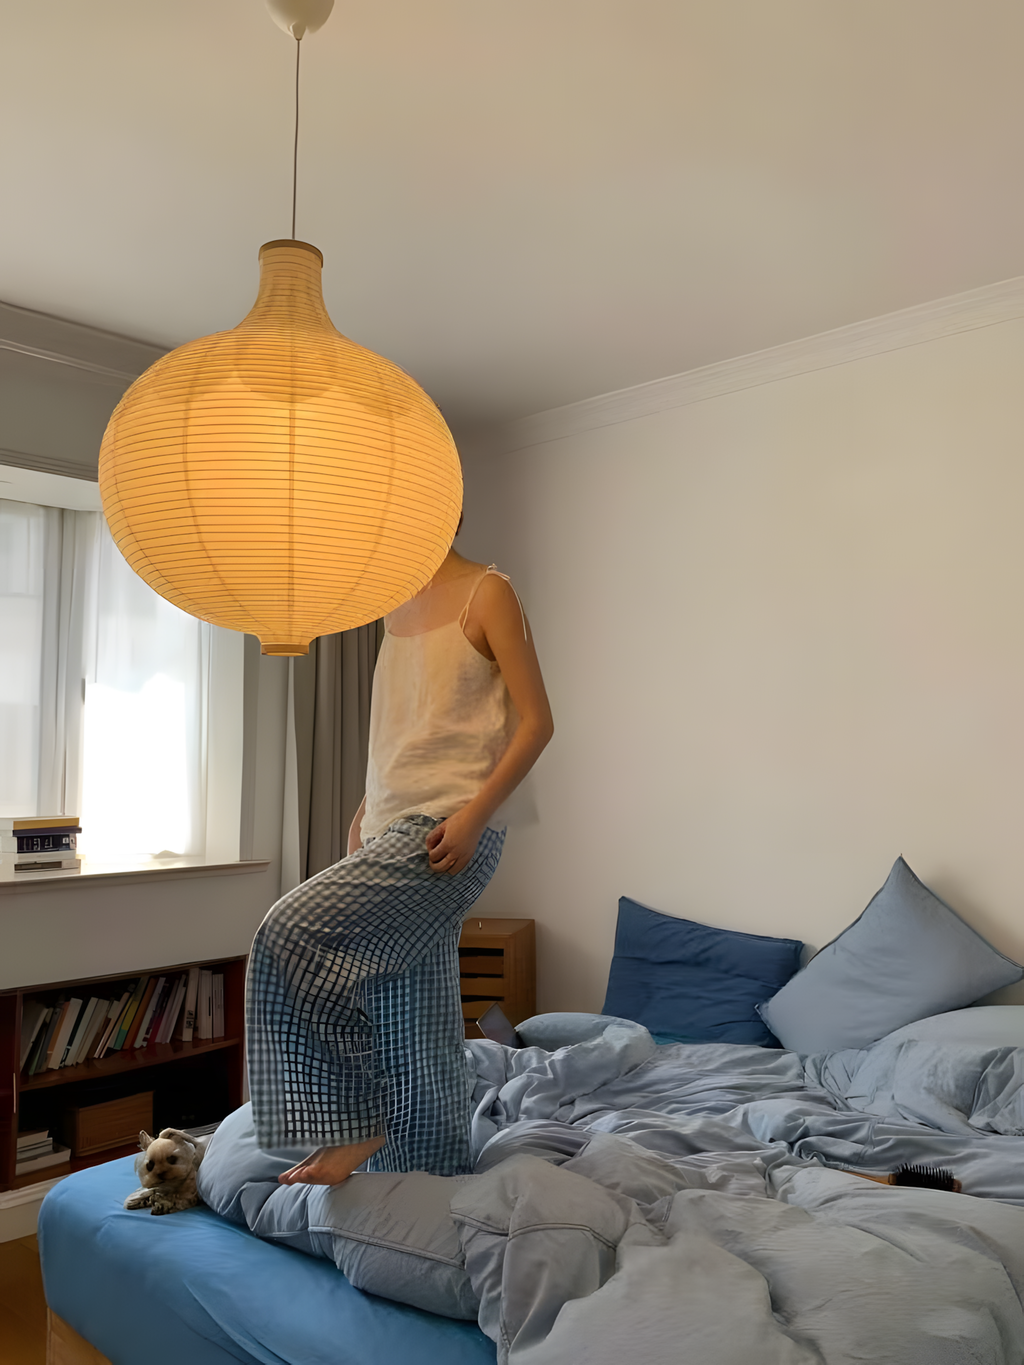
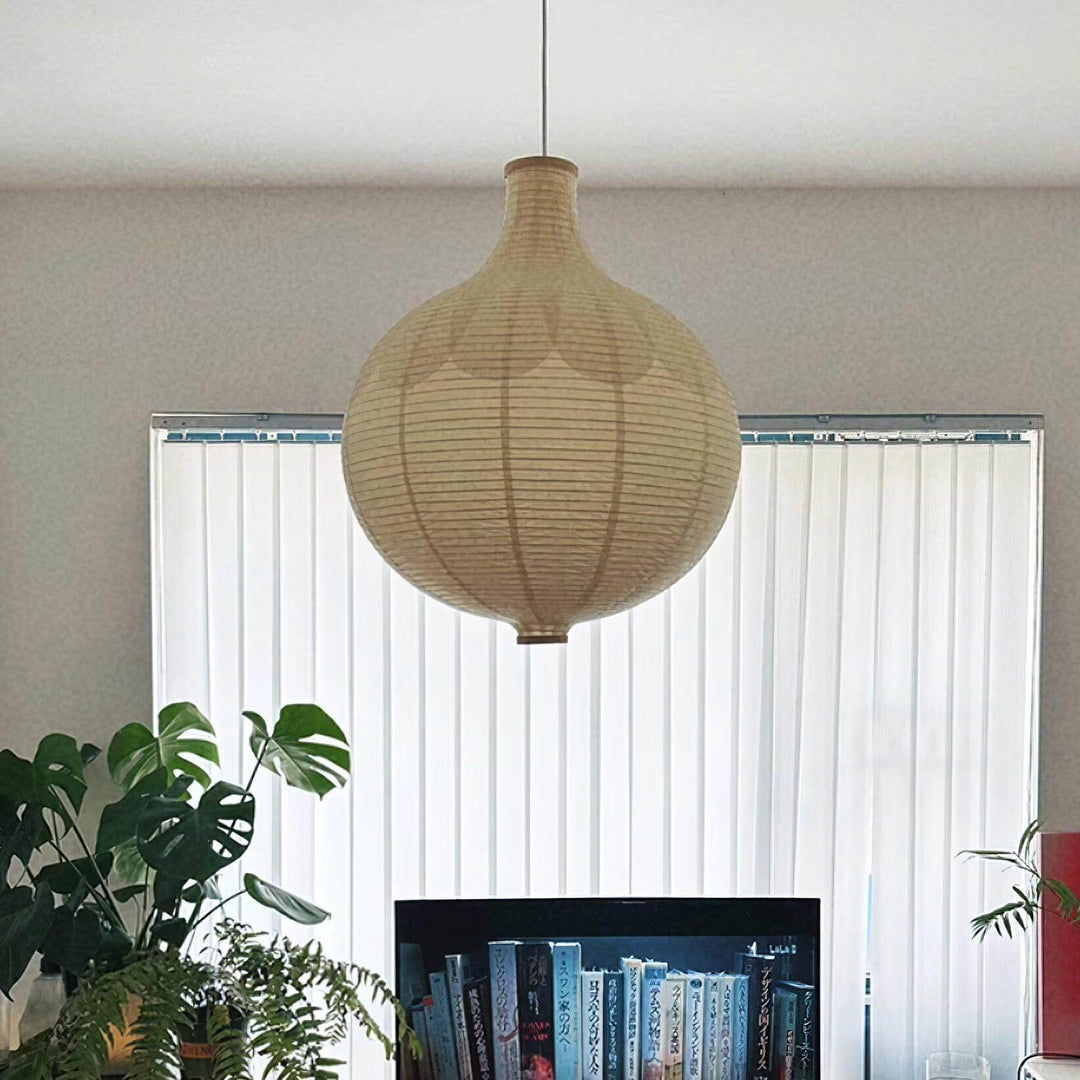
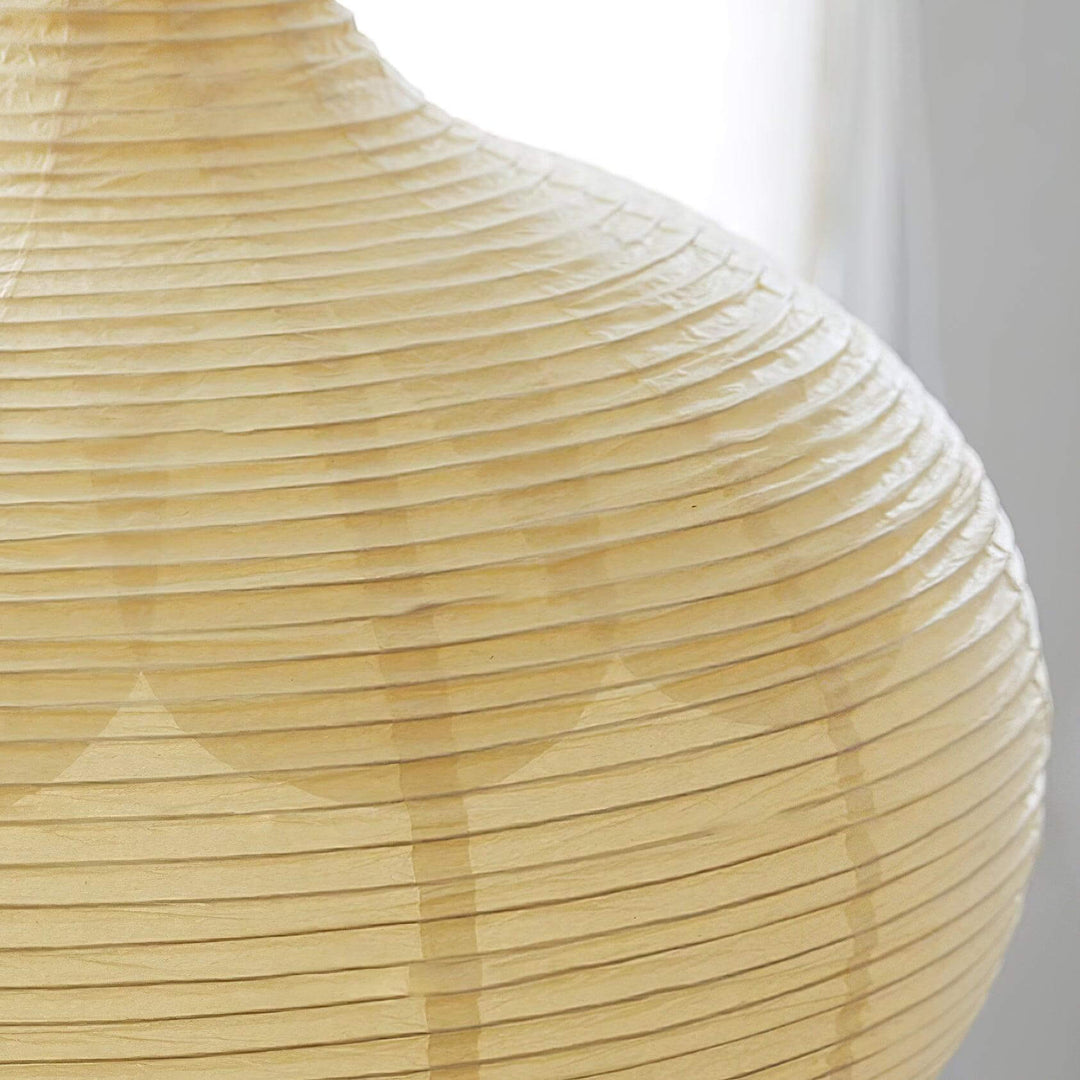
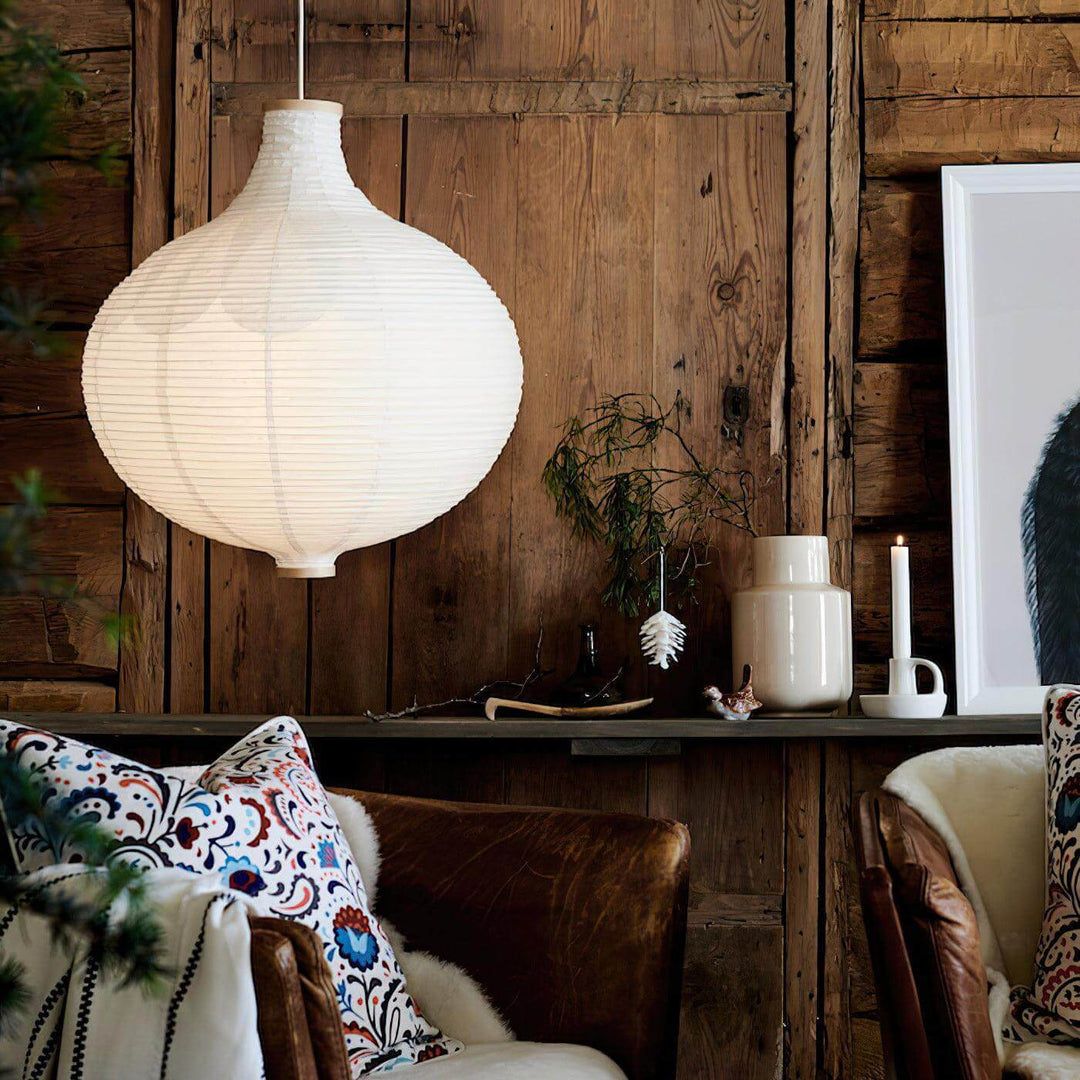
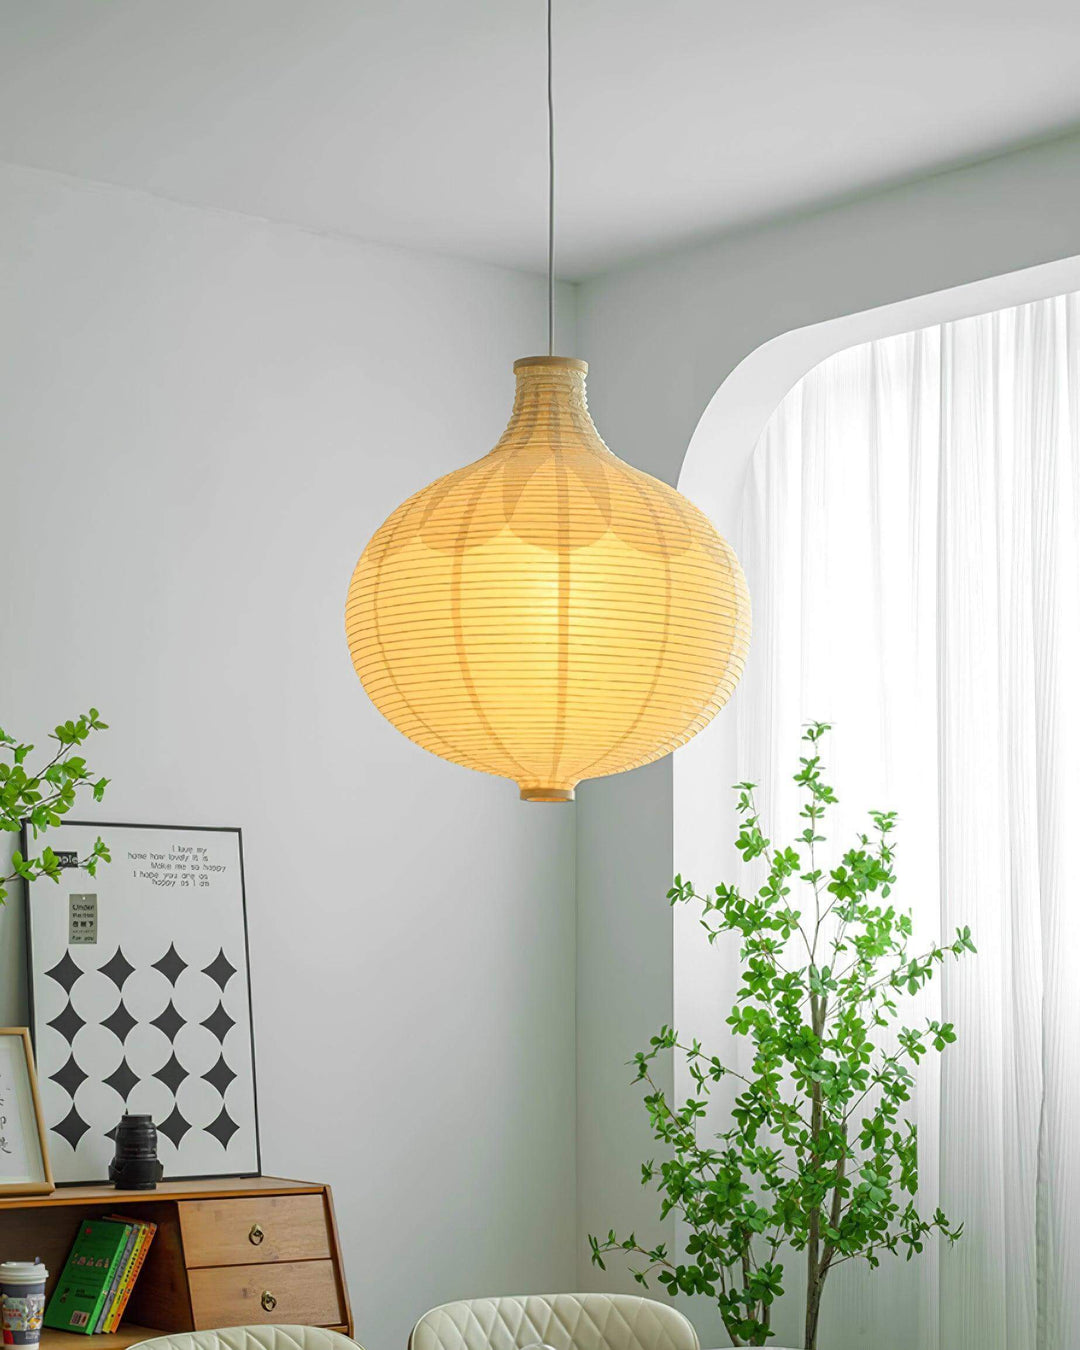
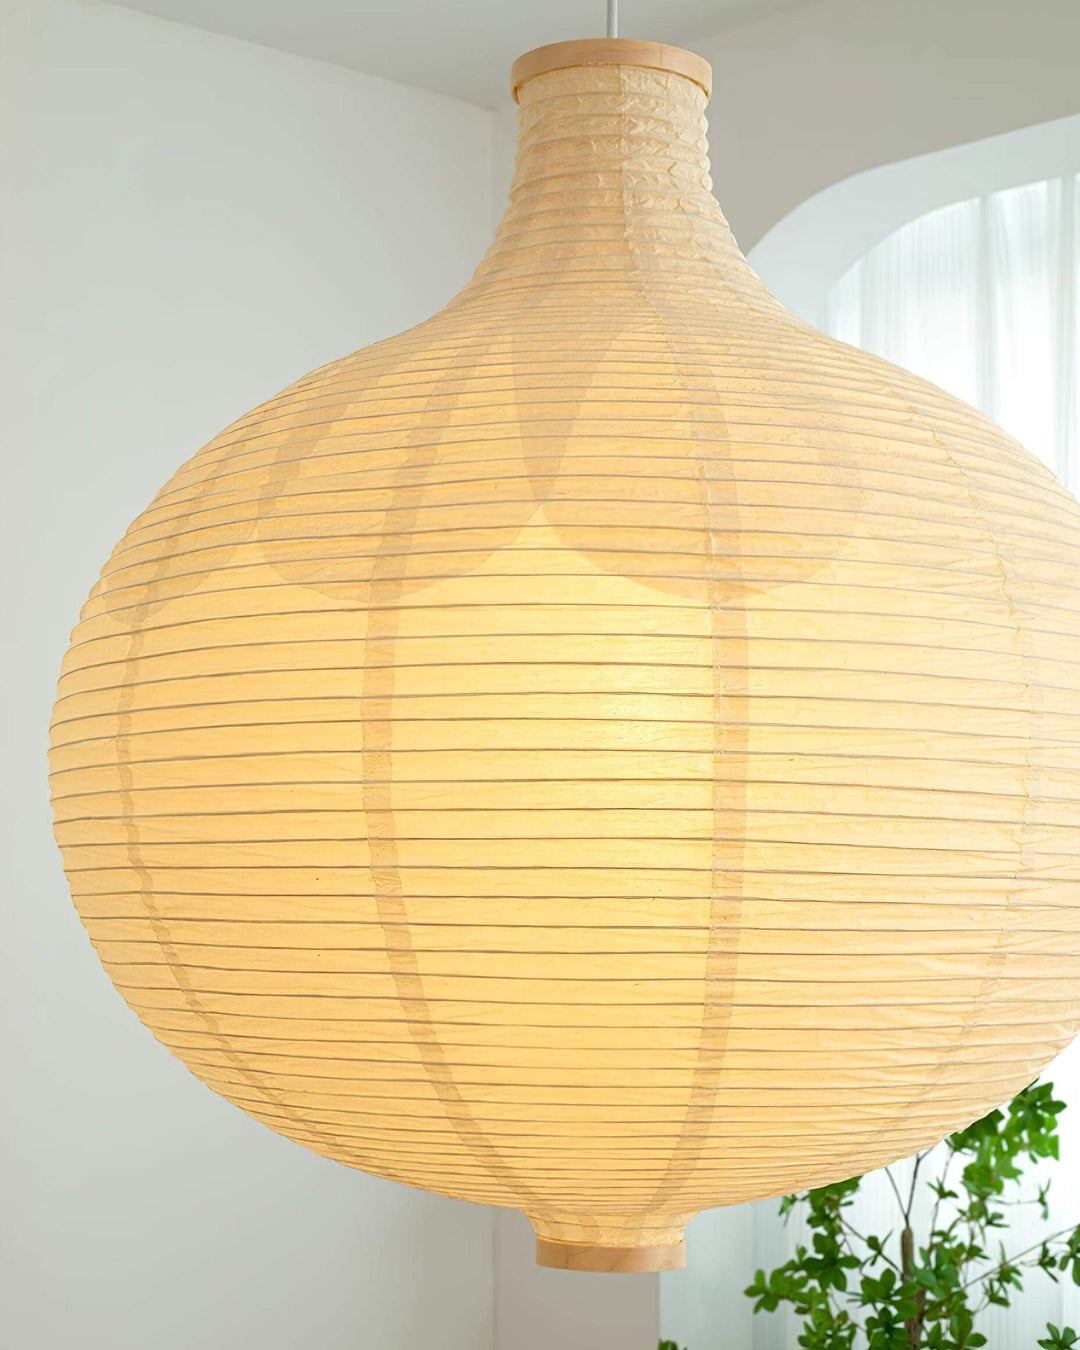
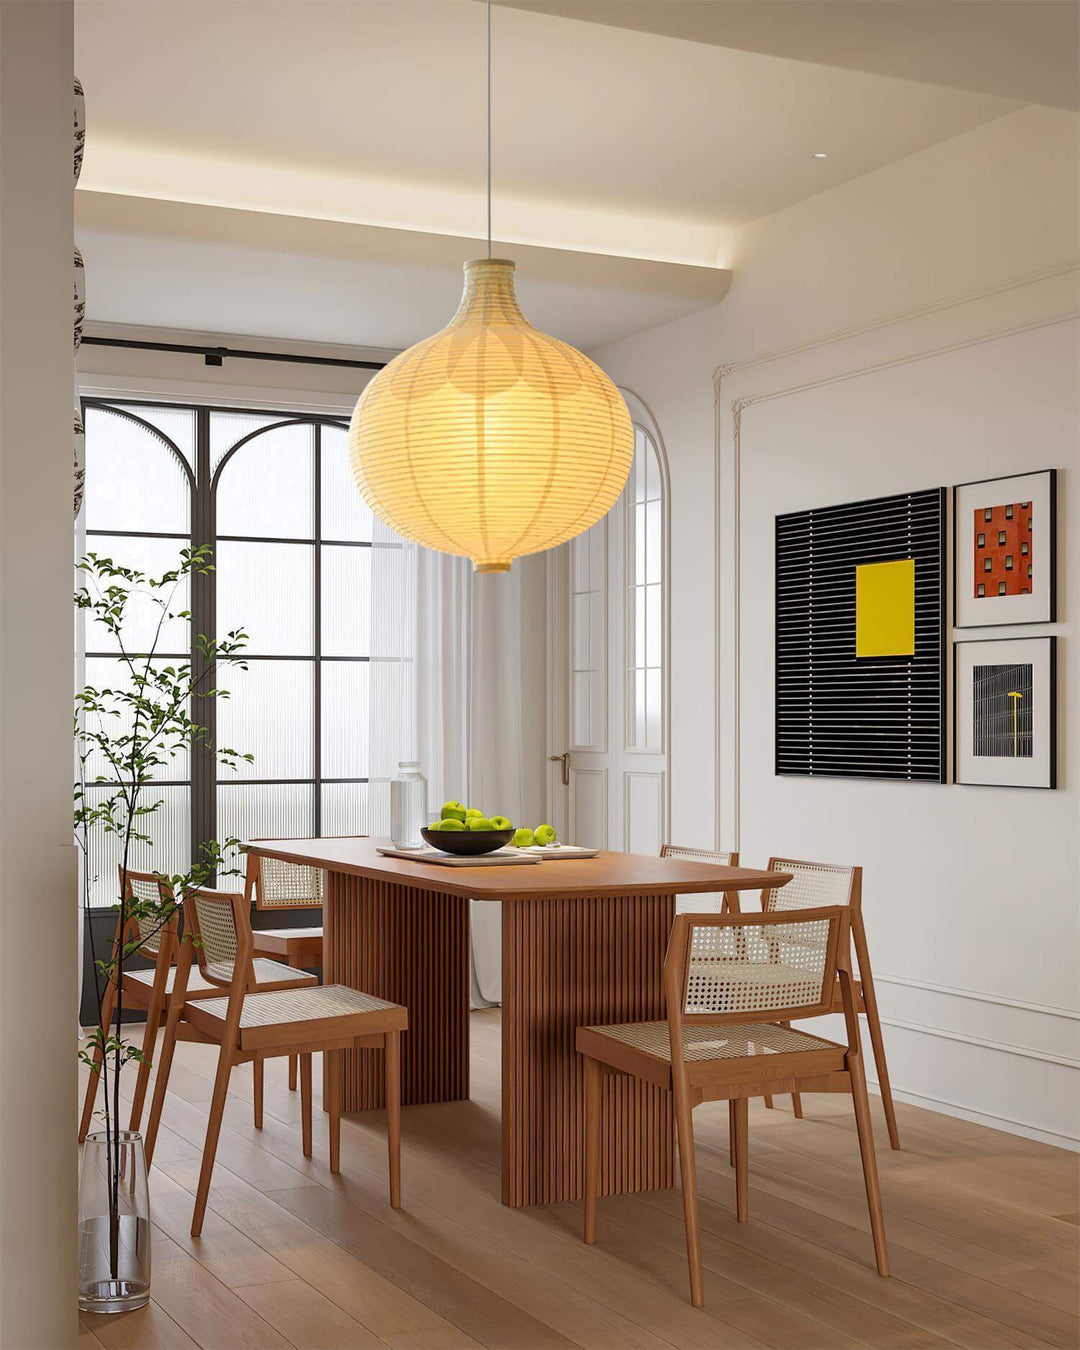
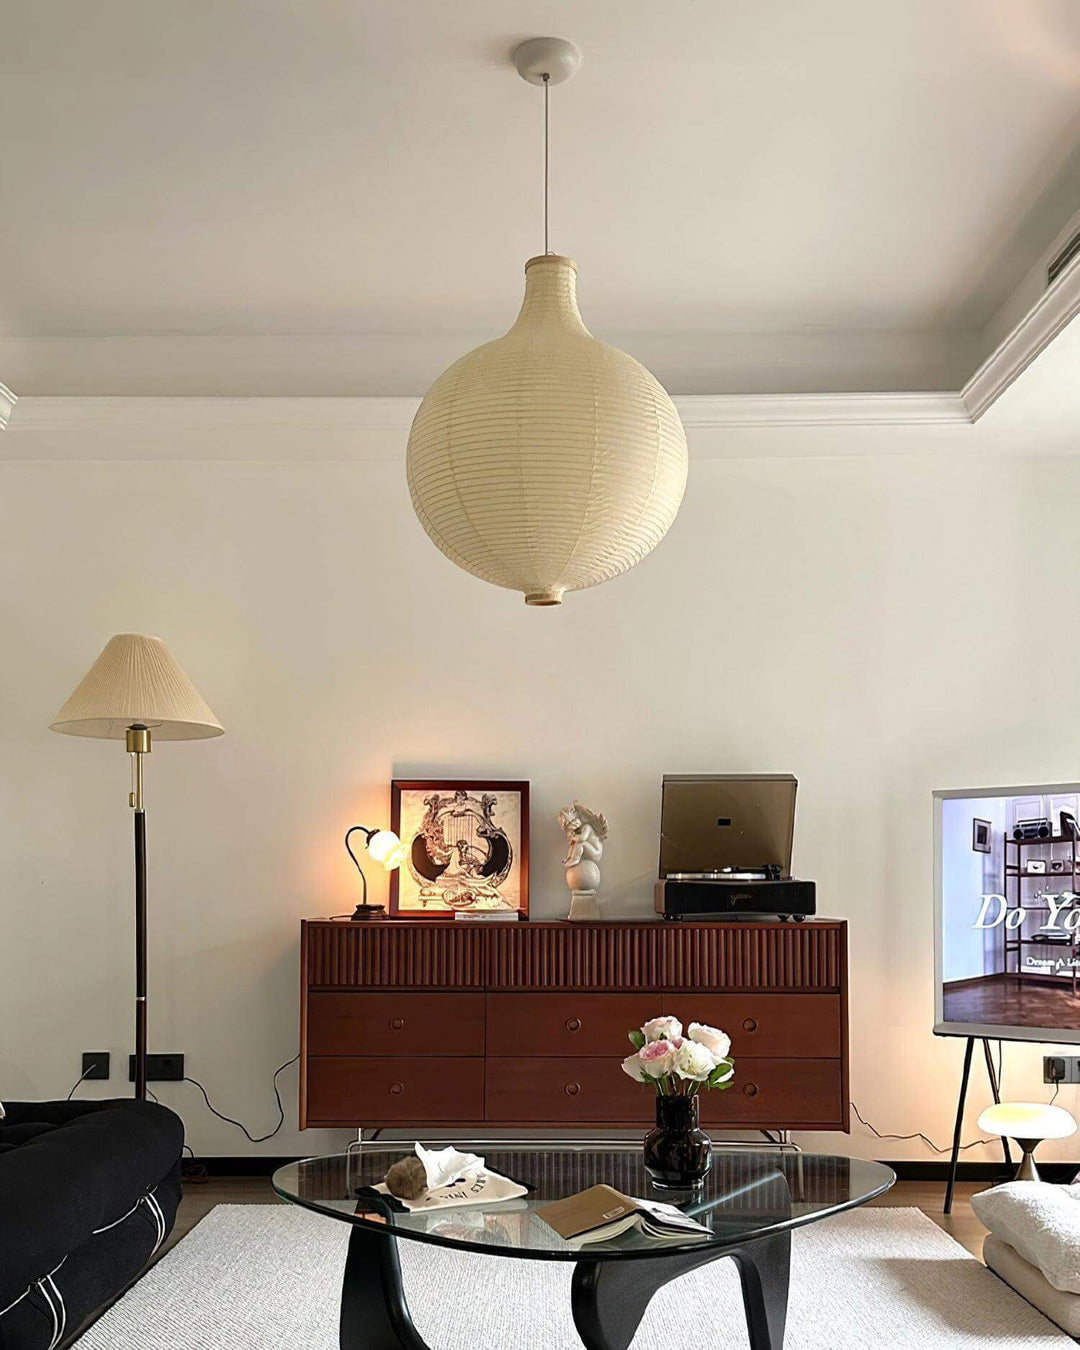
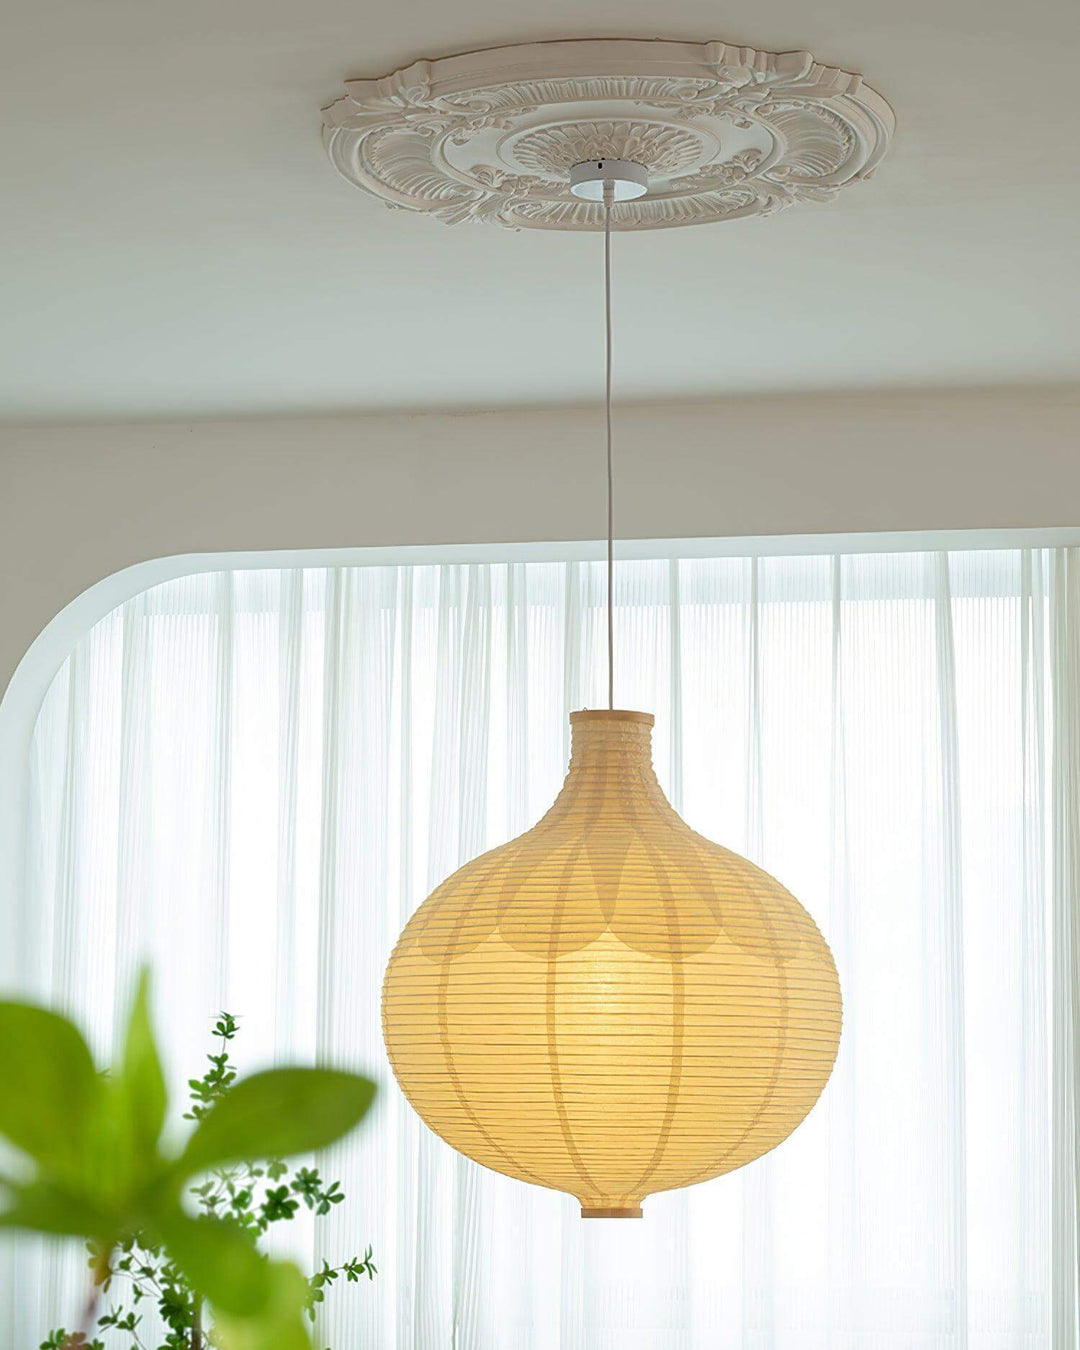
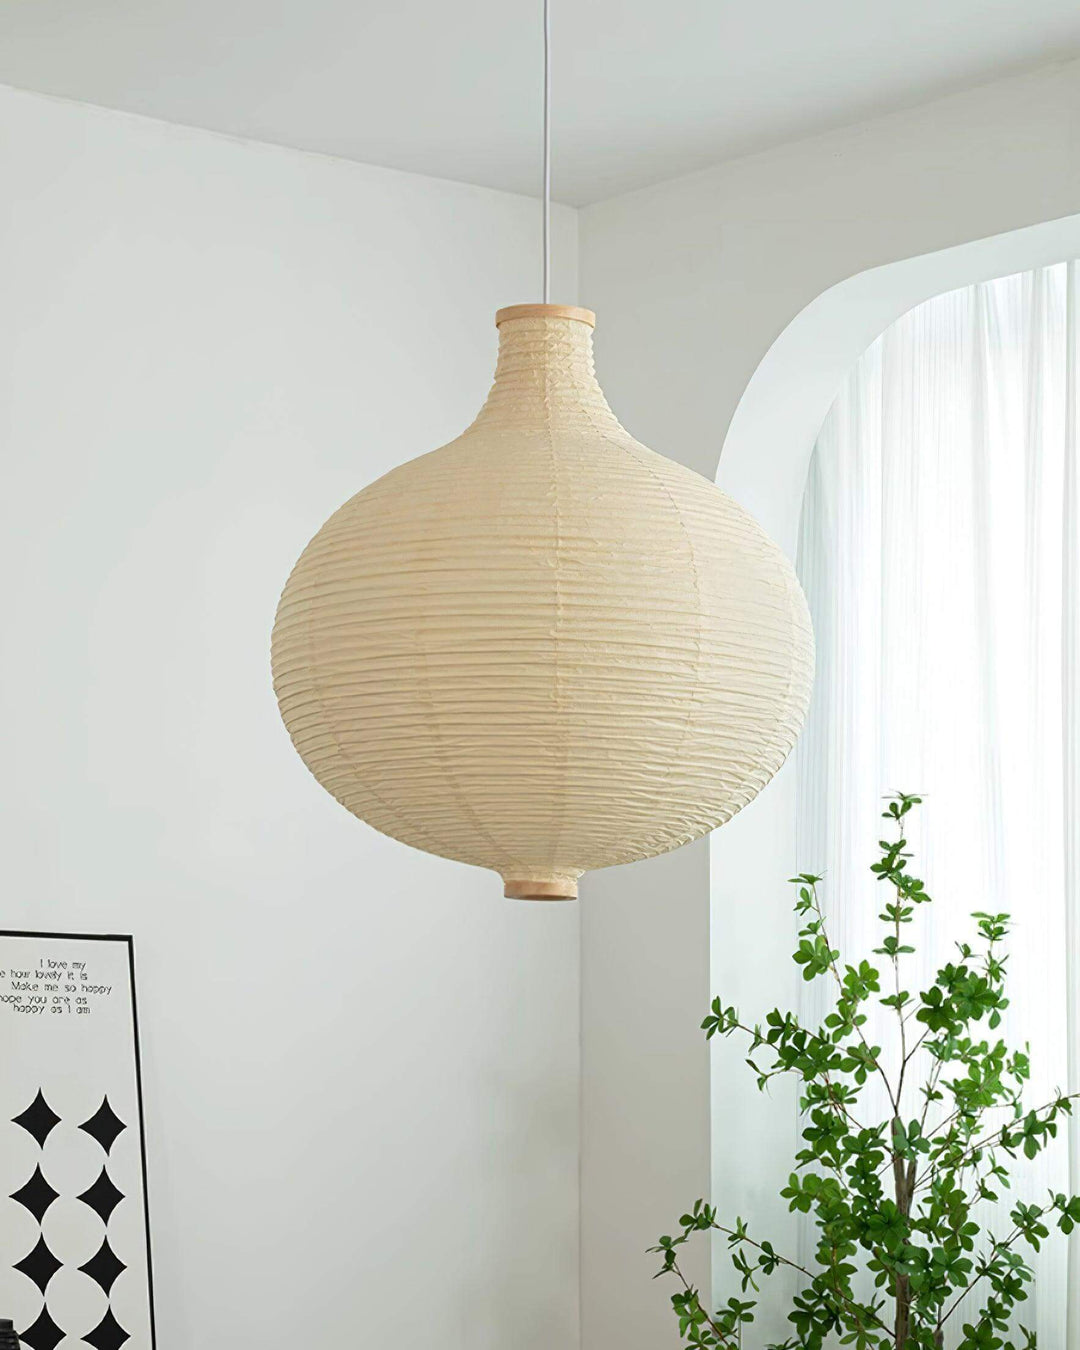
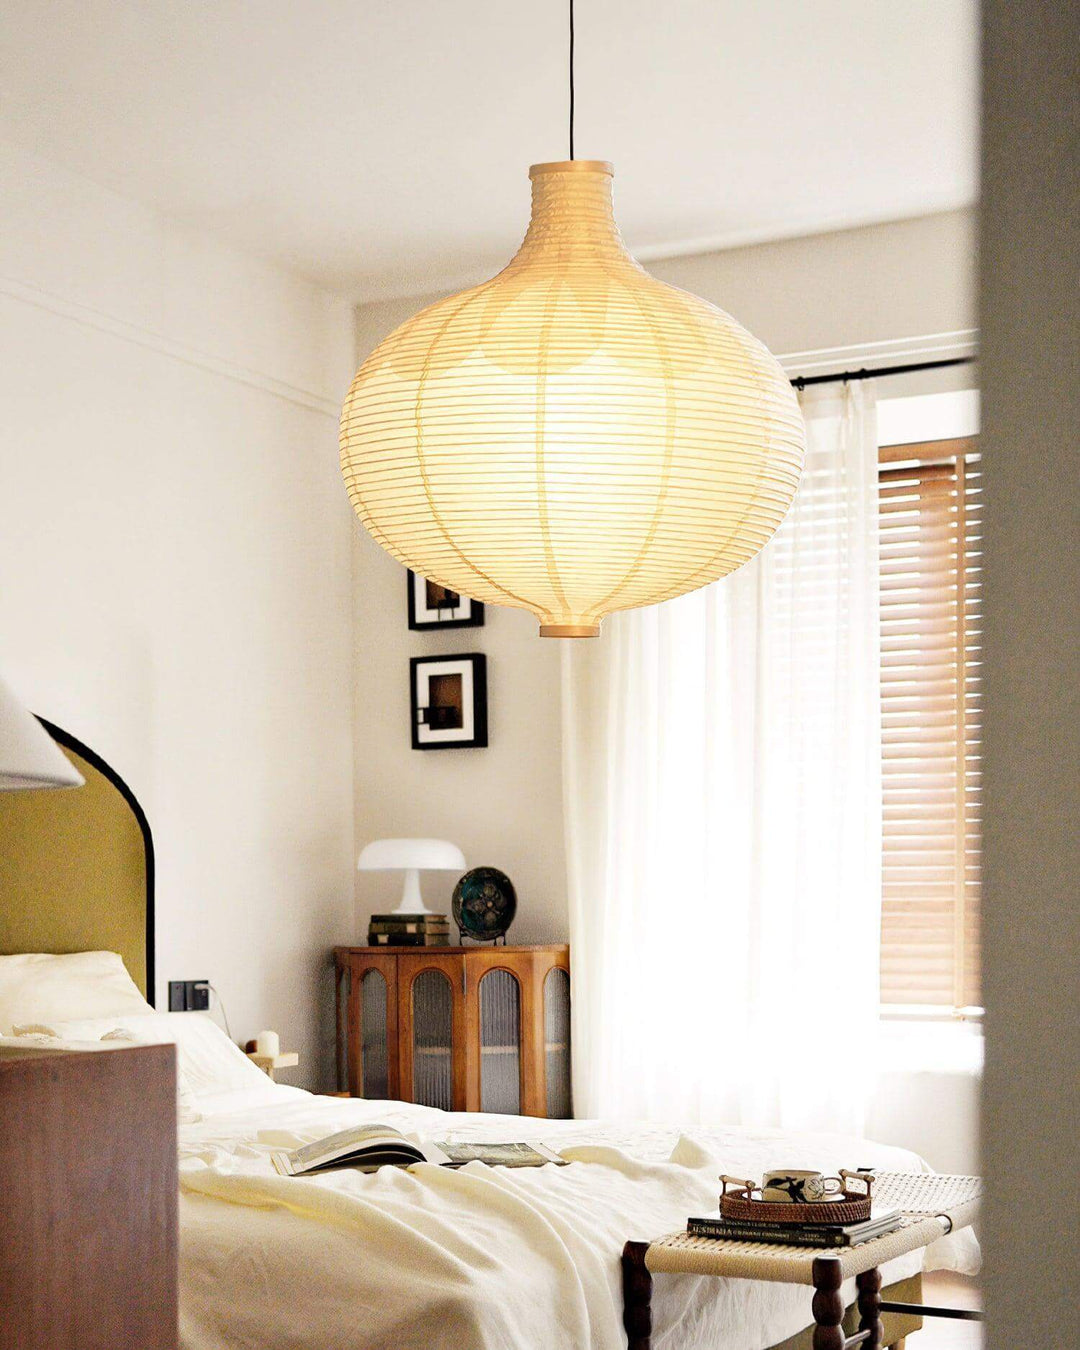
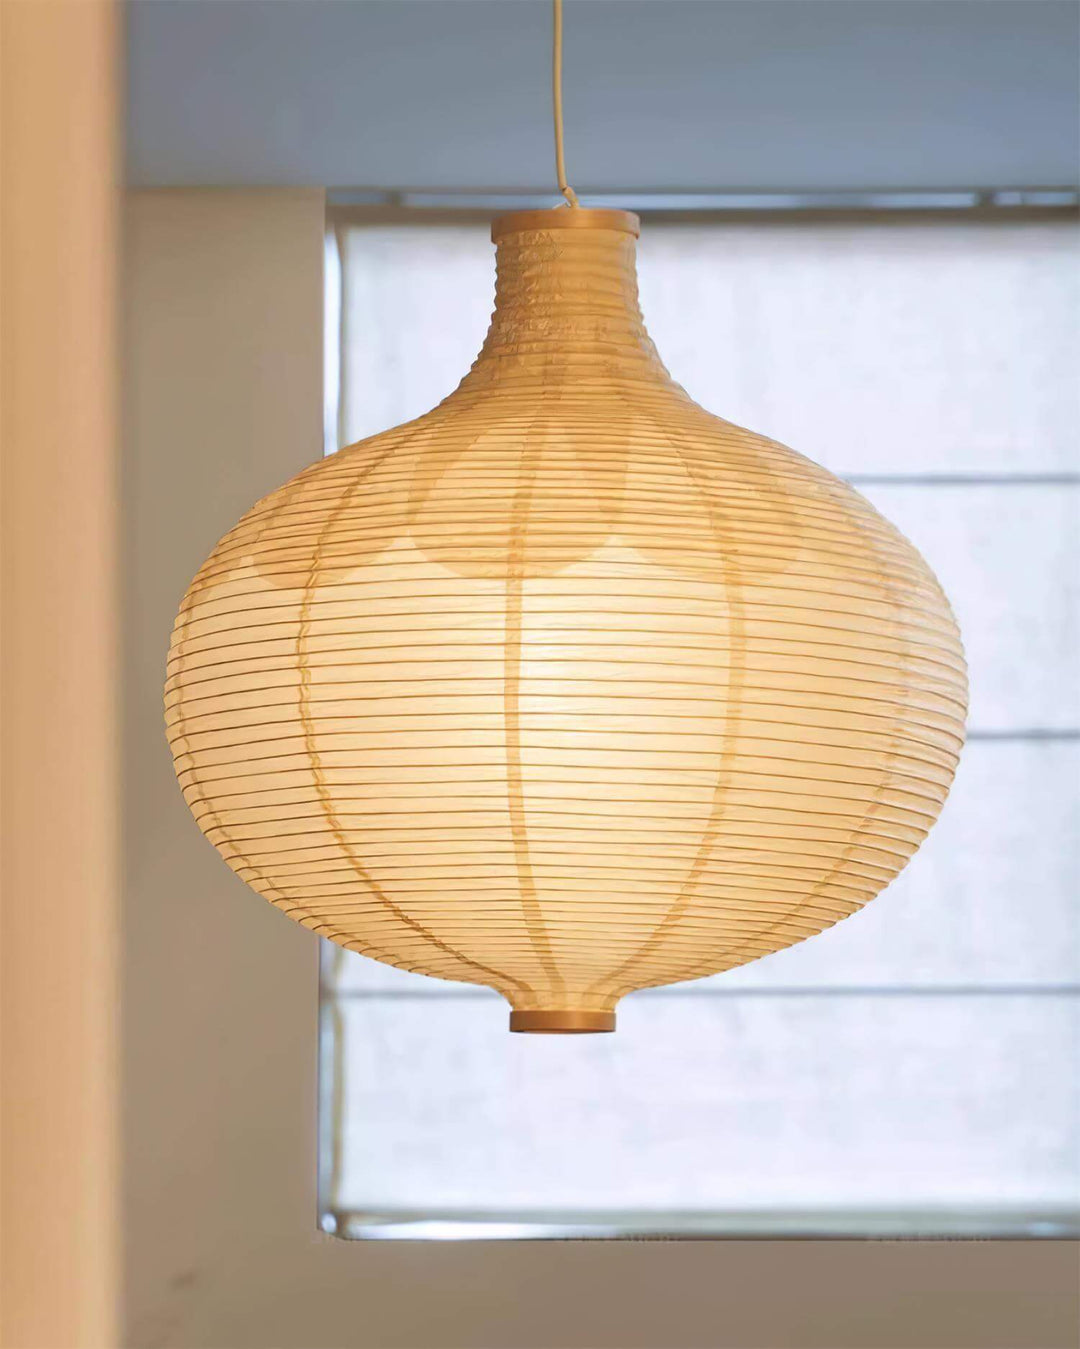
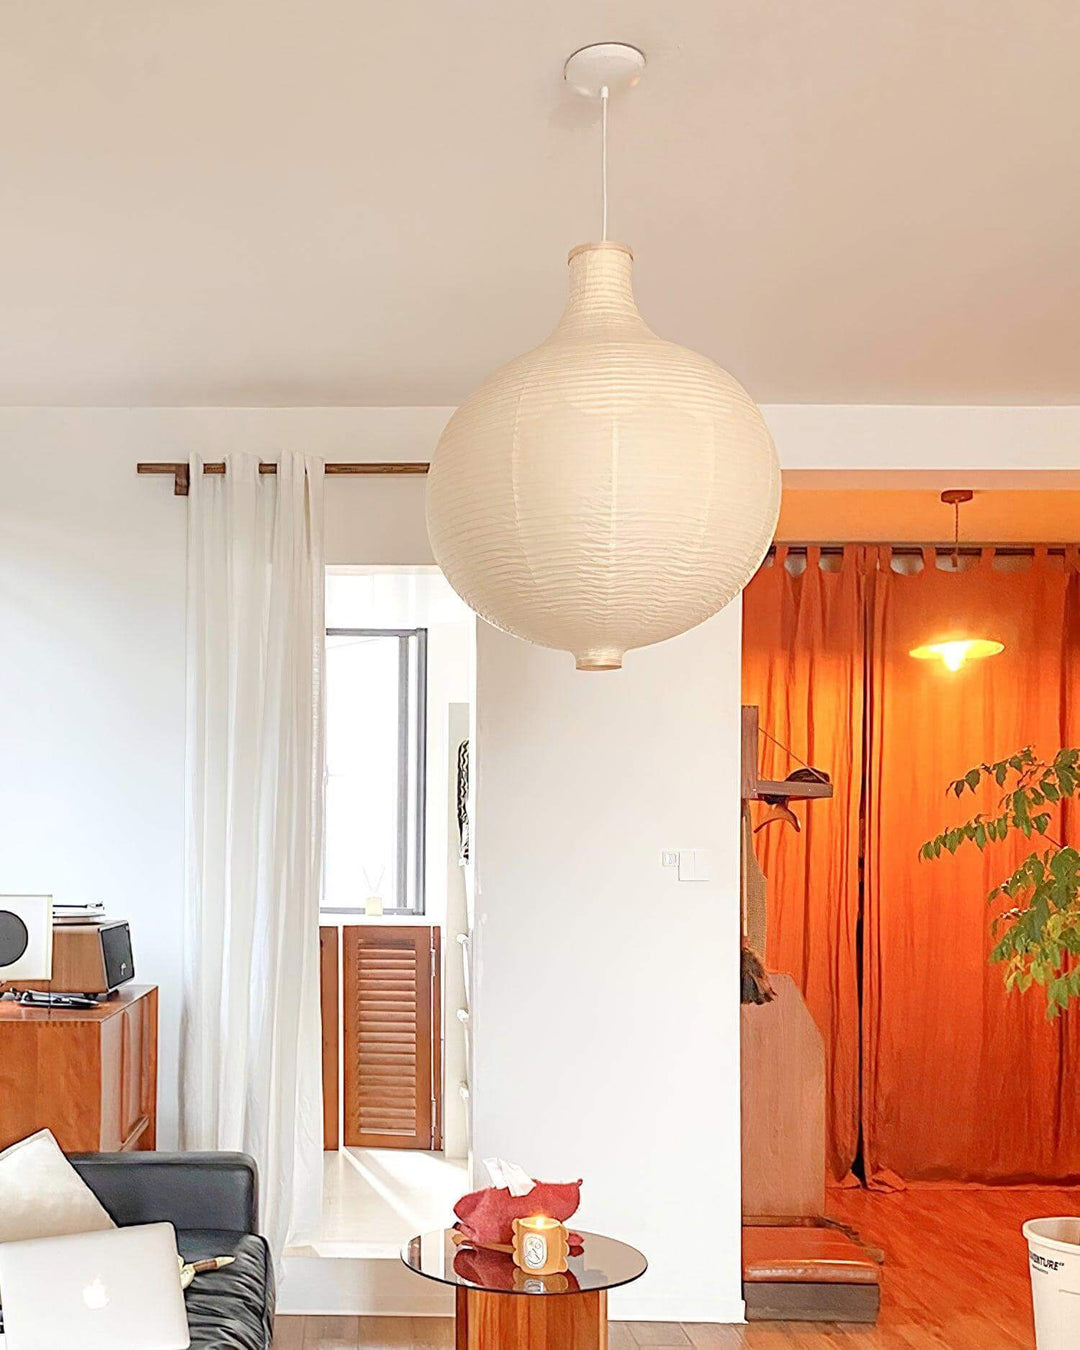
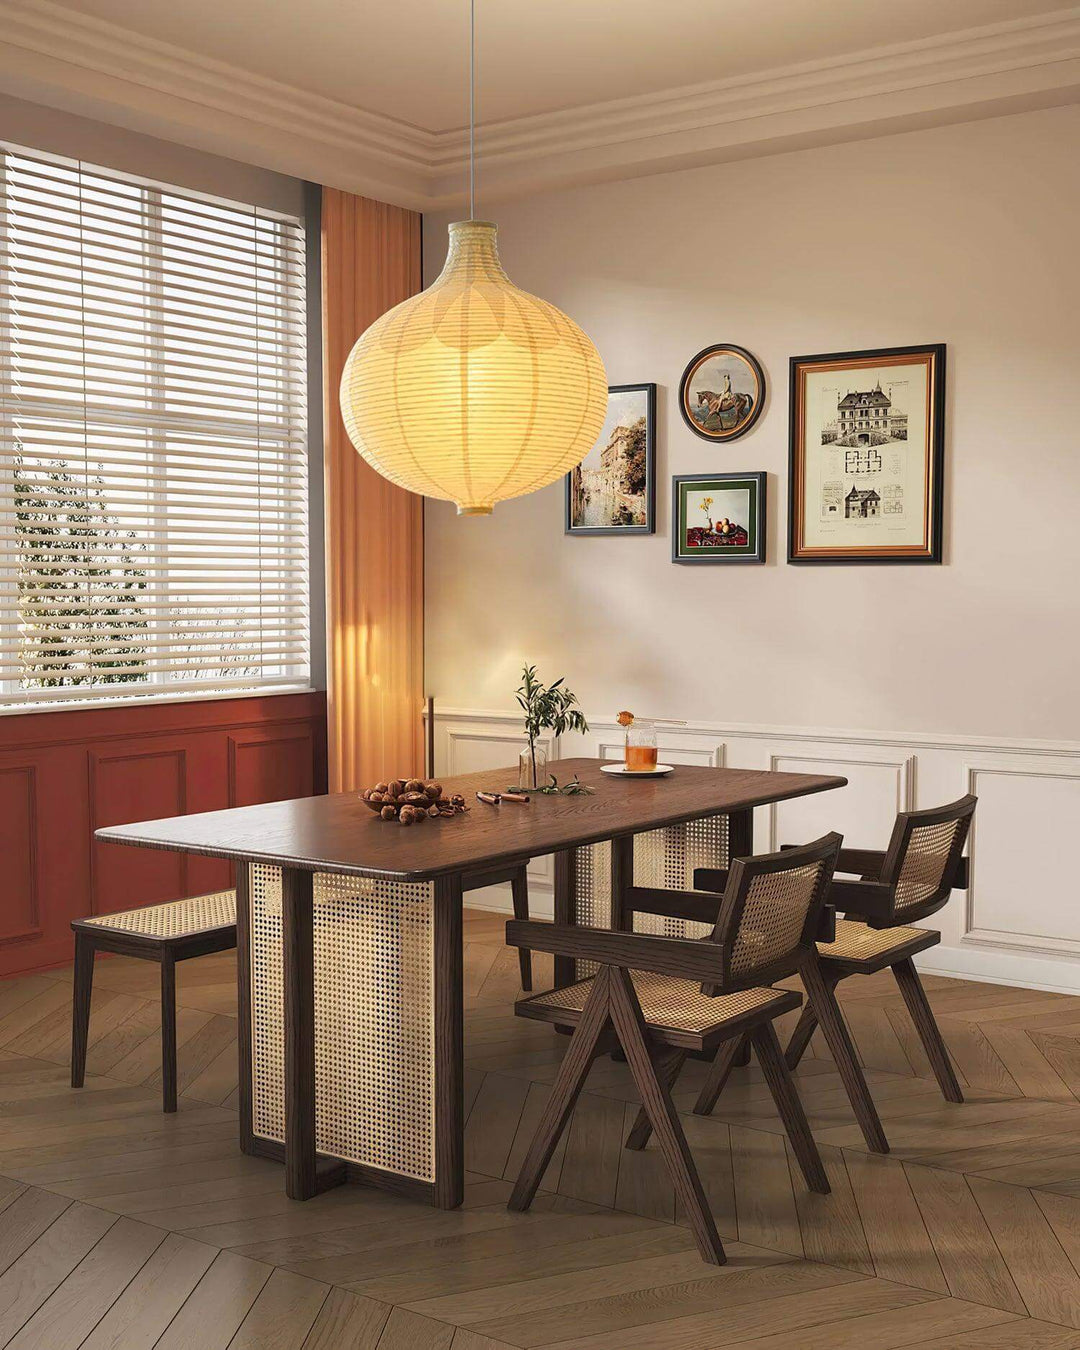
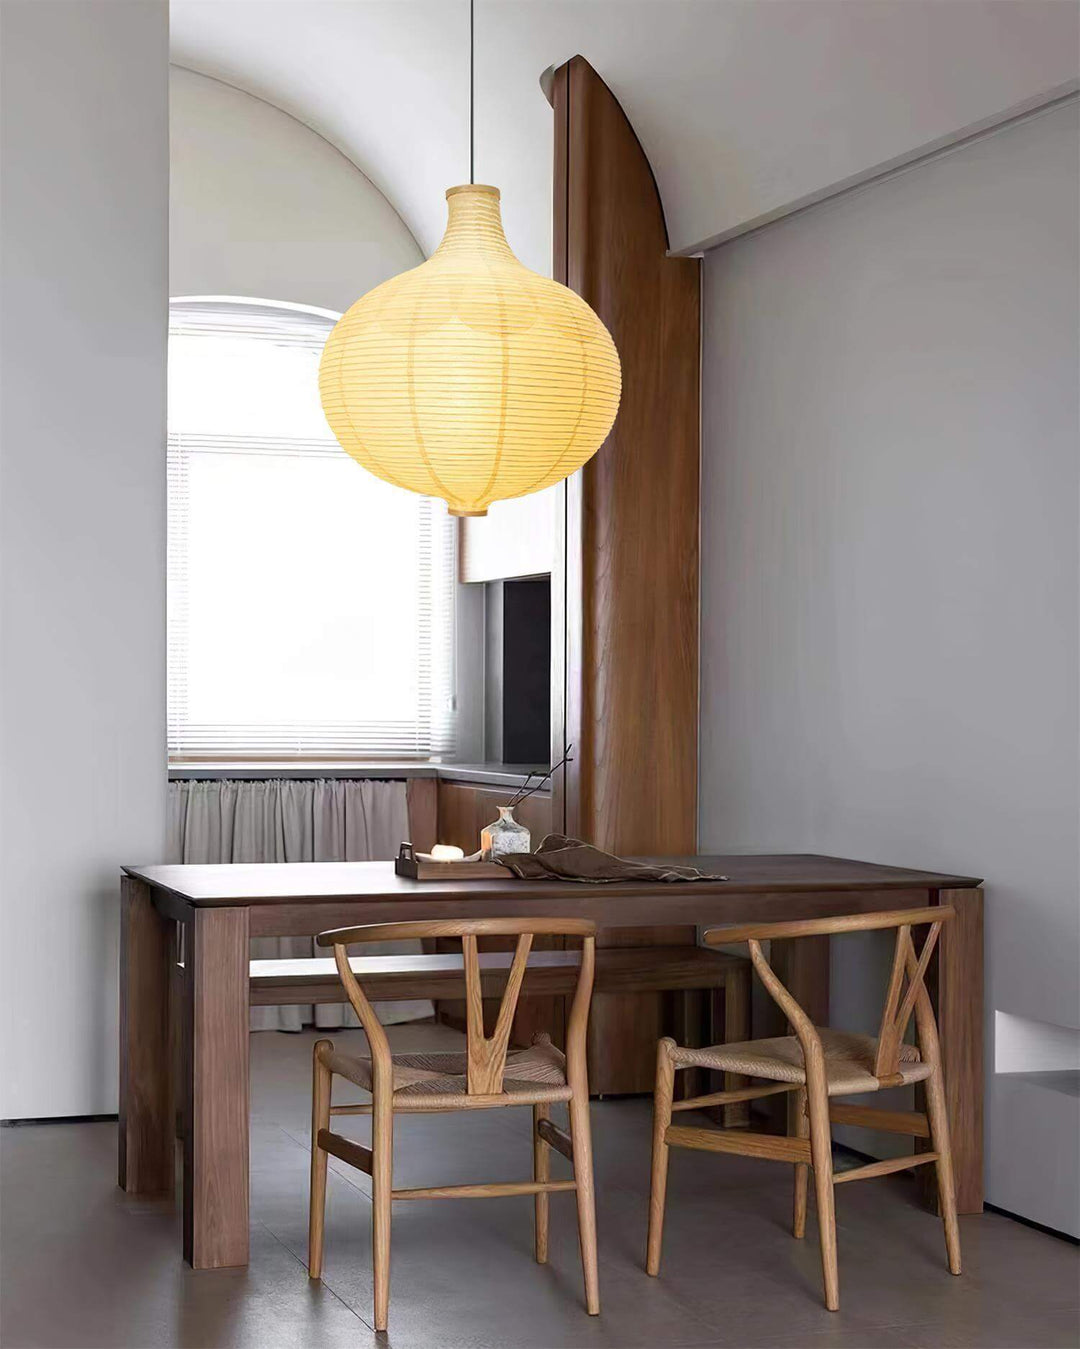
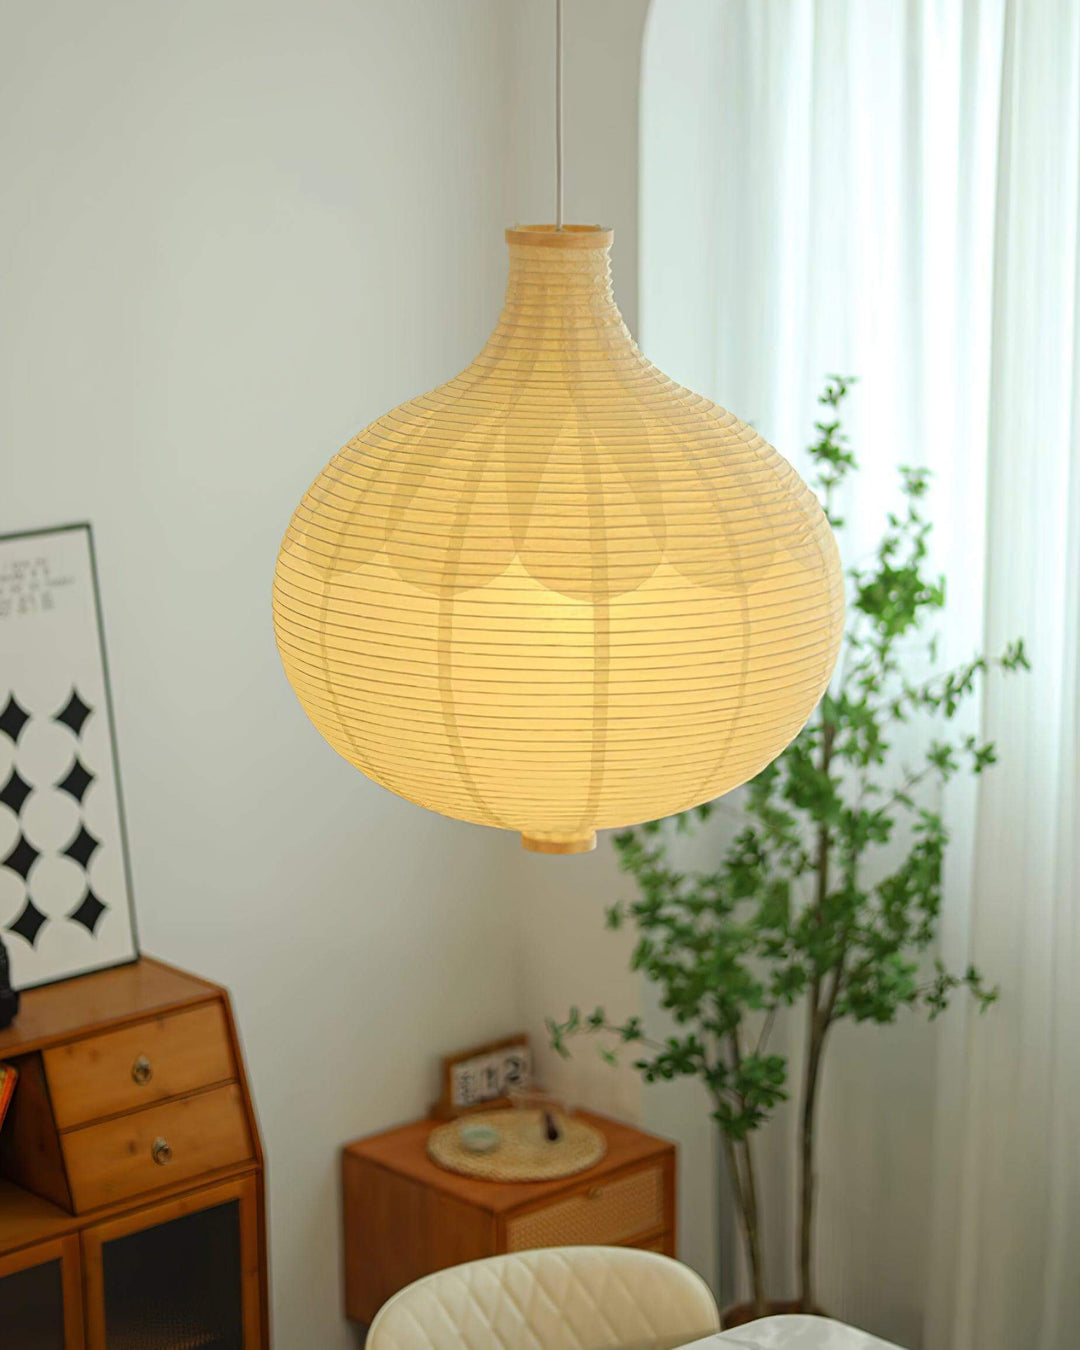
Bring a cozy glow to any space with the Washi Risbyn Pendant Light. Inspired by traditional paper lanterns, its soft oval shape and warm hue set a calm, inviting mood—perfect over dining tables or in reading nooks.
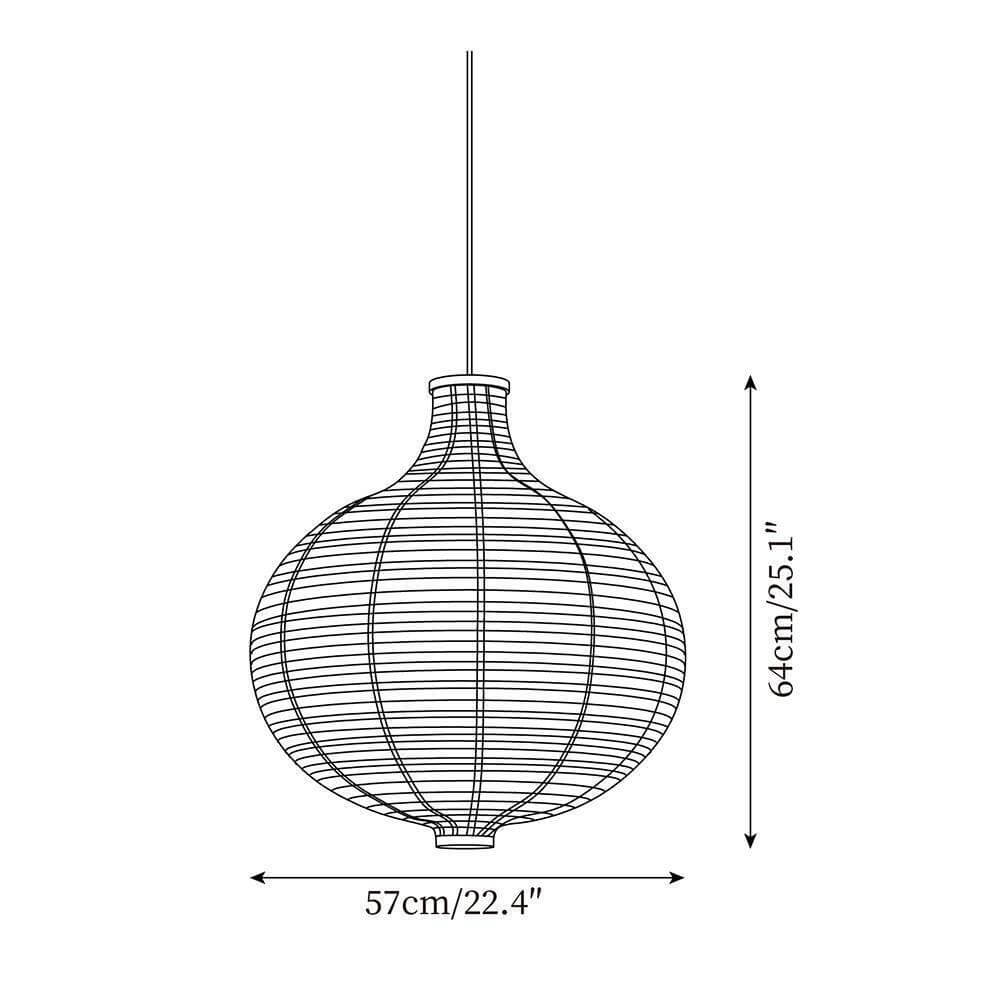
Dia 57cm x H 64cm / Dia 22.4" x H 25.1"

Add a Remote-Control Dimmable Bulb
Want adjustable brightness and light color? Add a compatible remote-control dimmable bulb to your order, and we’ll match the correct bulb for your fixture.
- Add your desired light fixture to the cart.
- In the “Pairs well with” section, select “Compatible Remote-Control Dimmable Bulb.”
- Add the bulb to your cart.
- Complete checkout as usual.
No need to check the bulb base type — we’ll select the compatible bulb based on the light fixture in your order.
Please Note
This dimmable bulb is an add-on accessory and is not available for standalone purchase. To ensure proper compatibility, it must be purchased together with a compatible light fixture. Orders placed without a compatible light fixture may need to be canceled or adjusted.
Your dimmable bulb will be shipped in the same package as your light fixture.
If you purchase the remote-control dimmable bulb, the default non-dimmable bulb will not be included in the package. The dimmable bulb will replace the standard bulb normally included with your fixture.
Each option includes one bulb only. If your fixture requires more than one bulb, please contact us before purchasing to confirm compatibility and quantity.
If your order includes multiple light fixtures, please leave a note at checkout to let us know which fixture the dimmable bulb is for.
If your light fixture has already shipped and you would like to add a dimmable bulb afterward, please contact us first. Additional shipping fees may apply if the bulb needs to be sent separately.
Compatibility
We will match the bulb to the compatible light fixture in your order.
This bulb is recommended for single-bulb fixtures only. It is not recommended for chandeliers, multi-light fixtures, or fixtures that require multiple bulbs unless confirmed with us first.
For the best lighting result, this bulb is recommended for fixtures 30 inches or smaller.
If you’re unsure whether this bulb is suitable for your light, please contact us before placing your order.
Dimming & Light Color
This bulb includes a remote control that allows you to adjust brightness and color temperature.
Available color temperature settings include:
- 3000K Warm White
- 4000K Neutral White
- 6000K Cool White
Brightness and color temperature are controlled by the included remote control.
Please note that this bulb is not controlled by a wall dimmer switch. To adjust brightness or color temperature, please use the included remote control.
What’s Included
Each dimmable bulb add-on includes:
- 1 compatible dimmable bulb
- 1 remote control
The default non-dimmable bulb will not be included when this dimmable bulb add-on is purchased.
Best For
Single-light fixtures
Smaller pendant lights and compact setups
Buyers who want an easy, compatibility-tested bulb option
Customers who want adjustable brightness and color temperature without changing the fixture wiring
Users who prefer simple remote-control operation
Add a Plug-In Cord for Your Pendant
Want an easier installation? You can convert this pendant light into a plug-in setup by adding our plug-in cord accessory.
- Add your desired pendant light to the cart.
- In the “Pairs well with” section, select “Plug-In Cord with Switch for Pendant Lights (5M / 196")”.
- Choose the cord color and plug type you need, then add it to your cart.
- Complete checkout as usual.
Please Note
This plug-in cord is an add-on accessory and is not available for standalone purchase. To ensure proper compatibility, it must be purchased together with a compatible single pendant light. Orders placed without a compatible light fixture may need to be canceled or adjusted.
Your plug-in cord will be shipped in the same package as your light fixture.
For plug-in orders, hardwired installation accessories will not be included by default to avoid confusion during installation. If you would like the hardwired accessories included as well, please leave a note at checkout or contact us before placing your order.
If your light fixture has already shipped and you would like to add a plug-in cord afterward, please contact us first. Additional shipping fees may apply if the cord needs to be sent separately.
Compatibility
This plug-in cord is designed for single pendant lights only. It is not suitable for chandeliers, multi-light fixtures, or fixtures with multiple lamp holders.
If you’re unsure whether your light fixture is compatible, please contact us before placing your order.
Dimming
This plug-in cord features a standard on/off inline switch and does not support dimming.
Safety
This plug-in cord is UL certified and suitable for use in the United States.
Best For
Renters who cannot modify ceiling wiring
Spaces without ceiling junction boxes
Quick and flexible lighting setups
Temporary or easily movable lighting arrangements
Shipping Made Simple
We’ve got you covered with easy and reliable shipping options:
- Free Standard Shipping (4-6 Weeks): Available for all orders in the US and Canada.
- Expedited Shipping (2-4 Weeks): Faster delivery is available—check our Shipping Policy for costs.
Hassle-Free Returns
Your satisfaction is our priority! If you’re not completely happy with your purchase, you can return it within 30 days in new and unused condition for a full refund. (Please note: Paid shipping fees are non-refundable as fulfillment has already been completed.)
To start a return, just email our support team at service@vinlighting.com, and we’ll walk you through the process step by step. For more details, visit our Returns Policy.
Shop with confidence, knowing we’re here to make things right!