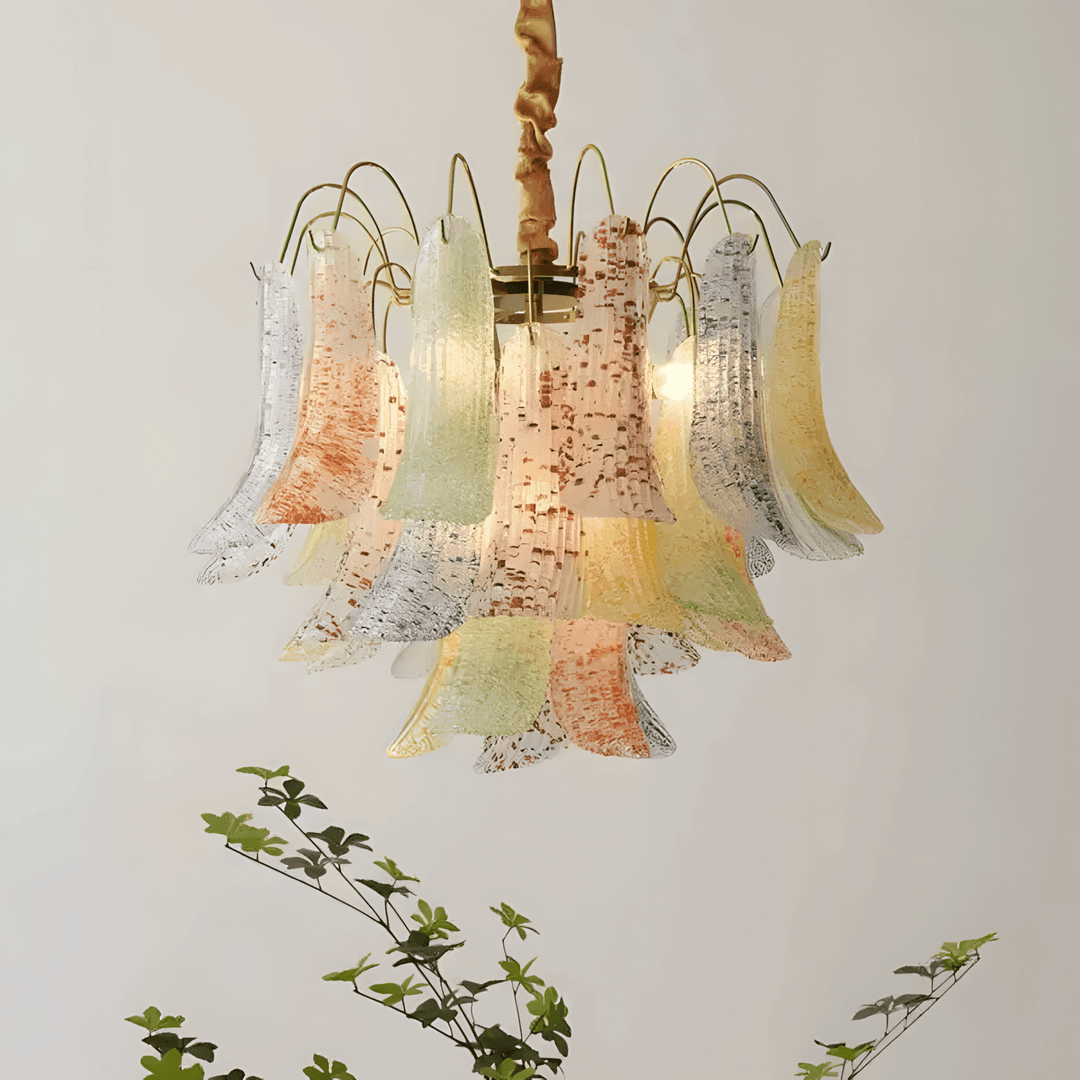
Talena Ceiling Light
Vin-CE02901
- In stock, ready to ship
Coupon Code: 2026 | Summer Glow Sale - Enjoy 10% Off All Lighting and Refresh Your Home for the Season.
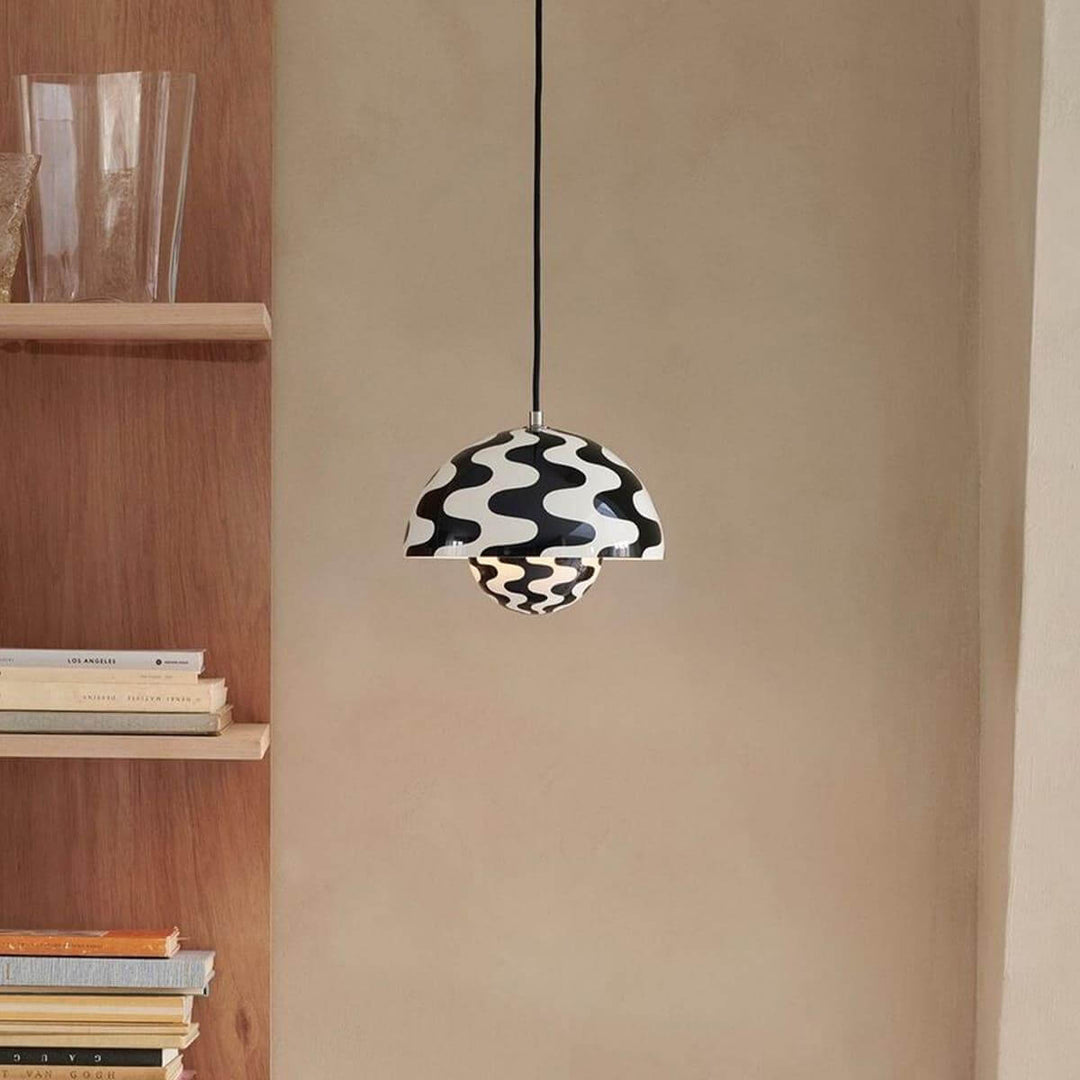
Pairs well with

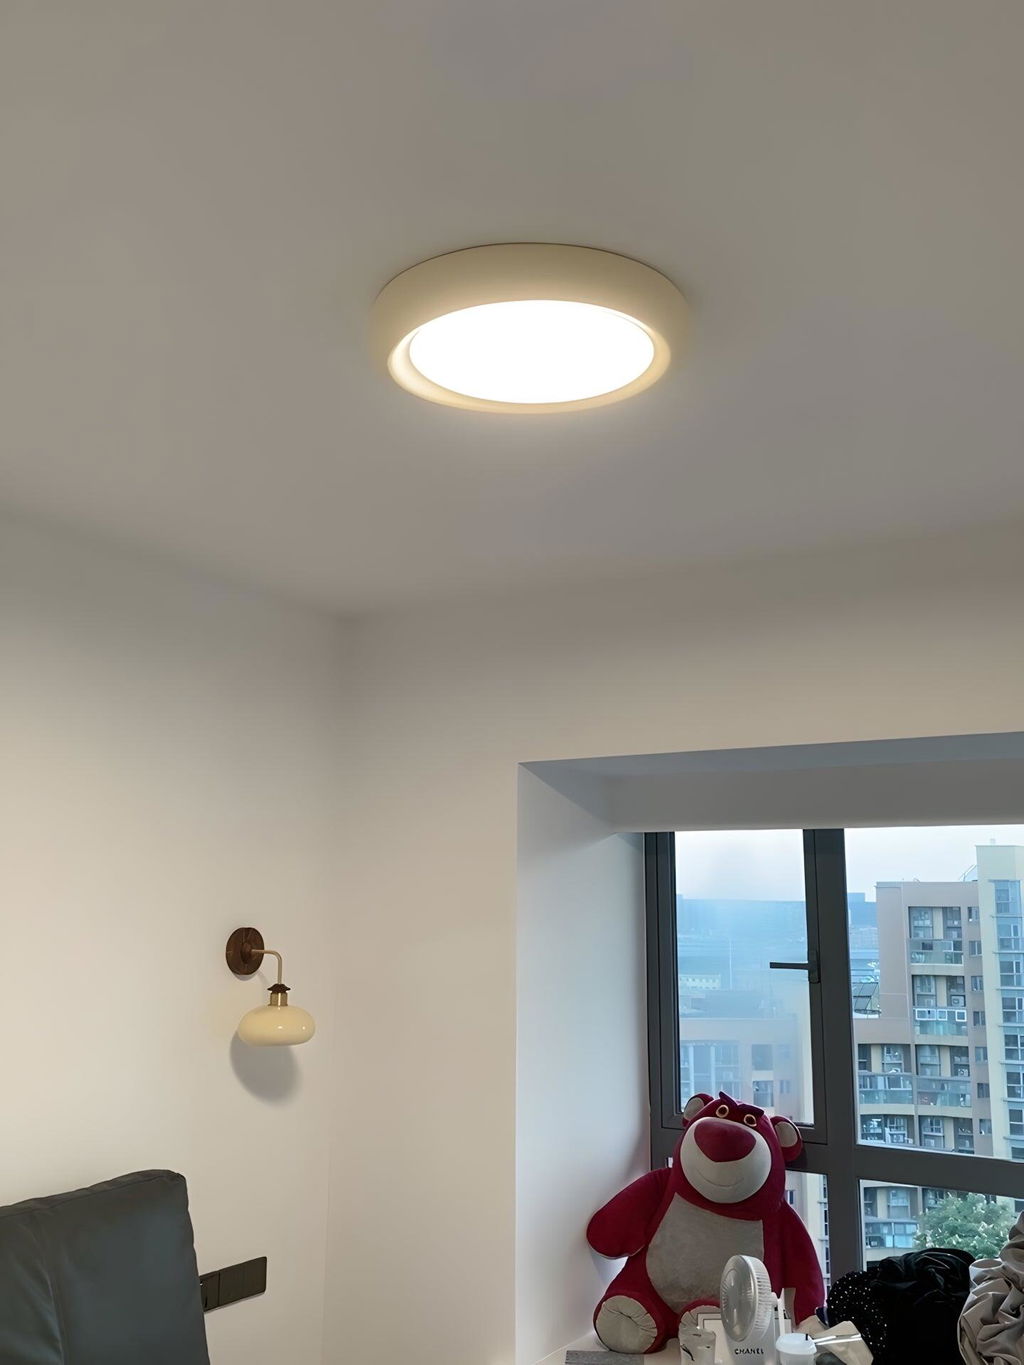
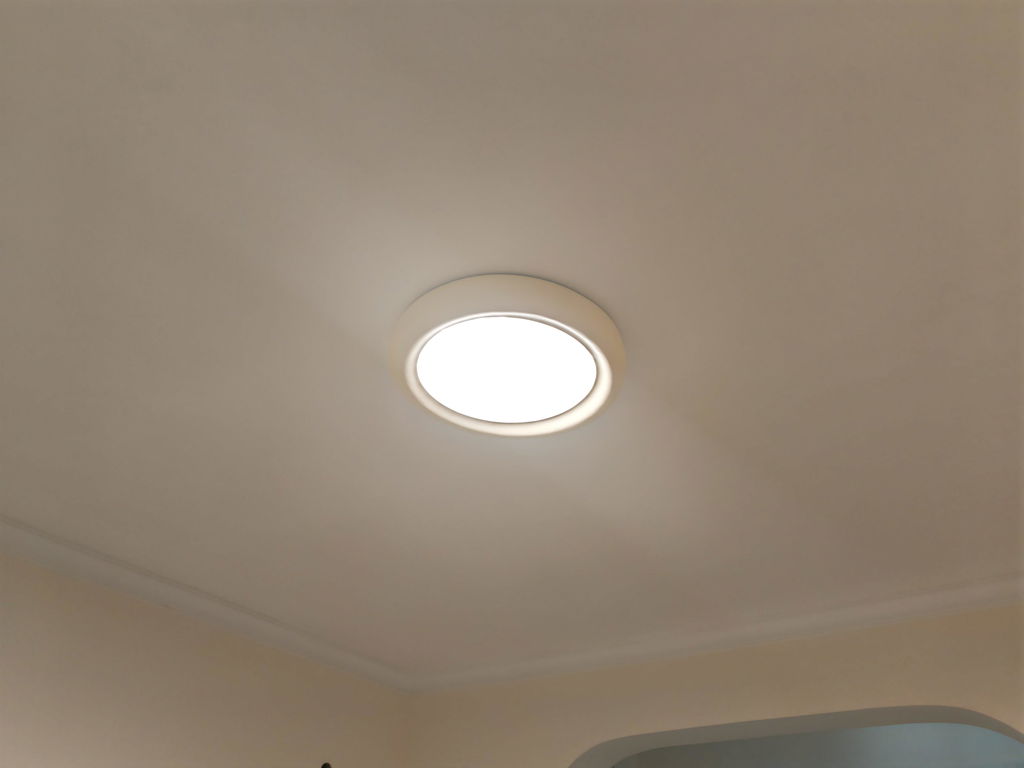
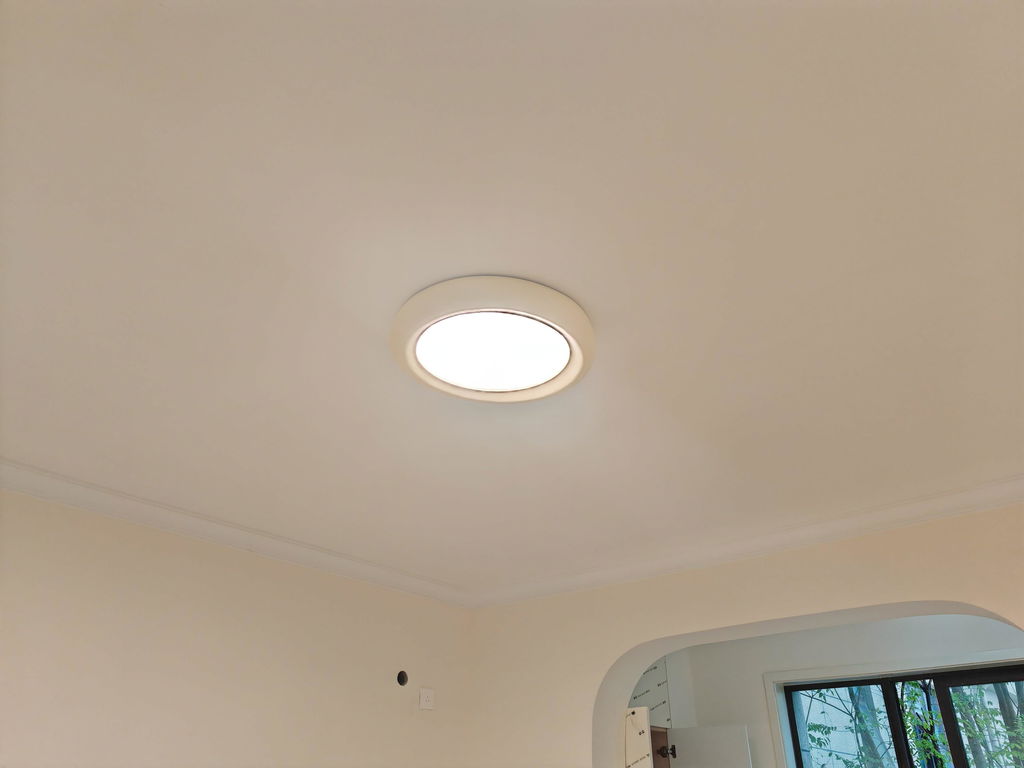
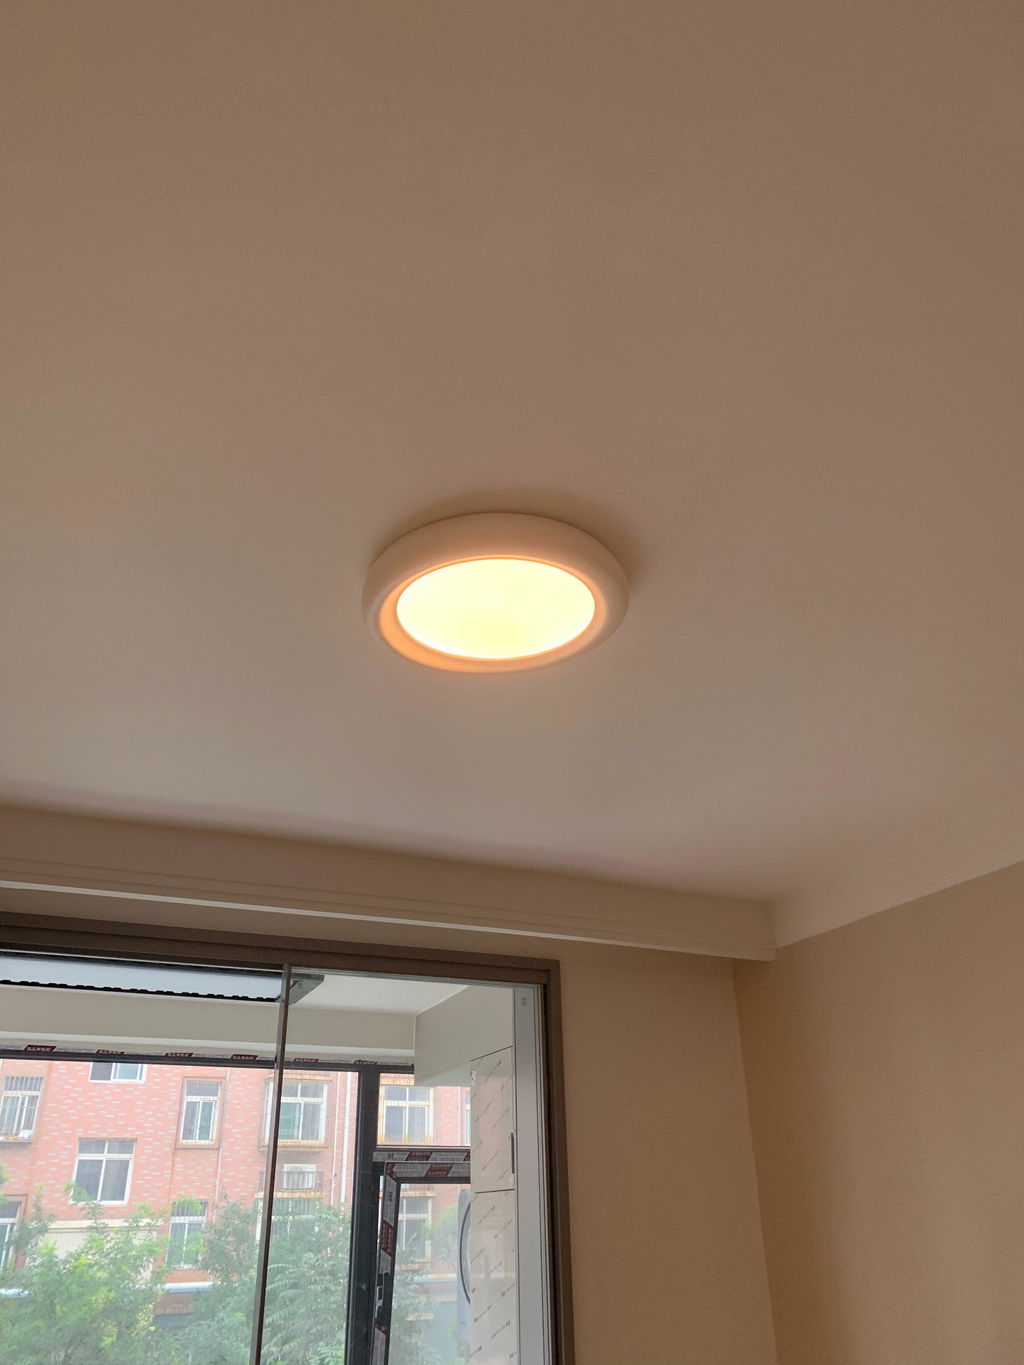
Elevate your space with the Talena Ceiling Light. Its soft cream hue creates a calm, relaxing atmosphere, making it the perfect choice for any room. Sophisticated yet comfortable, this light fixture adds a refined touch while providing a warm, inviting ambiance.
Size: Dia 30cm / Dia 11.8"

Size: Dia 40cm / Dia 15.7"

Size: Dia 50cm / Dia 19.6"

Size: Dia 60cm / Dia 23.6"

Size: L 100cm x W 9cm x H 76cm / L 39.3" x W 29.9" x H 3.5"

Shipping Made Simple
We’ve got you covered with easy and reliable shipping options:
- Free Standard Shipping (4-6 Weeks): Available for all orders in the US and Canada.
- Expedited Shipping (2-4 Weeks): Faster delivery is available—check our Shipping Policy for costs.
Hassle-Free Returns
Your satisfaction is our priority! If you’re not completely happy with your purchase, you can return it within 30 days in new and unused condition for a full refund. (Please note: Paid shipping fees are non-refundable as fulfillment has already been completed.)
To start a return, just email our support team at service@vinlighting.com, and we’ll walk you through the process step by step. For more details, visit our Returns Policy.
Shop with confidence, knowing we’re here to make things right!