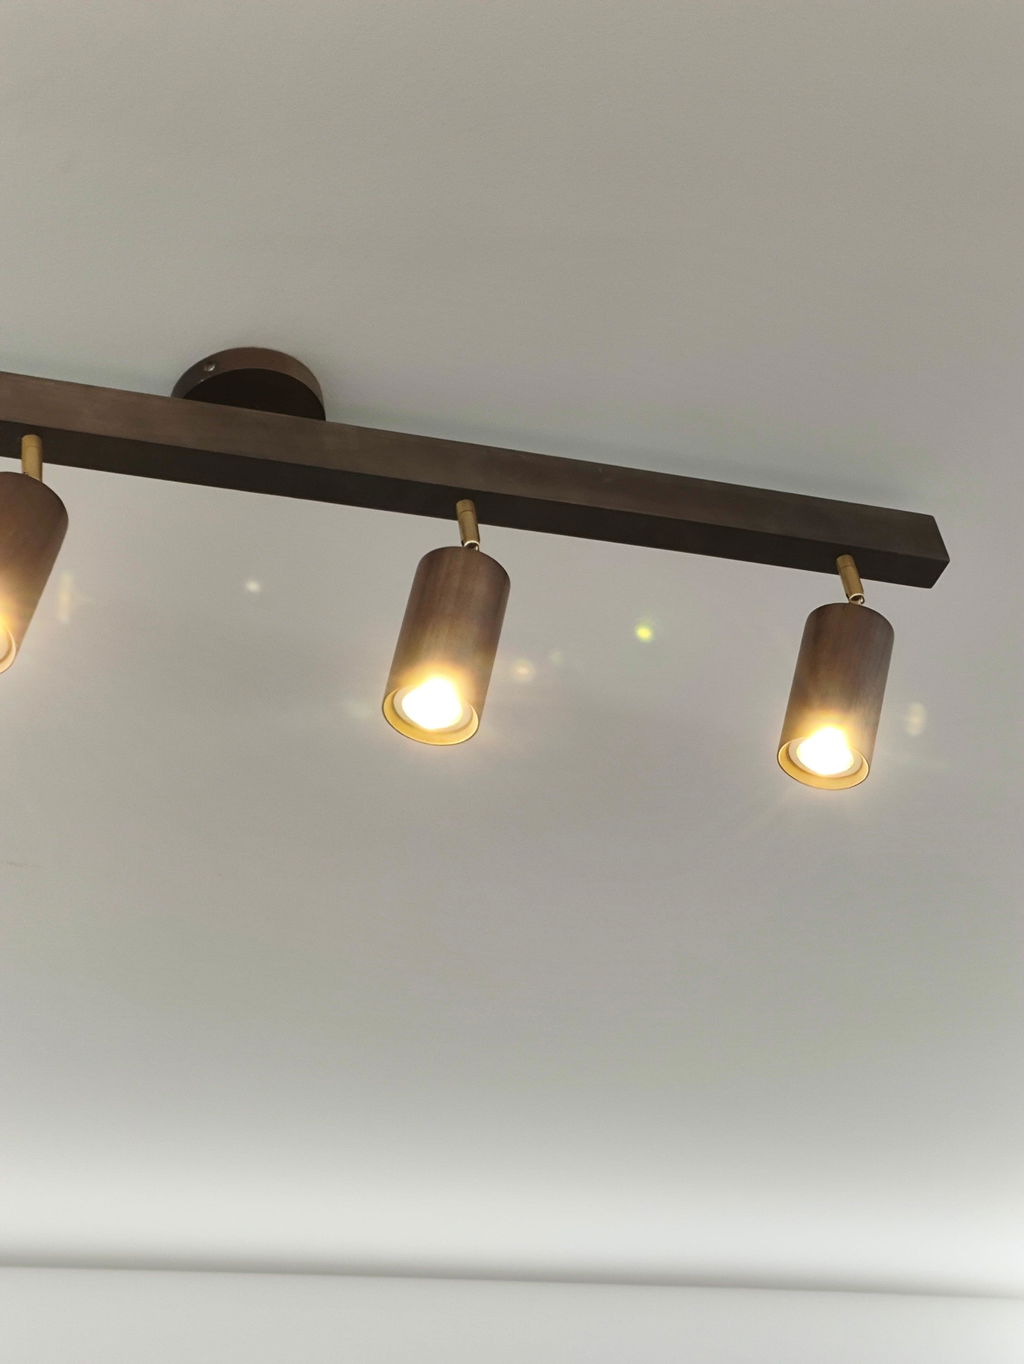
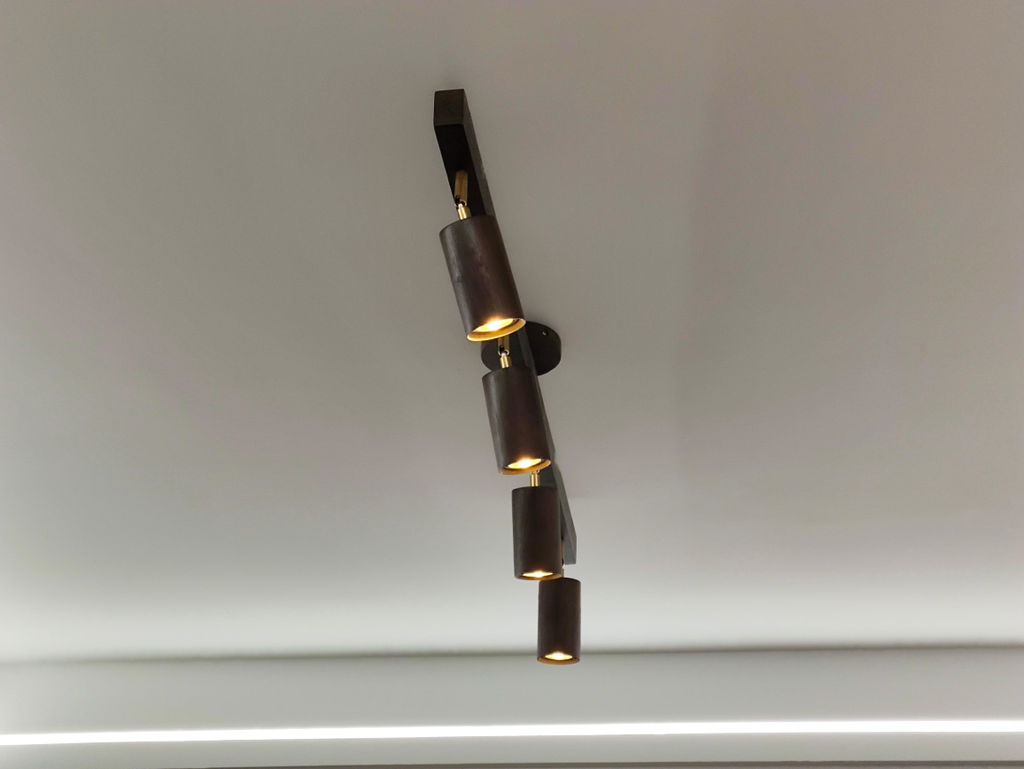
Merlo Wood Track Lighting
Vin-CE01209
- In stock, ready to ship
Coupon Code: 2026 | Summer Glow Sale - Enjoy 10% Off All Lighting and Refresh Your Home for the Season.
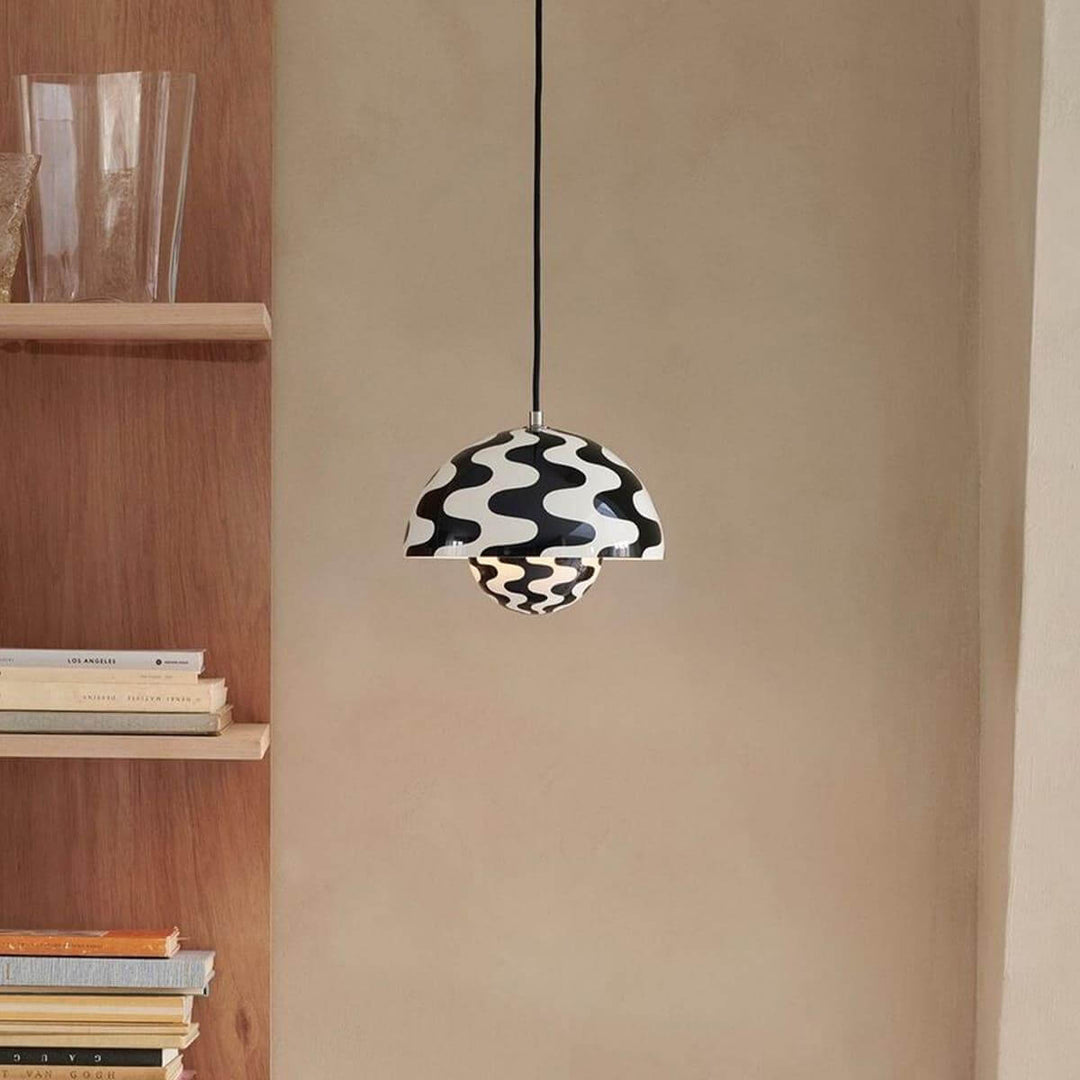
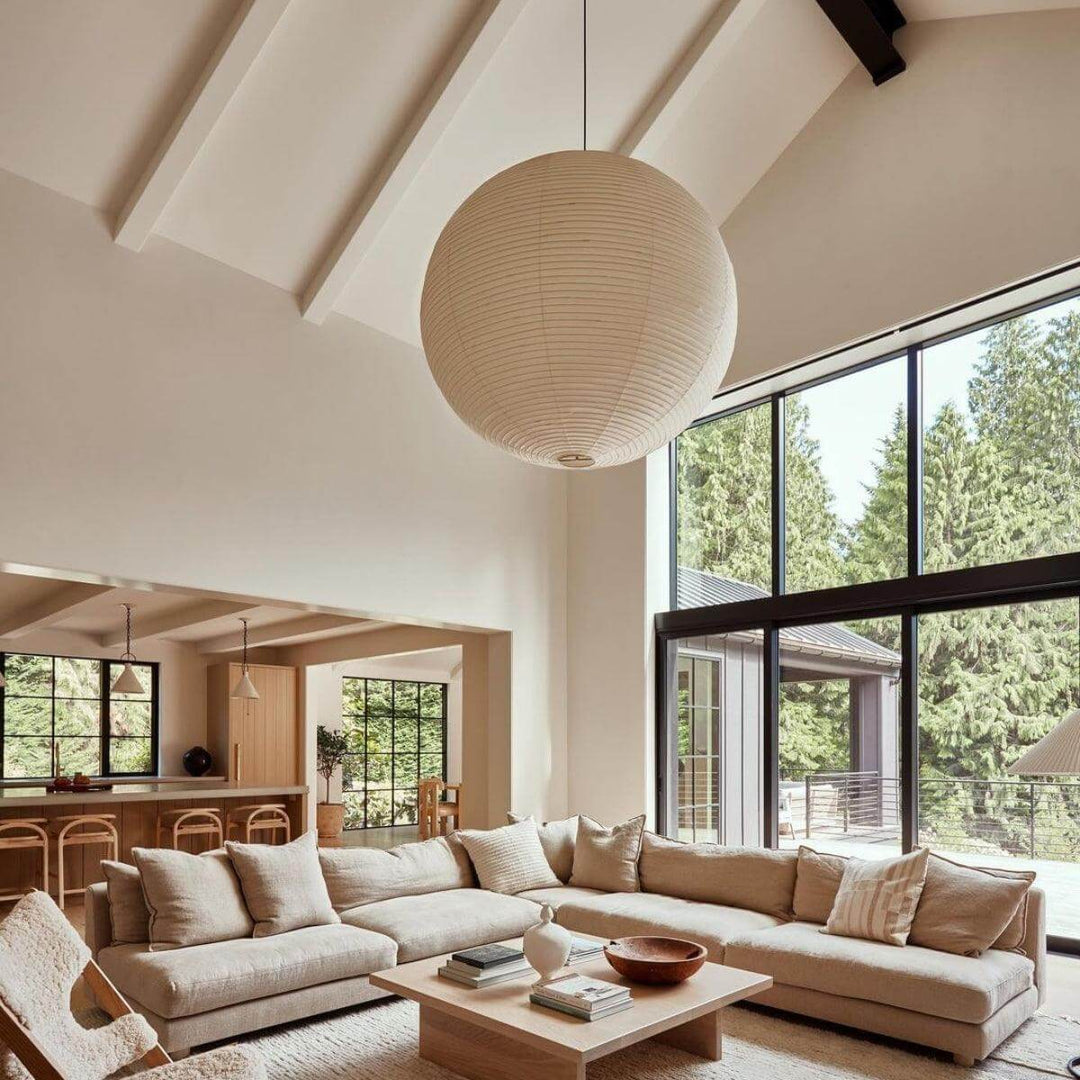
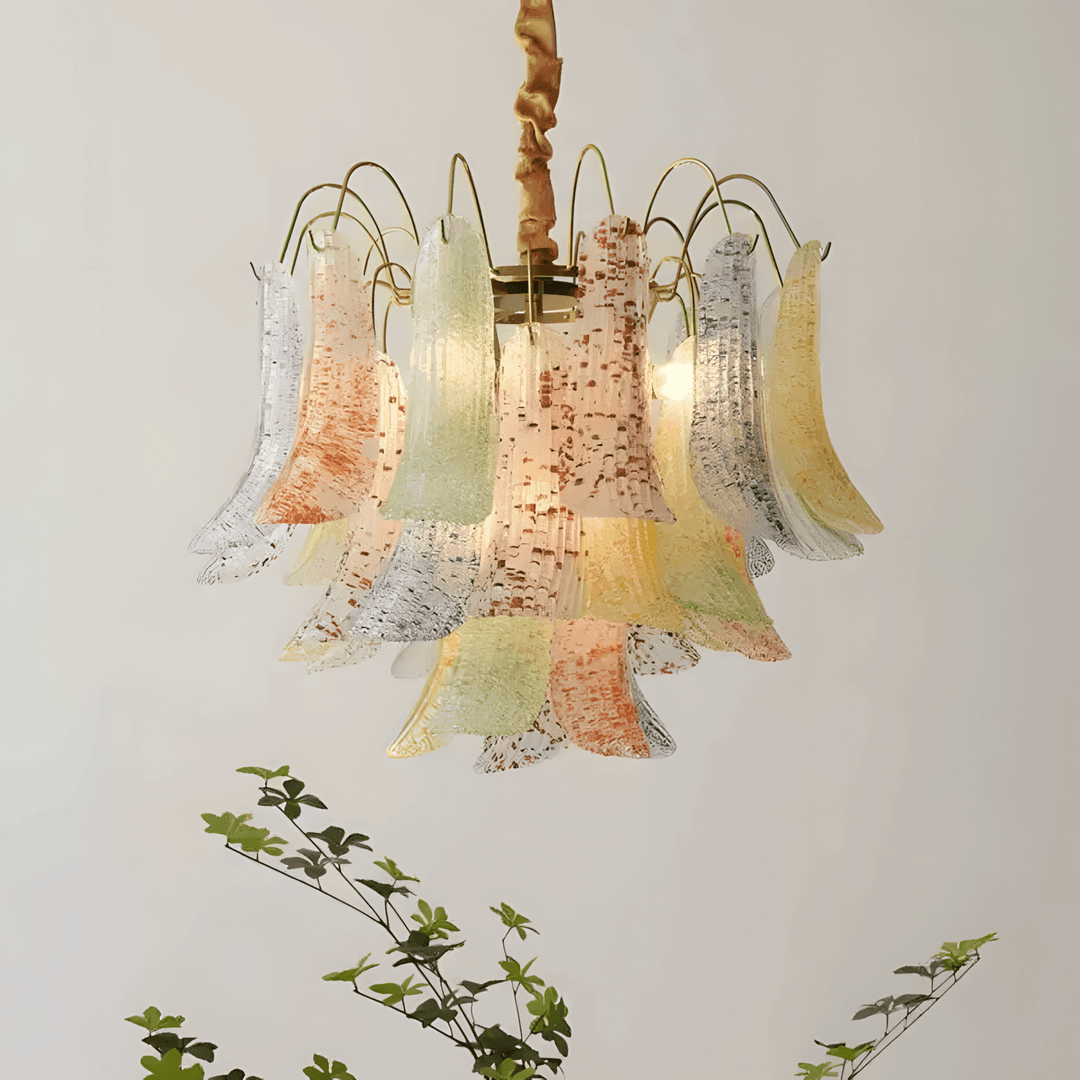
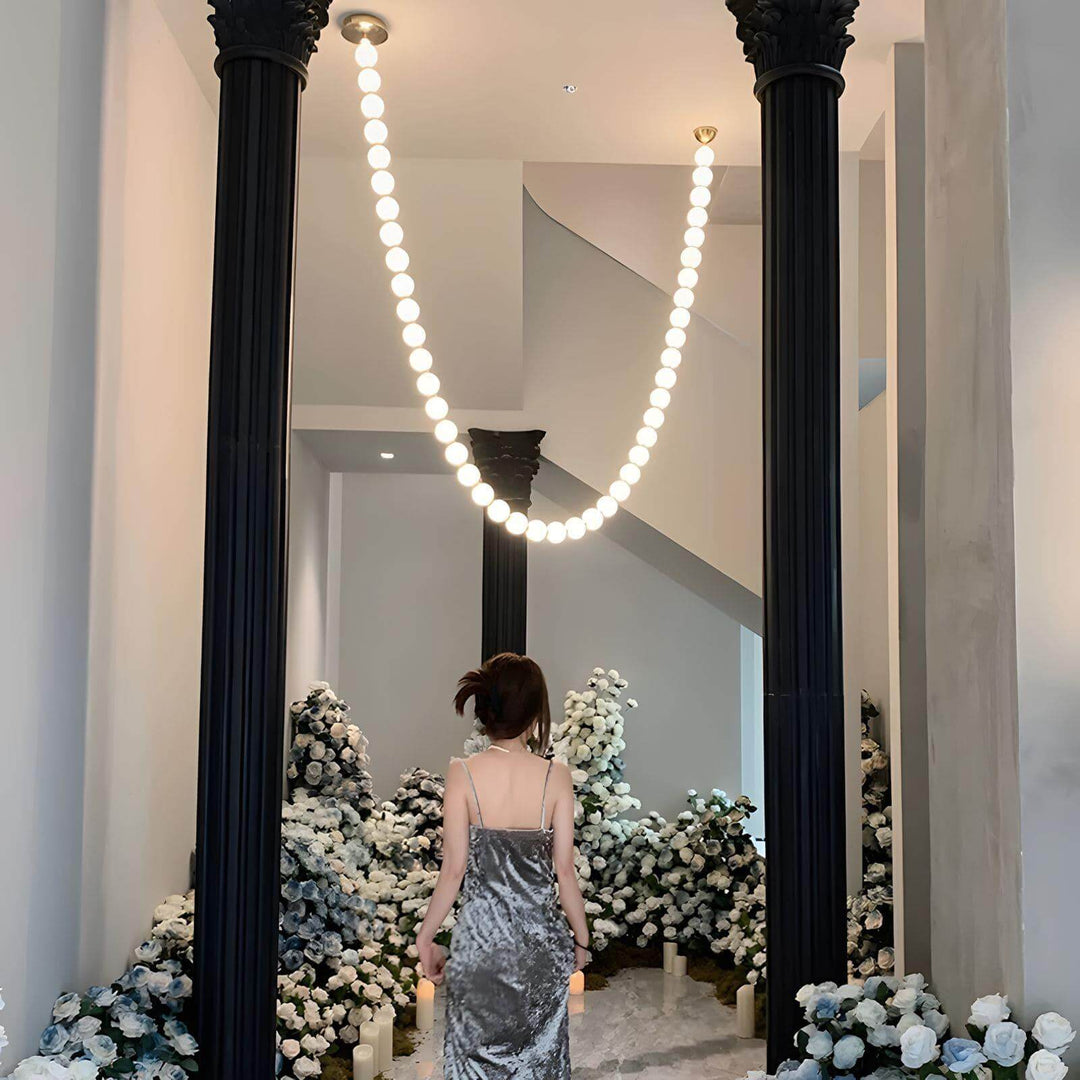
Pairs well with

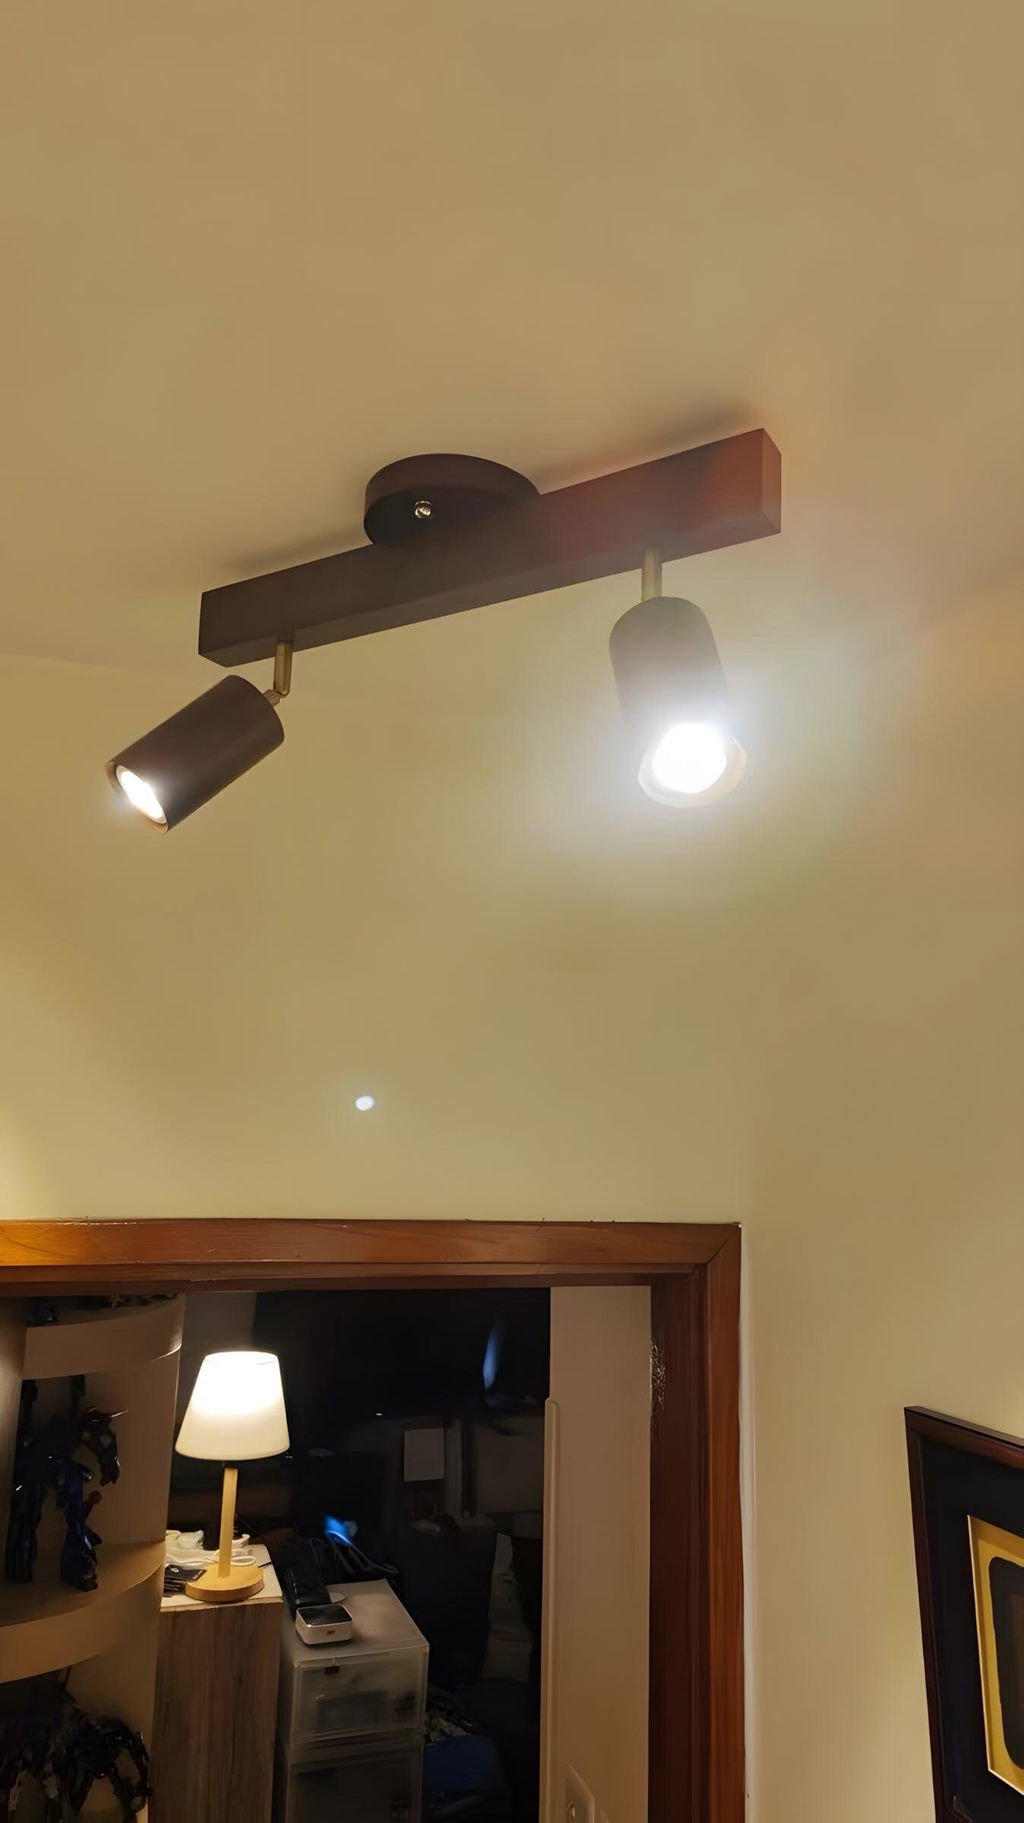
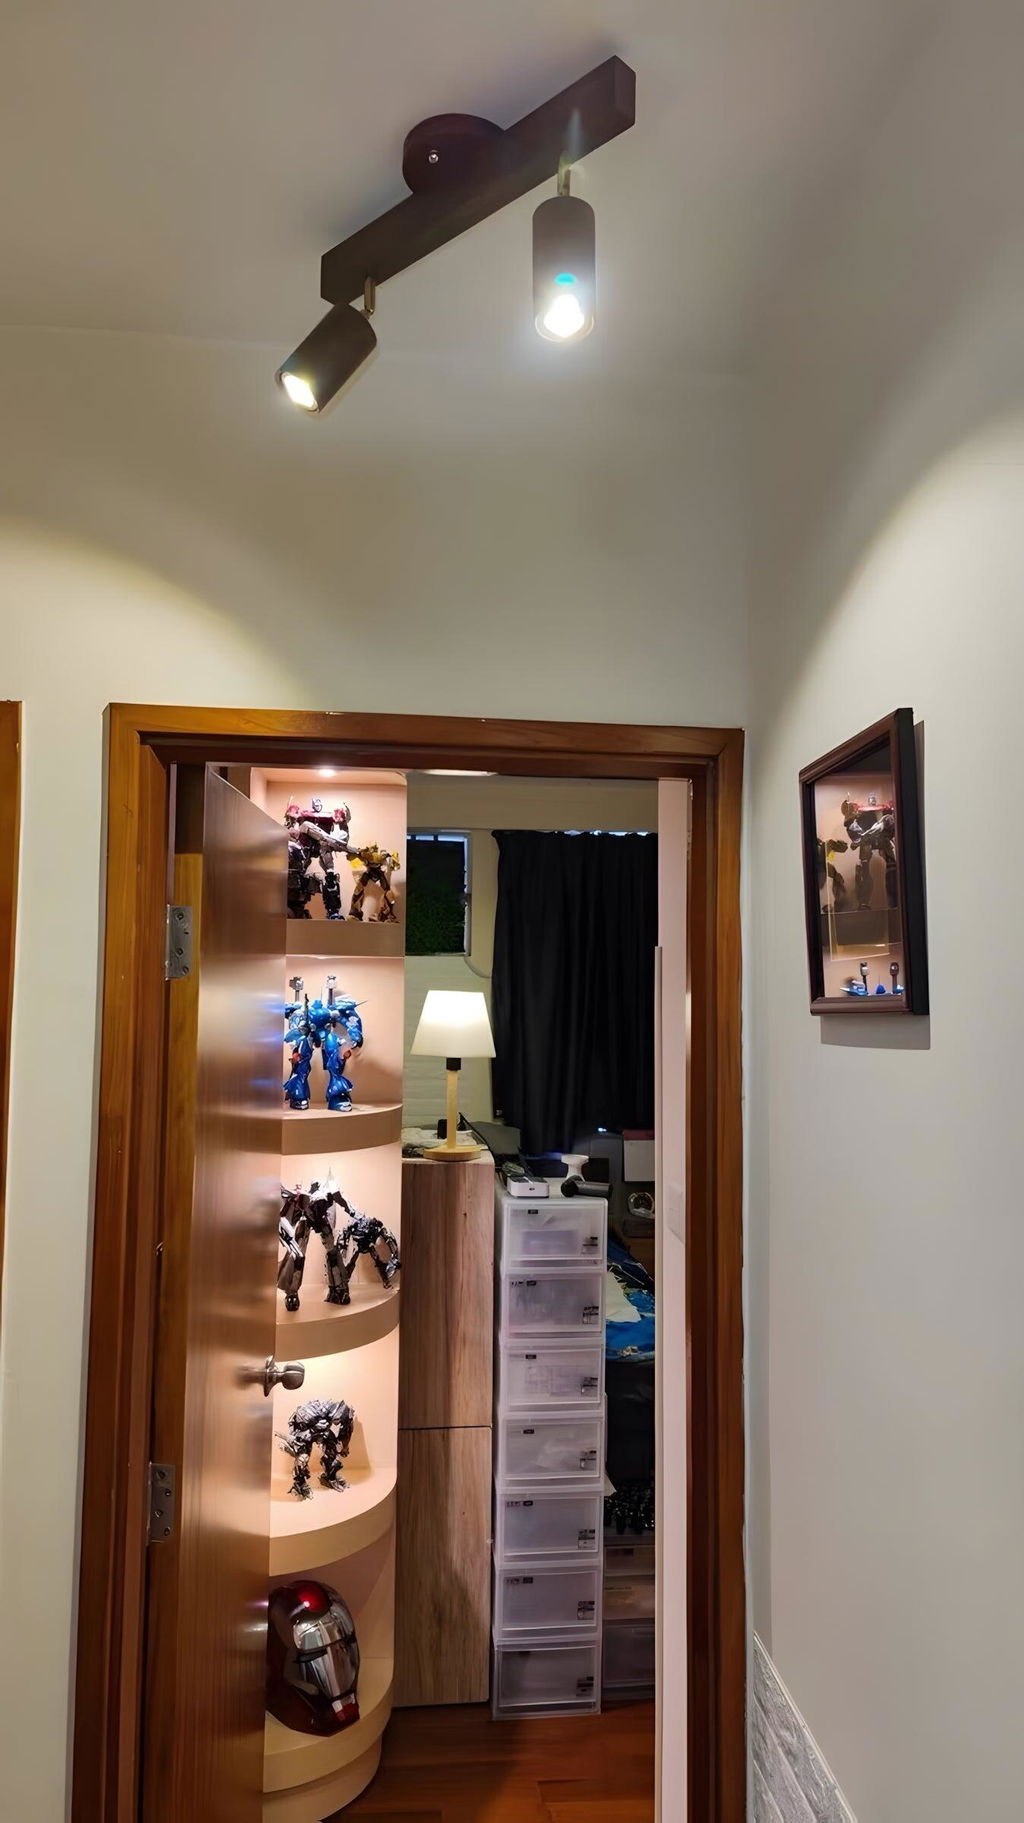
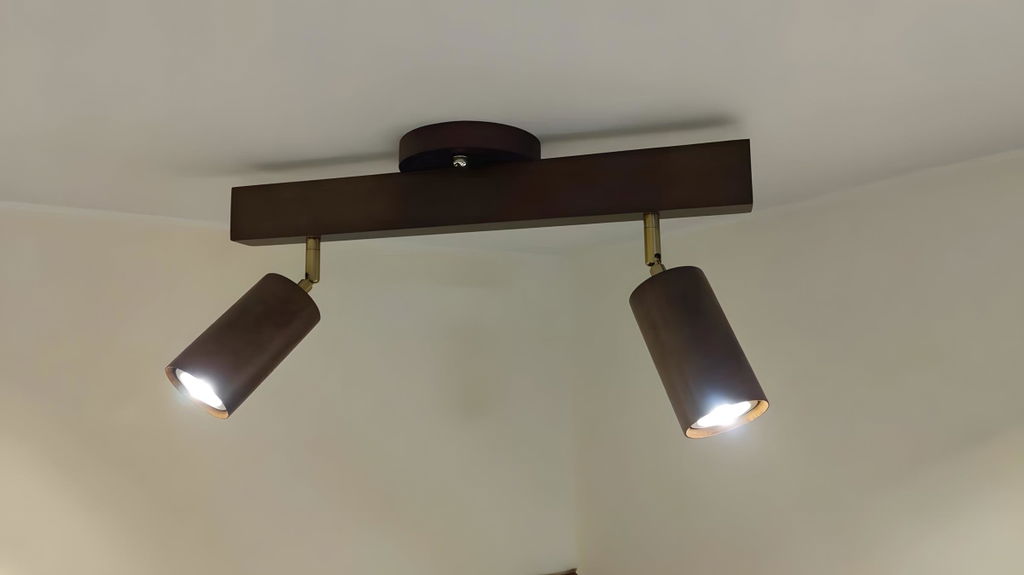
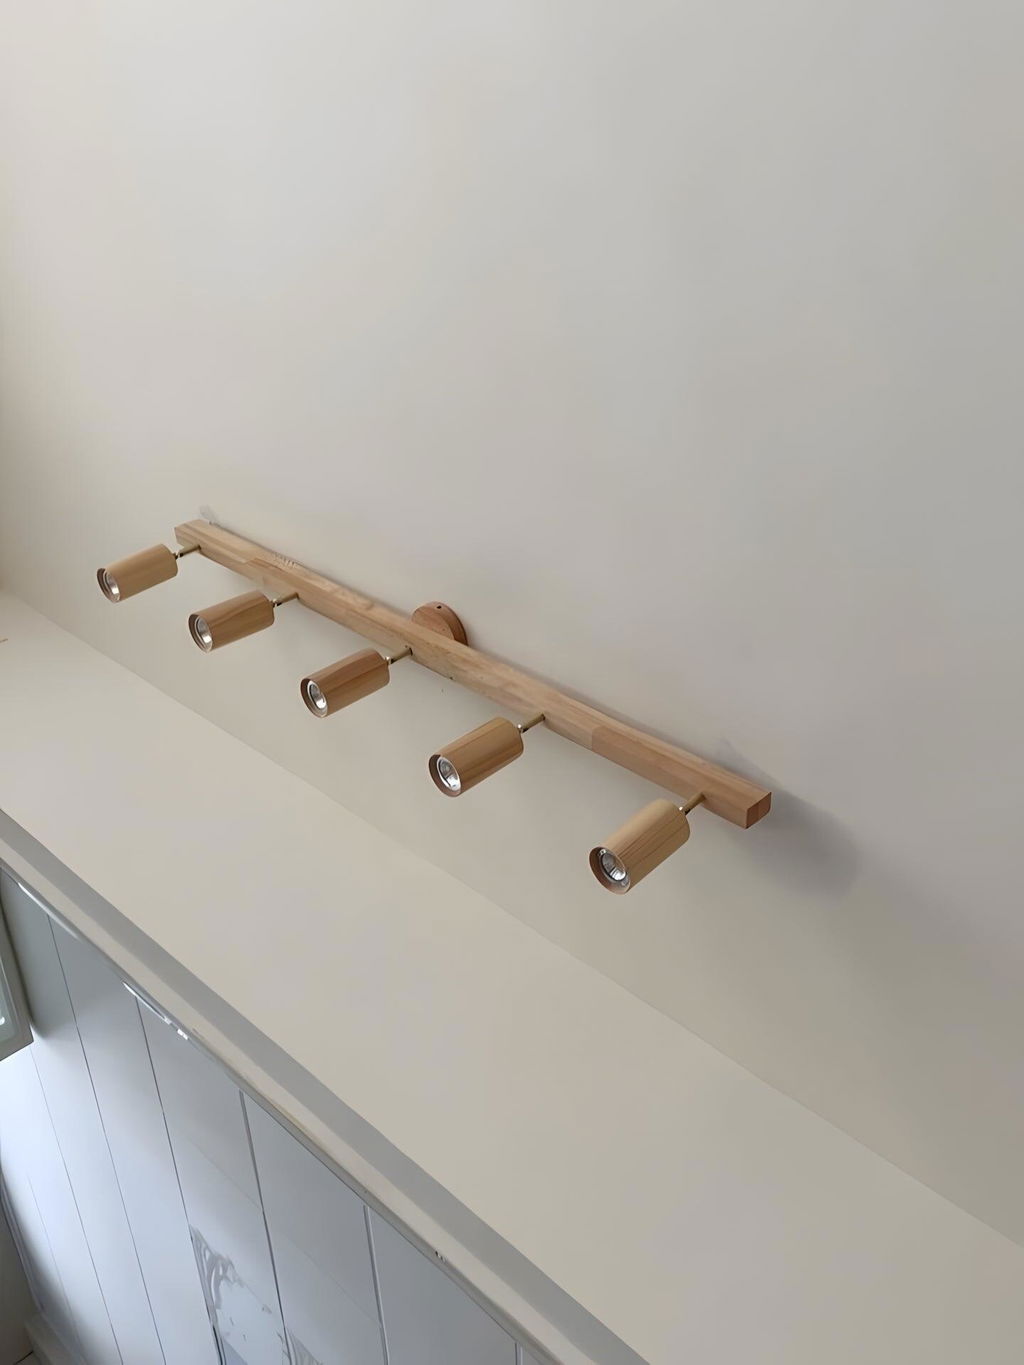
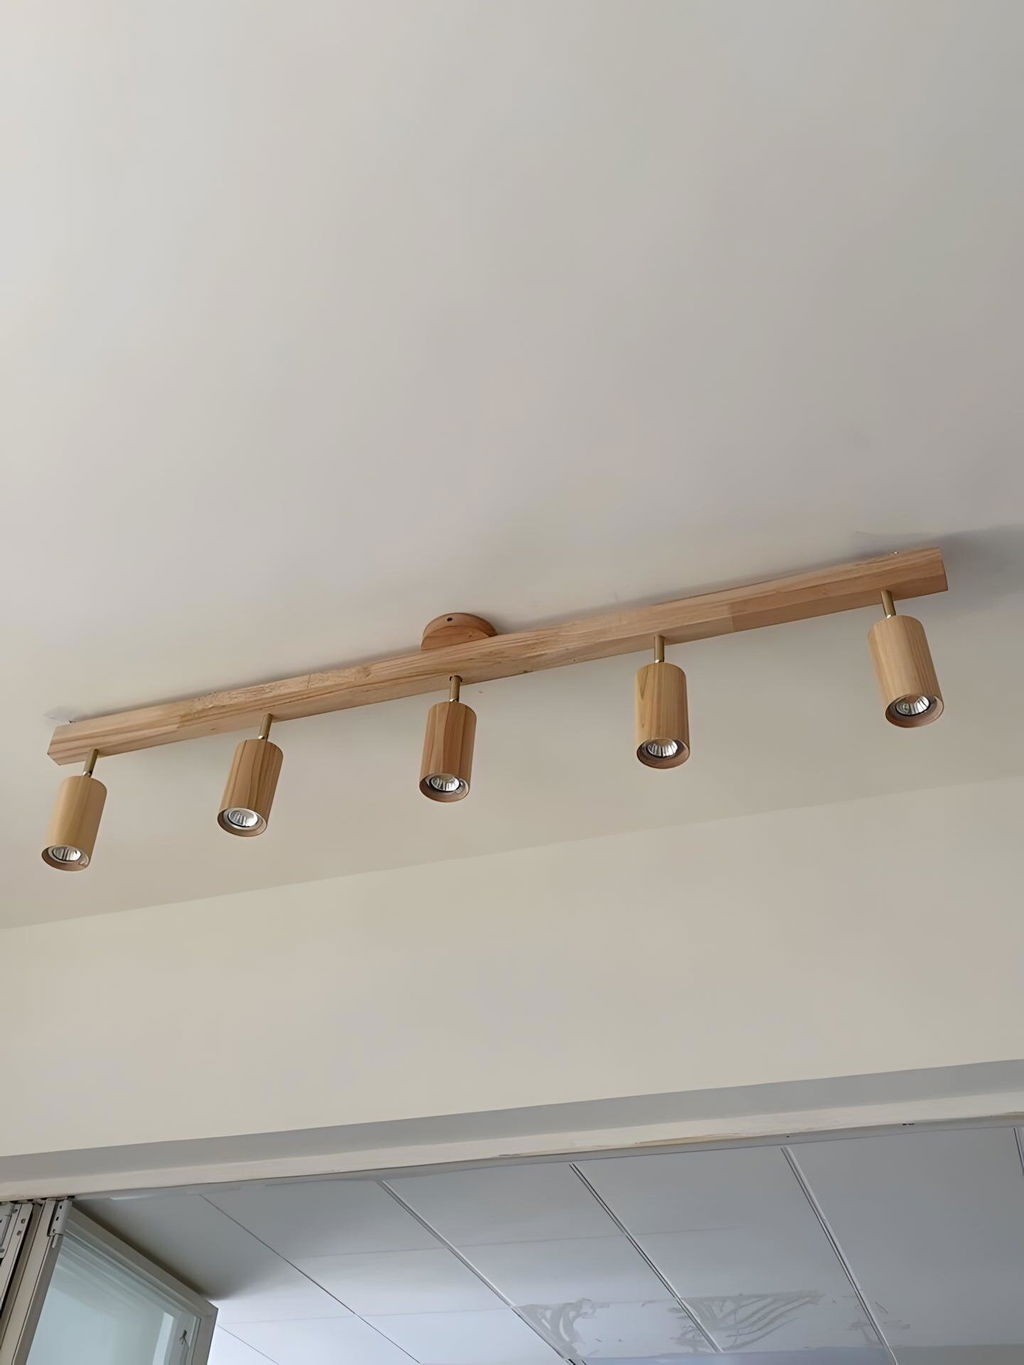
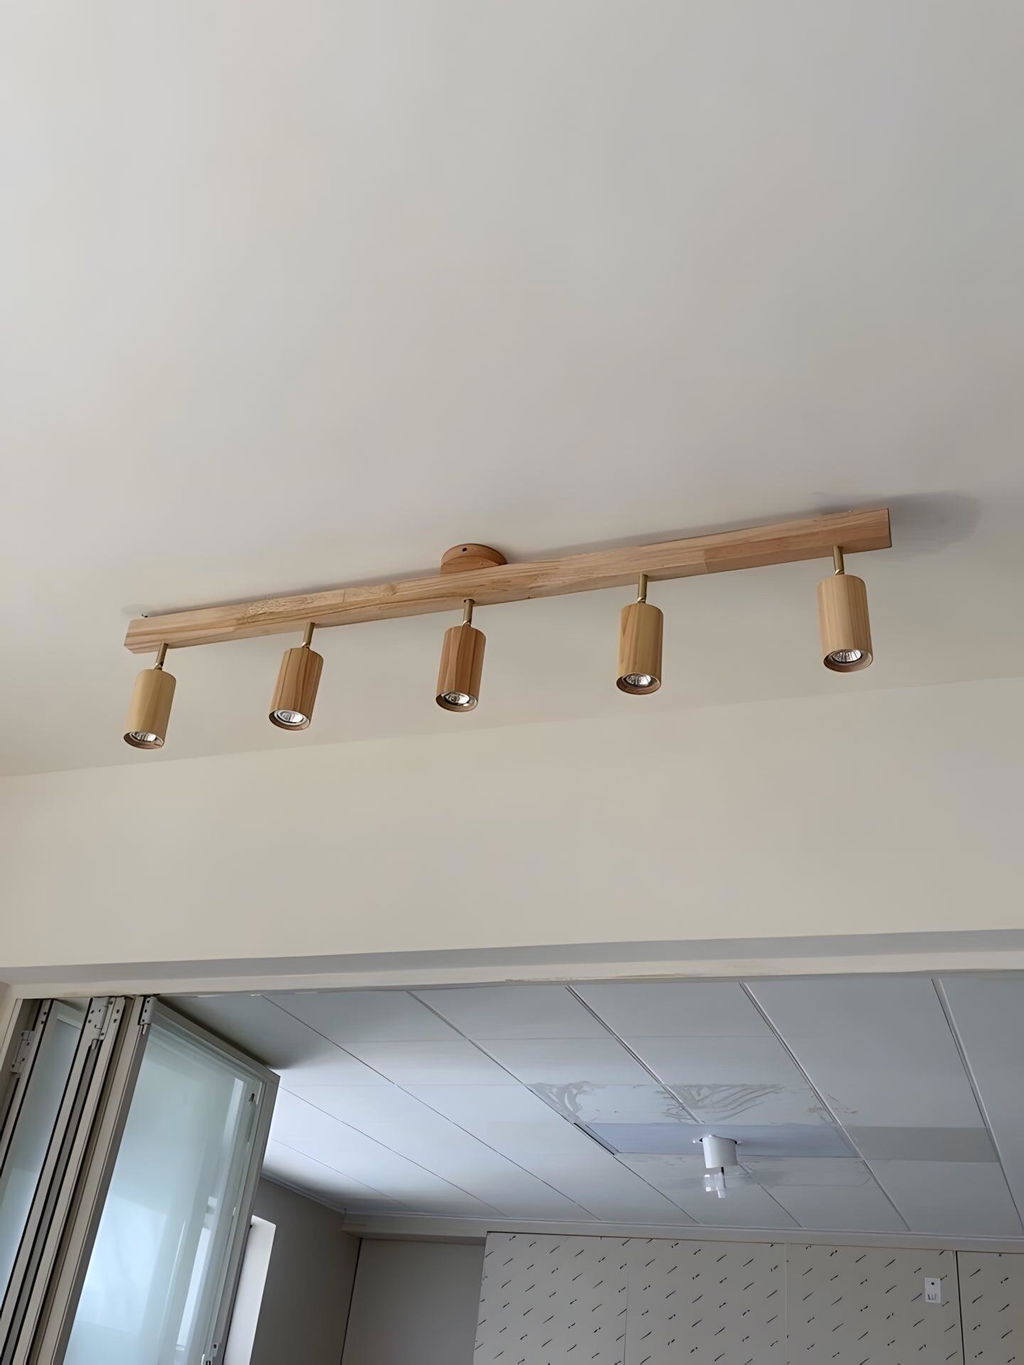
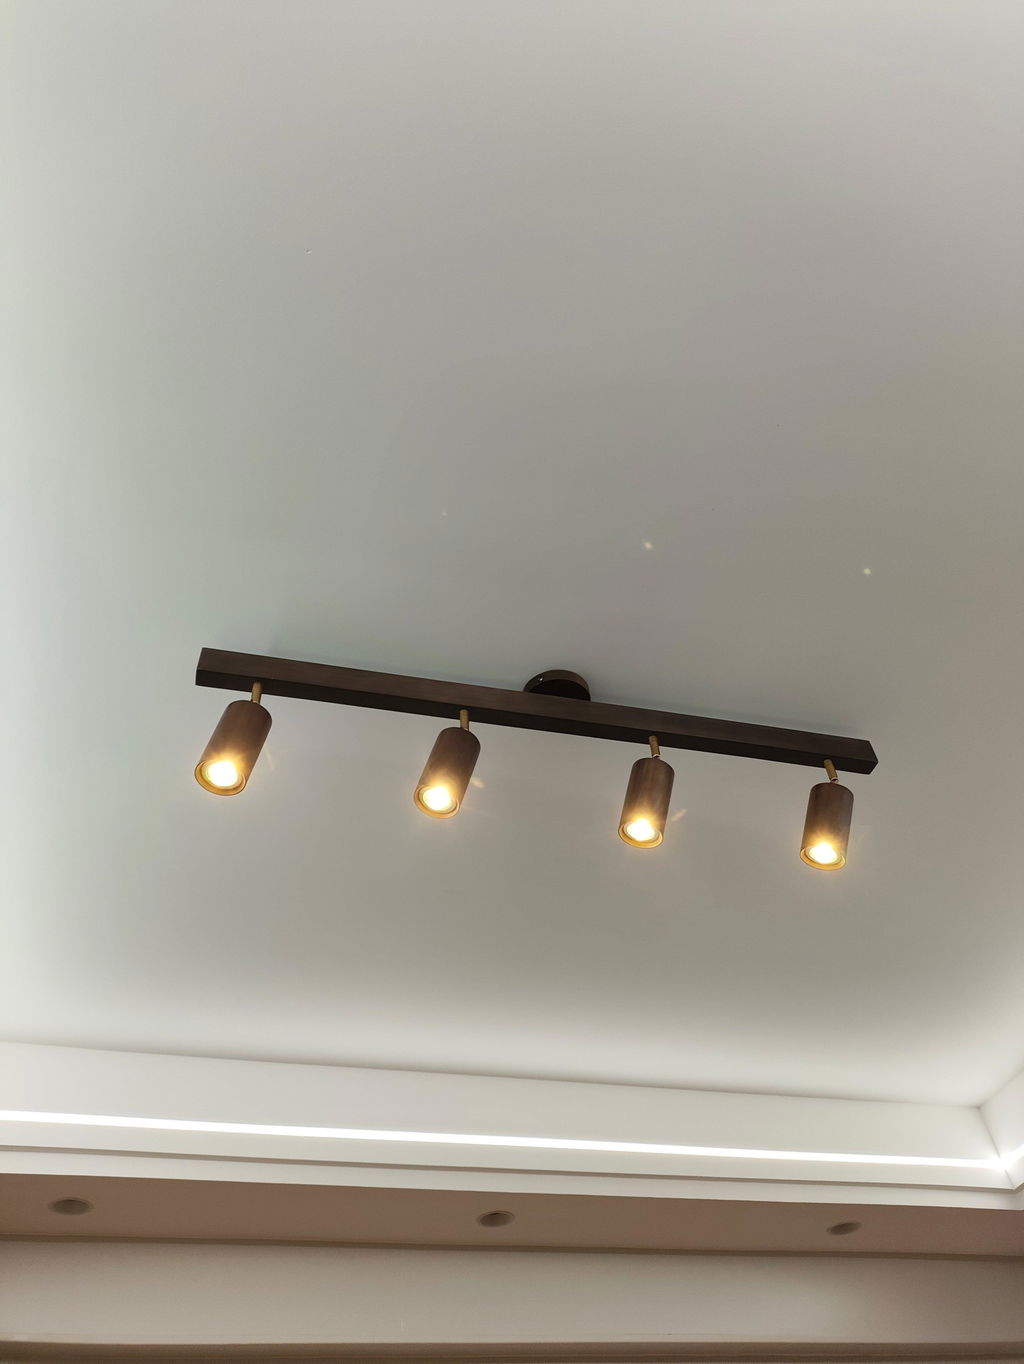
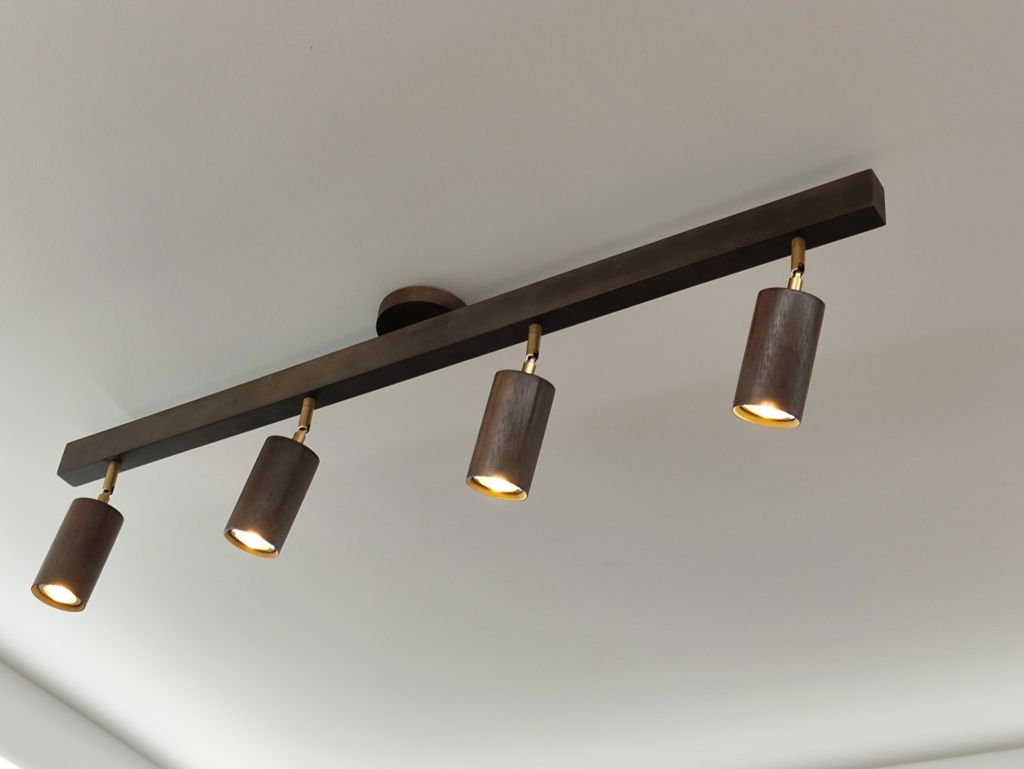
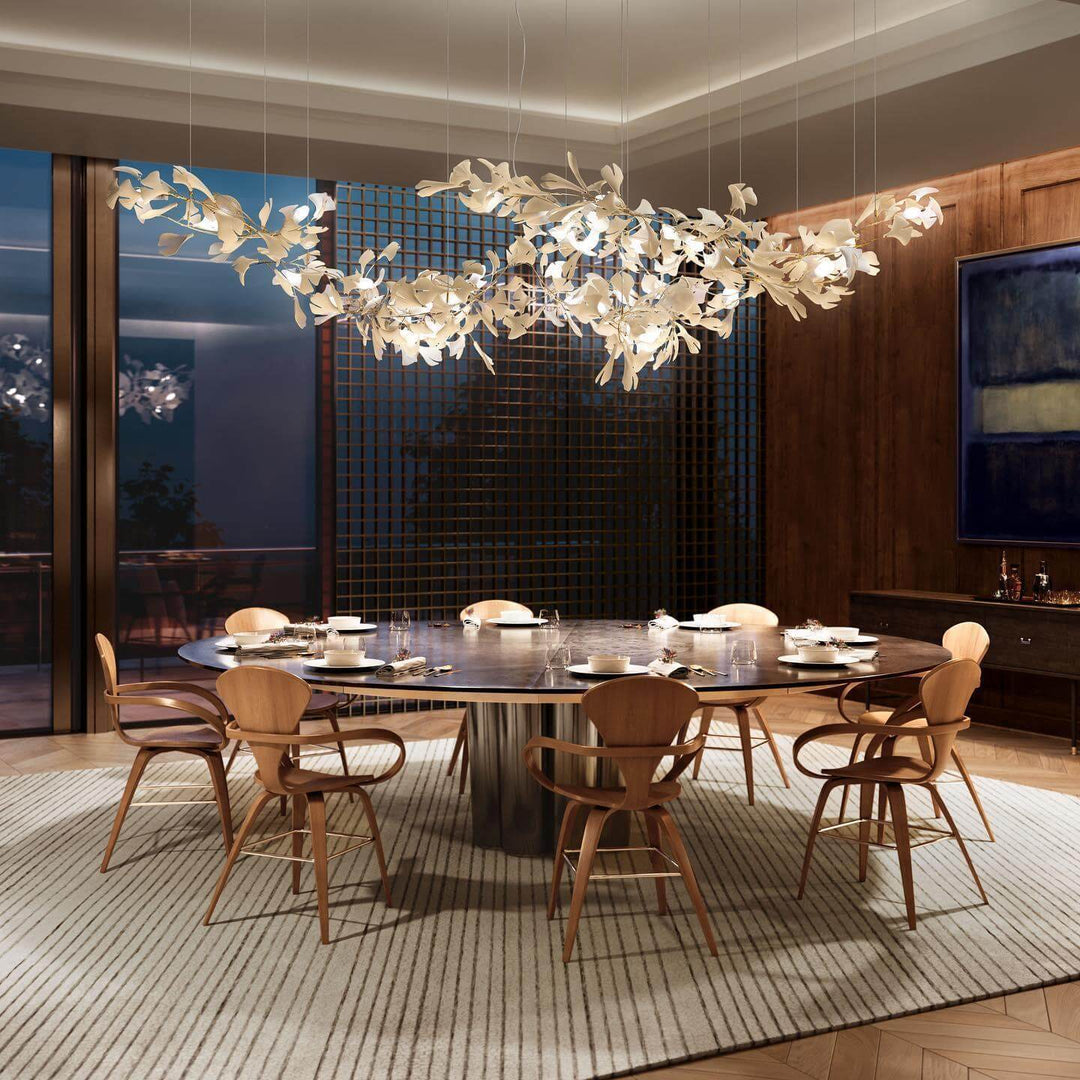
Merlo Wood Track Lighting brings focused ceiling lighting to kitchens, bar areas, and task zones without losing warmth. Its slim linear form, adjustable spotlight heads, and choice of Walnut Color or Wood Color help the fixture feel intentional, not purely functional. Choose from five lengths and warm, cool, or three-color light options to match your layout and preferred tone.
Size: L 7cm x H 17cm / L 2.8" x H 6.7"

Size: L 42cm x H 22cm / L 16.5" x H 8.6"

Size: L 80cm x H 22cm / L 31.4" x H 8.6"

Size: L 100cm x H 22cm / L 39.3" x H 8.6"

Size: L 120cm x H 22cm / L 47.2" x H 8.6"

Shipping Made Simple
We’ve got you covered with easy and reliable shipping options:
- Free Standard Shipping (4-6 Weeks): Available for all orders in the US and Canada.
- Expedited Shipping (2-4 Weeks): Faster delivery is available—check our Shipping Policy for costs.
Hassle-Free Returns
Your satisfaction is our priority! If you’re not completely happy with your purchase, you can return it within 30 days in new and unused condition for a full refund. (Please note: Paid shipping fees are non-refundable as fulfillment has already been completed.)
To start a return, just email our support team at service@vinlighting.com, and we’ll walk you through the process step by step. For more details, visit our Returns Policy.
Shop with confidence, knowing we’re here to make things right!