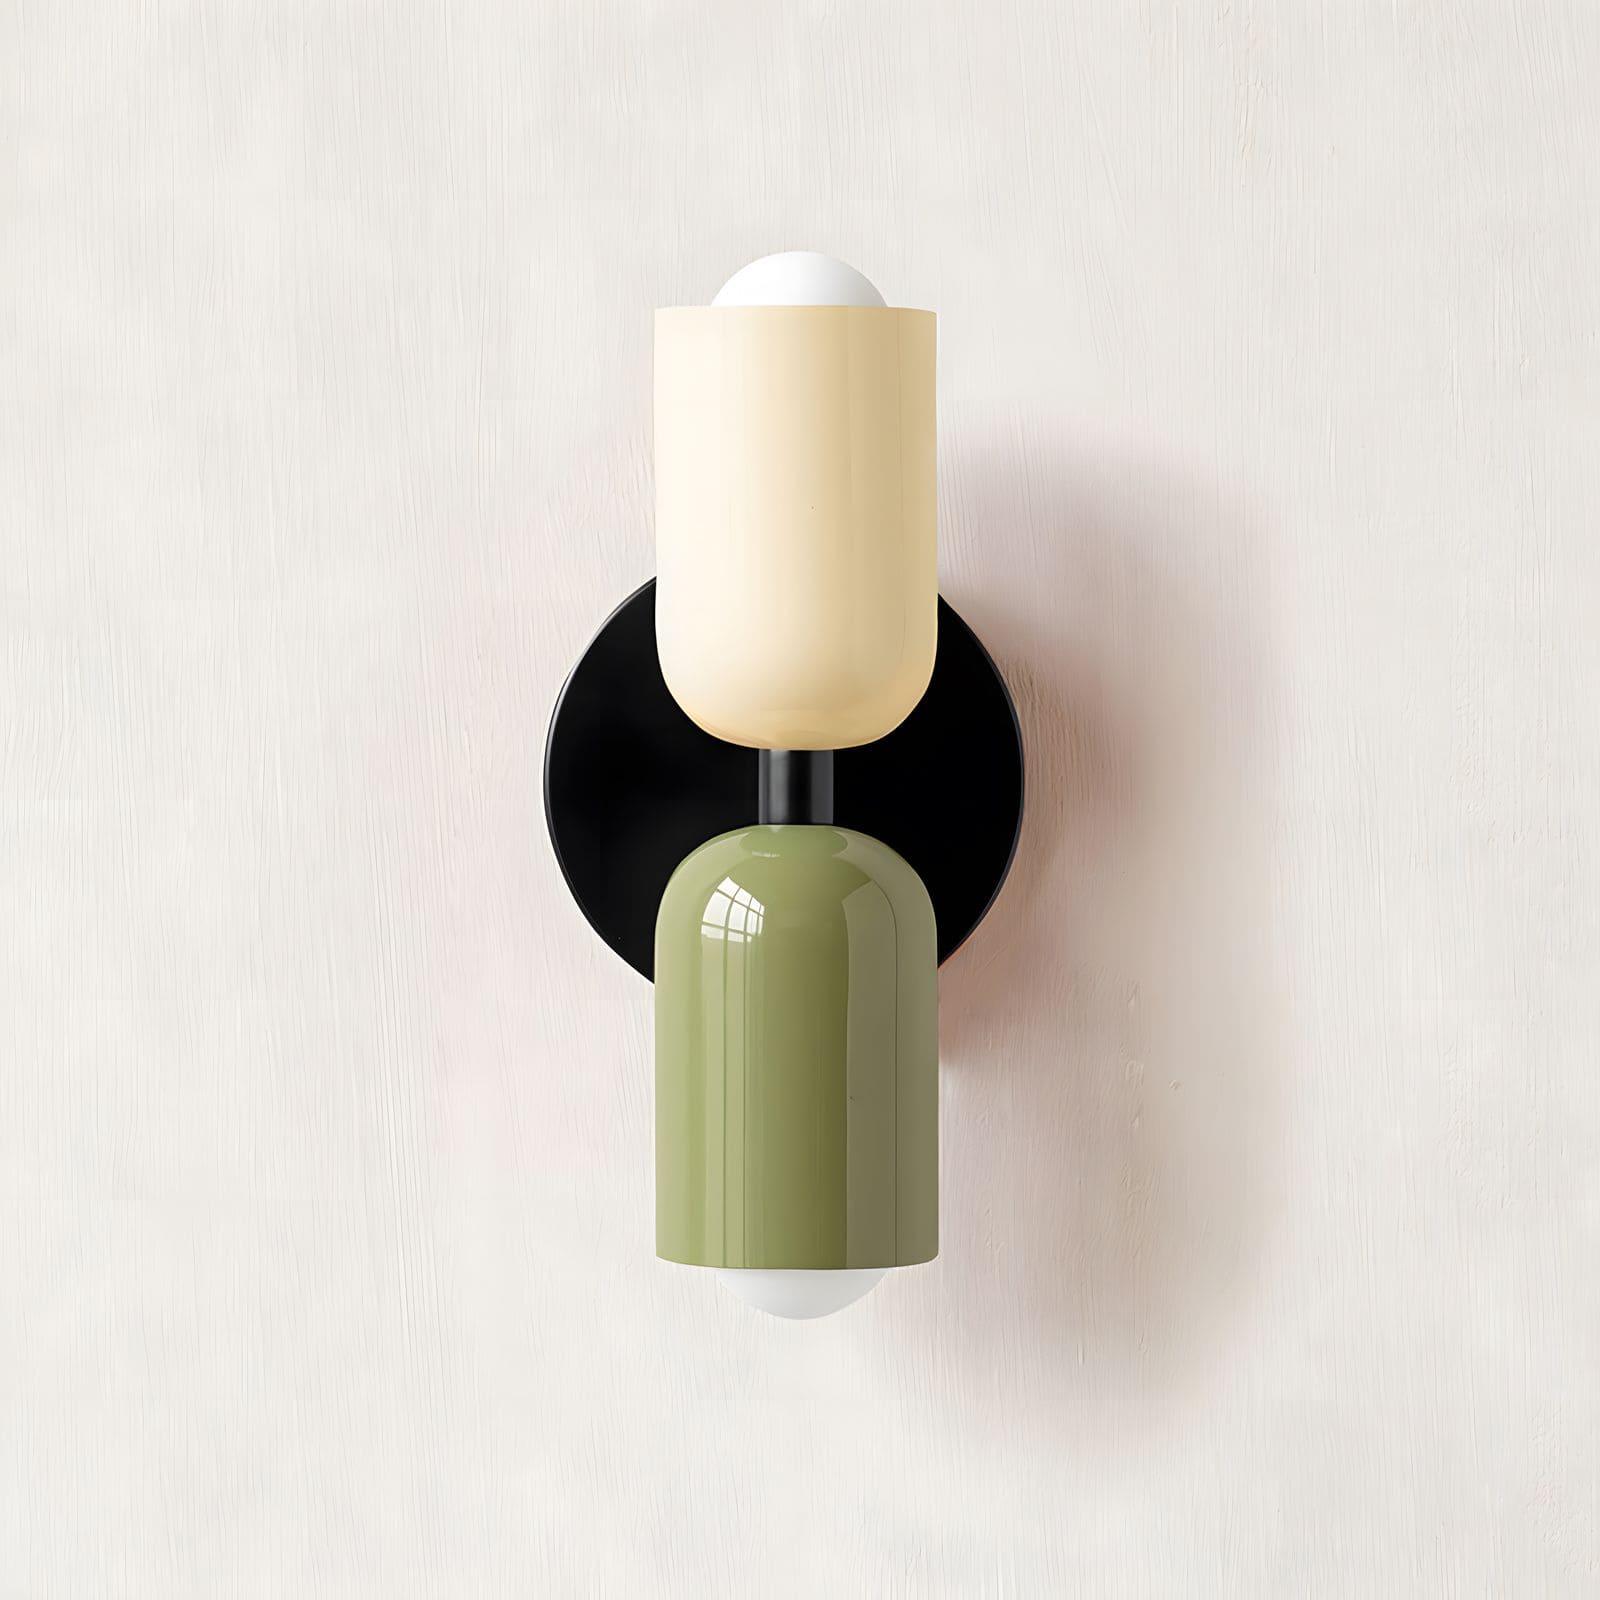
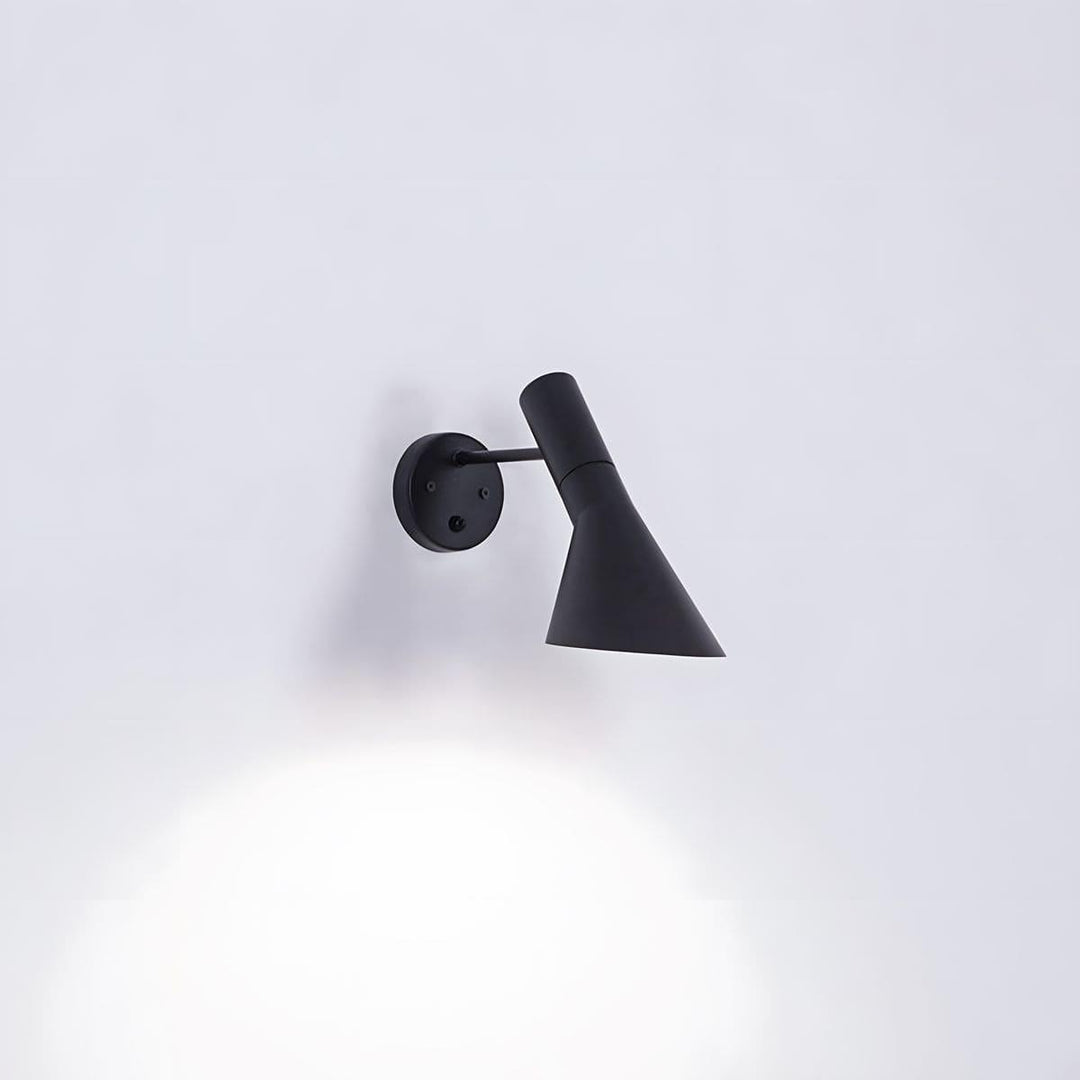
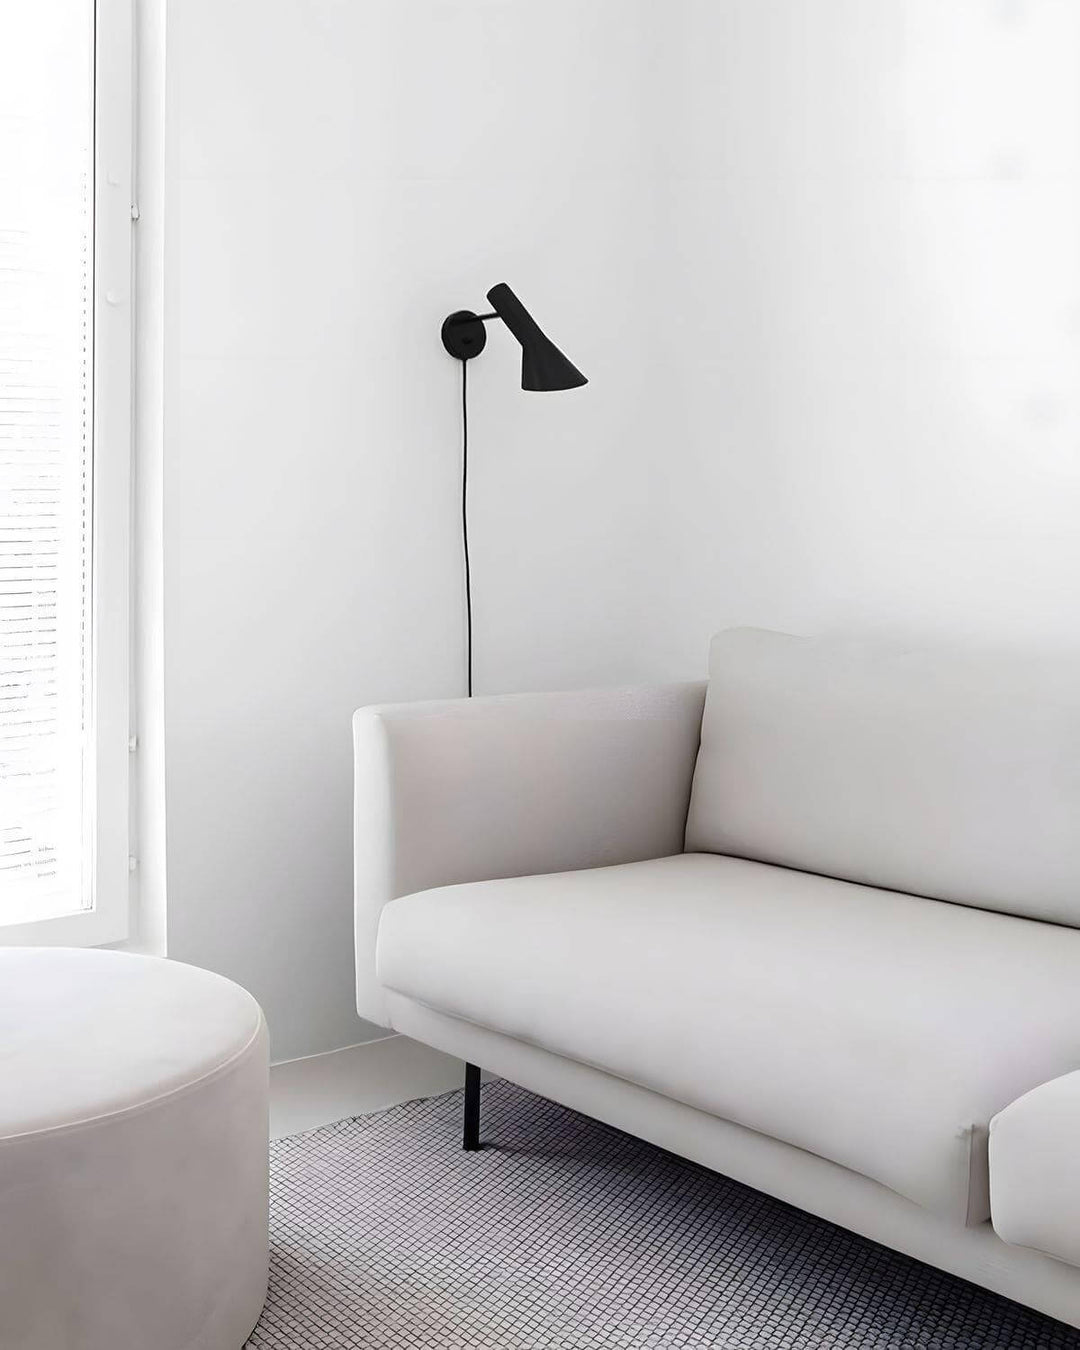
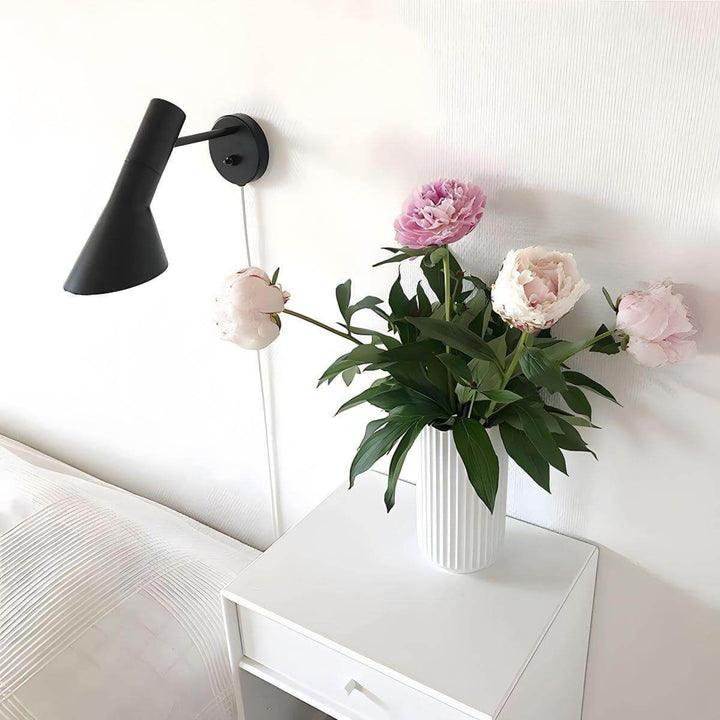
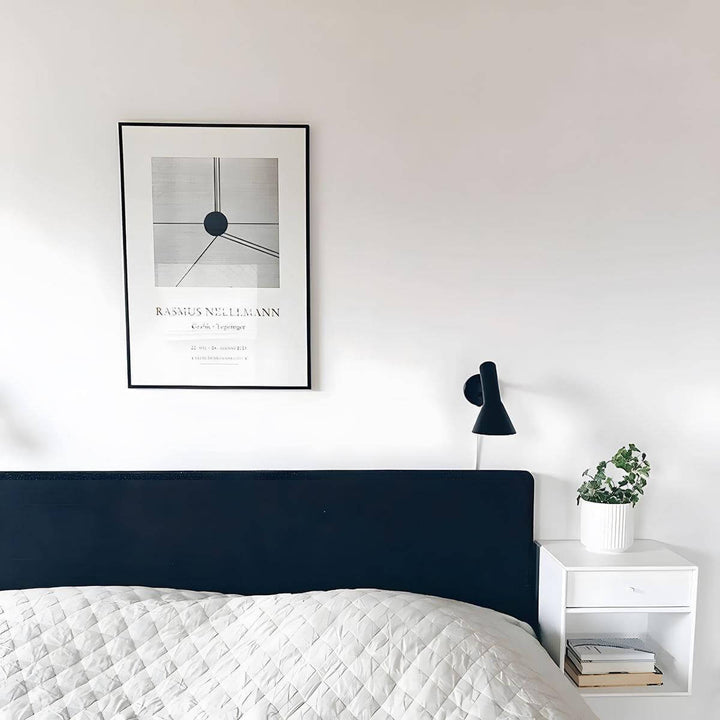
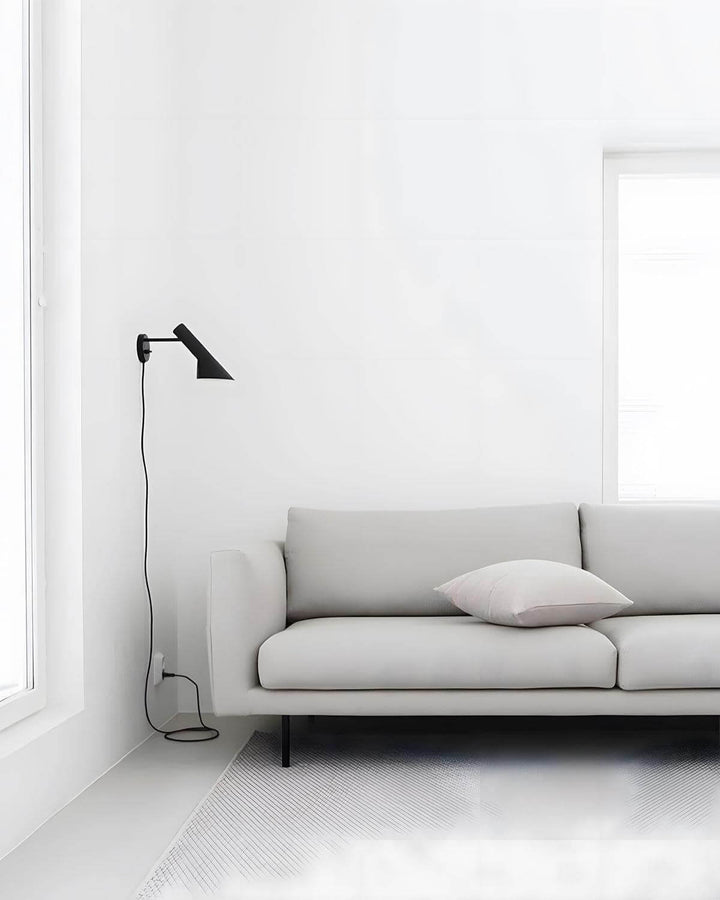
Modern AJ Wall Lamp
Vin-WA05001
- In stock, ready to ship
- Backordered, shipping soon
Coupon: BOO15 | Halloween Glow – Enjoy 15% OFF All Lighting and Brighten the Dark in Style!

Pairs well with
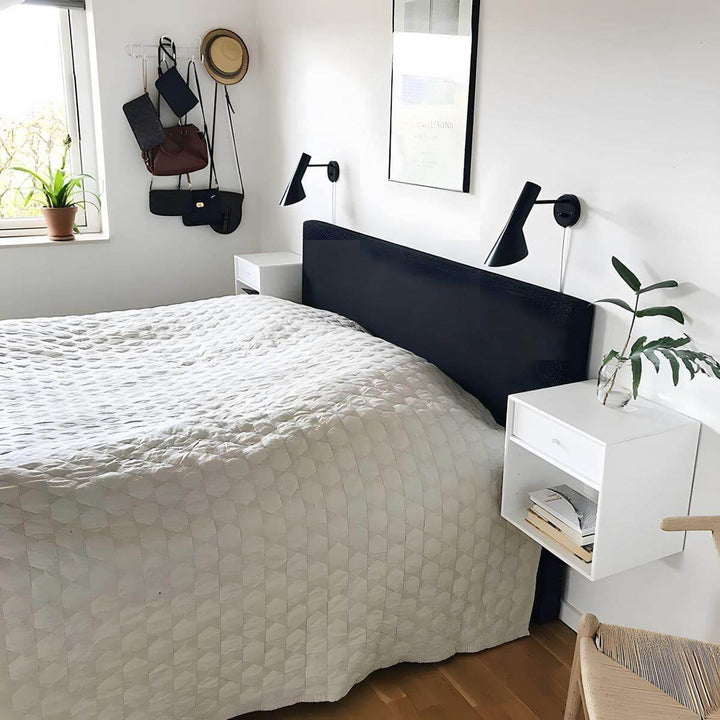
Bring sleek style to your space with the Modern AJ Wall Lamp. Inspired by Danish design, its tiltable head and built-in switch give you perfect bedside lighting—great for reading or relaxing. Smart, stylish, and easy to love.
Size: Dia 35cm x H 20cm / Dia 13.8" x H 7.9"

- Material: Metal.
- Light source: LED bulb or Edison bulb.
- Light source base type: E26 or E27.
- Power: Max 40W.
- Voltage: AC 110-240V.
- Environment: Safety tested for use indoors and in dry locations that are not directly exposed to excessive moisture and water.
- IP: IP20.
- Wiring: Hardwired; professional installation recommended.
- Control method: Compatible with common wall switches (not included).
- Certification: UL, ETL, CE, SAA listed.
1. Add the product you're interested in to your shopping cart.
2. Look under "SPECIFICATIONS" for "Light source base type" which will tell you what type of dimmable light source you should buy.

3. Click on "Compatible Dimmable Bulbs" for the product, and add the matching base type to your cart.
Light source base type |
Please choose |
| E26 or E27 |
E27 With Controller |
| E12 or E14 | E14 With Controller |
| Integrated LED | LED Smart Dimmer |
| Integrated LED | LED Triac Dimmer |

4. Go to your shopping cart or checkout page to complete your purchase.
Note: The above selection includes only one bulb. If you need multiple bulbs (e.g., for chandeliers), please purchase the correct quantity. If you're unsure whether the product requires multiple bulbs, feel free to contact us for assistance.
✅ Step 1: Choose the Right Sconce
-
Style & Size: Match your room’s décor.
Modern = clean lines. Traditional = decorative details. -
Purpose: Accent, task, or main lighting? Choose bulb type accordingly.
-
Placement:
-
Hallways: evenly spaced for symmetry
-
Bedside: ideal in pairs
-
Bathroom: eye level on both sides of the mirror
-
📐 Pro Tip: Mount at 60–66" from the floor for most setups (eye level).
✅ Step 2: Gather Tools & Prep
You’ll Need:
-
Screwdriver
-
Voltage tester
-
Ladder
-
Wire connectors
-
Power drill (if needed)
Safety First:
Turn off power at the breaker.
Use a voltage tester to confirm wires are not live.
Replacing a fixture? Unscrew and disconnect wires carefully, saving reusable hardware.
✅ Step 3: Install the Mounting Bracket
-
Secure bracket to the wall junction box using provided screws
-
Make sure it’s straight and stable
-
For heavy sconces, reinforce the wall box if needed
✅ Step 4: Connect the Wires
Wire Guide:
-
Black = Live
-
White = Neutral
-
Green/Bare = Ground
Connect in this order:
-
Ground to ground
-
White to white
-
Black to black
Secure with wire connectors.
⚠️ Not confident? Hire a licensed electrician.
✅ Step 5: Attach the Fixture
-
Align sconce with the bracket
-
Secure with screws or mounting nuts
-
Ensure it’s level before final tightening
✅ Step 6: Add Bulbs & Covers
-
Insert bulbs (check recommended wattage/type)
-
Attach shades, covers, or decorative elements
-
Confirm everything is aligned and stable
✅ Step 7: Restore Power & Test
-
Turn power back on at the breaker
-
Flip the switch — your sconce should light up!
-
Make any last adjustments to alignment or tilt
🔧 Pro Tips for Wall Sconce Installation
📏 Ideal Height & Spacing
-
Mount 60–66" from the floor
-
In bathrooms, place on both sides of mirror (at face height)
-
For hallways, space sconces evenly for balance
⚖️ Weight Support
-
Ensure the junction box and bracket can handle the sconce
-
Reinforce if installing larger/heavier fixtures
👷 When to Call a Pro
-
Unfamiliar with wiring
-
Installing multiple sconces
-
Working with concrete or tiled walls
We hope this guide helps you install your wall sconces with ease and confidence. Looking for the perfect match for your space? Explore our wall sconce collection for designs that blend beauty and performance.
Shipping Made Simple
We’ve got you covered with easy and reliable shipping options:
- Free Standard Shipping (4-6 Weeks): Available for all orders in the US and Canada.
- Expedited Shipping (2-4 Weeks): Faster delivery is available—check our Shipping Policy for costs.
Hassle-Free Returns
Your satisfaction is our priority! If you’re not completely happy with your purchase, you can return it within 30 days in new and unused condition for a full refund. (Please note: Paid shipping fees are non-refundable as fulfillment has already been completed.)
To start a return, just email our support team at support@vinlighting.com, and we’ll walk you through the process step by step. For more details, visit our Returns Policy.
Shop with confidence, knowing we’re here to make things right!


