Dream Aircraft Ceiling Lamp - Vinlighting

Dream Aircraft Ceiling Lamp

SKU: Vin-CE02001
Availability: In Stock
$665.00
$665.00

🛒 Coupon: XMAS15 | Celebrate the Season with 15% Off – Hurry, Offer Ends Dec 15! 🎄

width="720" height="210" /

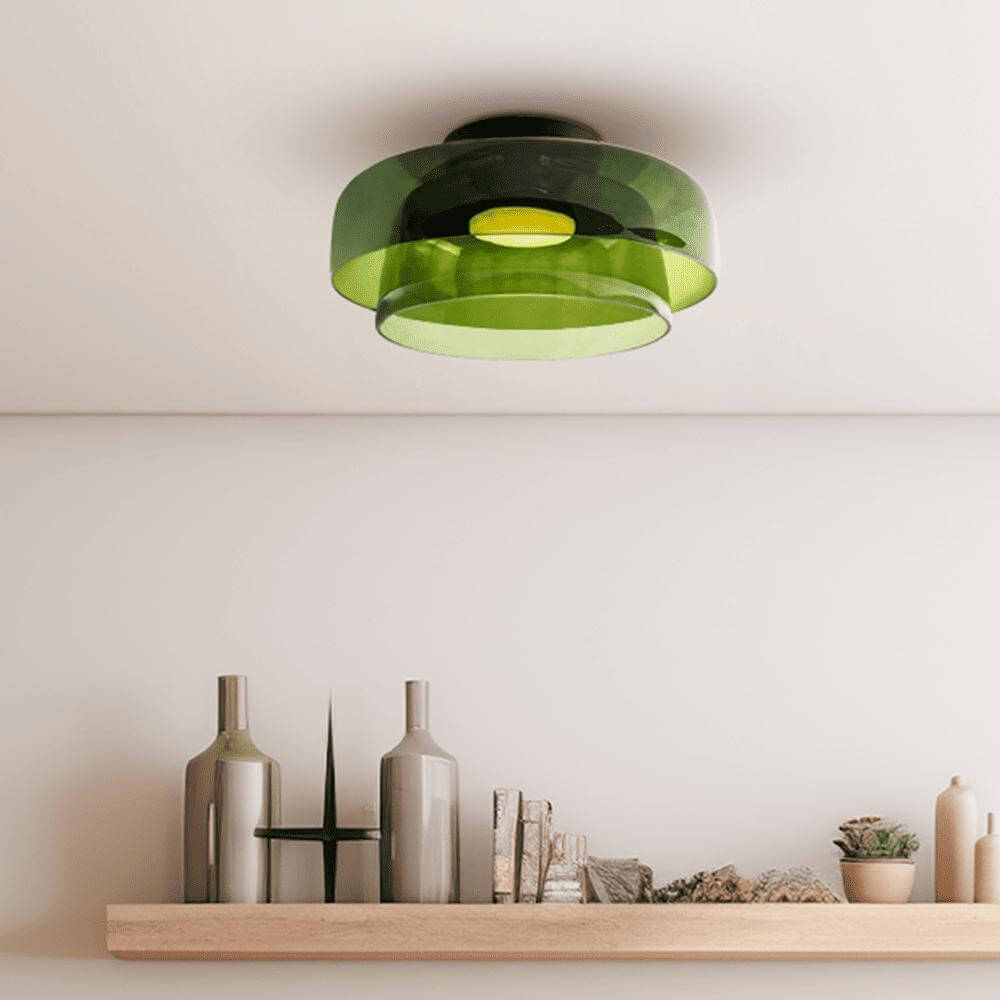
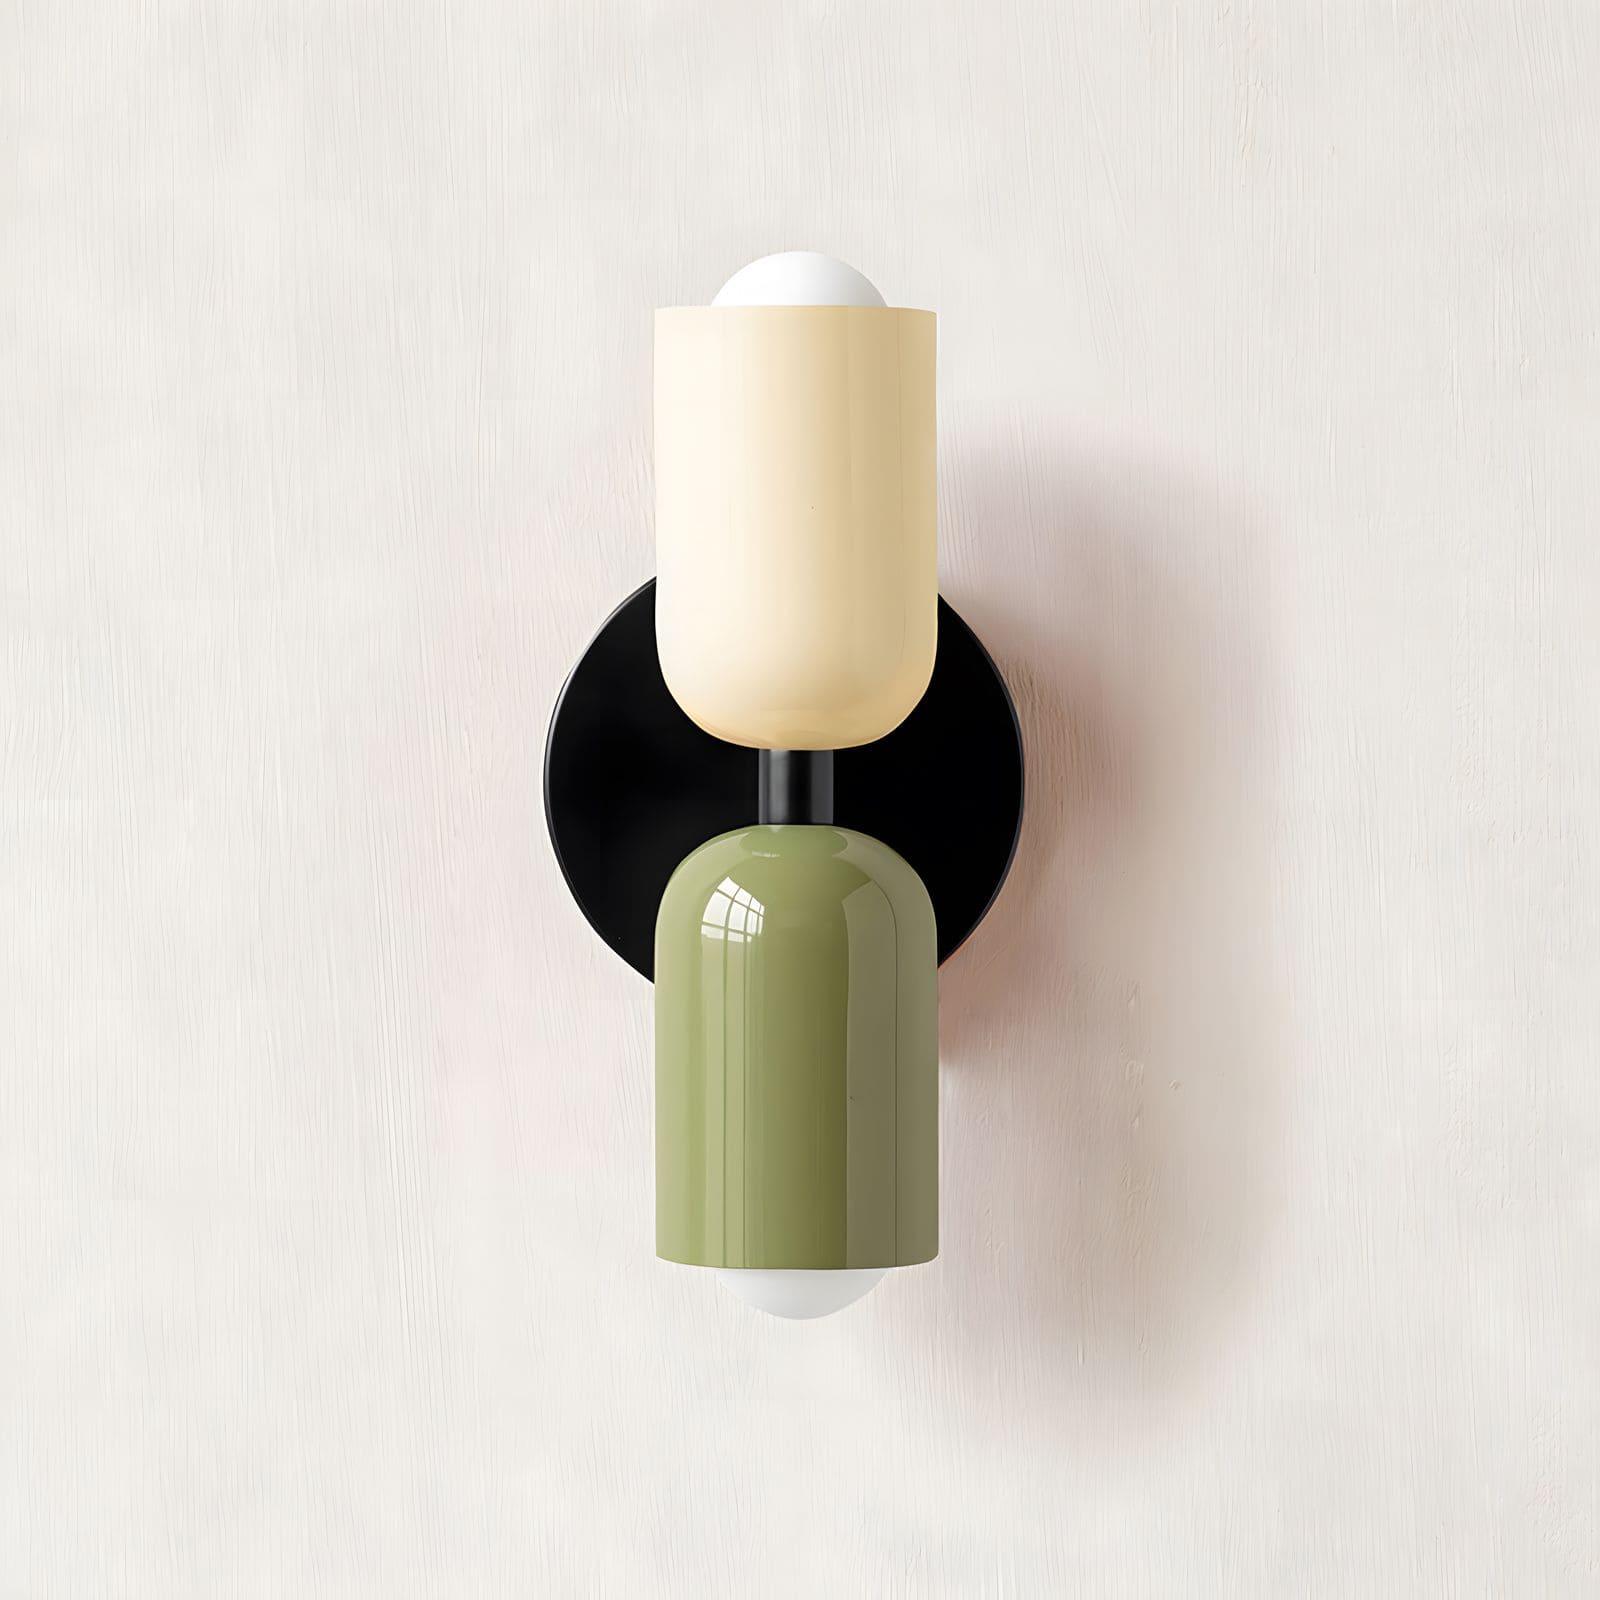
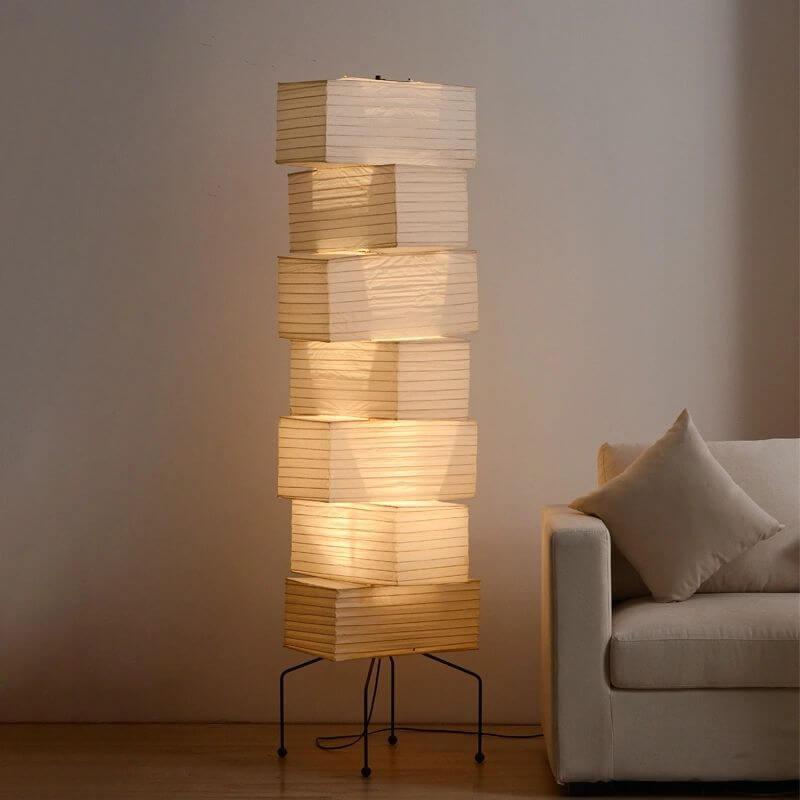
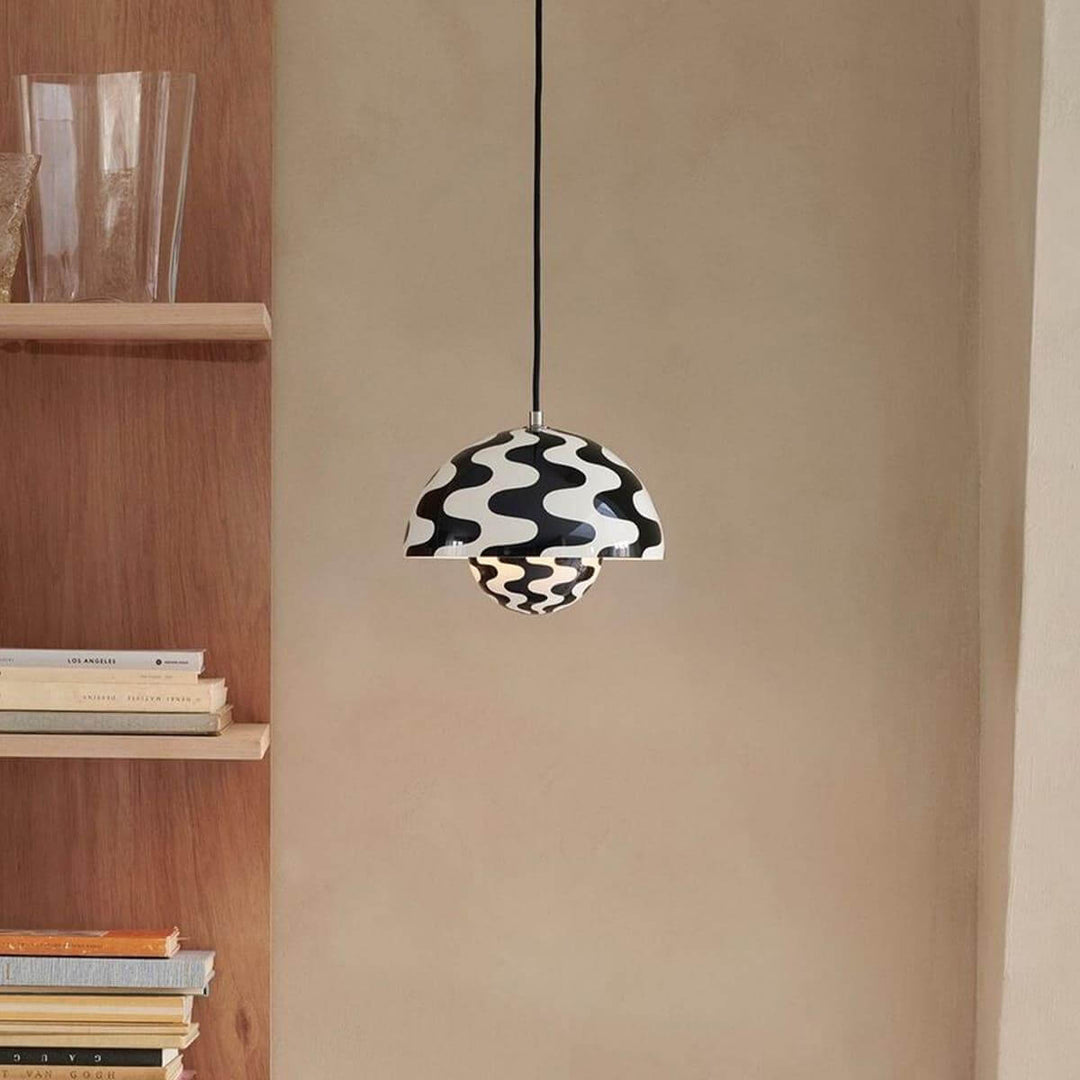
Introduce the Dream Aircraft Ceiling Lamp to your child's room! Elevate the space with this charming metal and PE piece, sparking your little one's imagination. Watch their eyes light up in amazement, inspiring them to dream big!

If you have any questions about our products, please get in touch with us and we will get back to you within 24 hours.

Product Size

  • Size: Dia 58cm x H 14cm / ∅ 22.8″ x H 5.5″

Dream_Aircraft_Ceiling_Lamp_size 

Details

Material: Metal / PE.

Process: Polishing / Mold pouring.

Light source: LED bulb or Edison bulb.

Light source base type: LED(Average lifespan of 50,000 hours).

Kelvin range: Warm Light (3000K), Neutral Light (4000K), Cool Light (6000K).

Power: Max 40W.

Voltage: AC 110-240V.

Environment: Suitable for indoor use only.

IP: IP20.

Wiring: Hardwired.

Control method: Compatible with common wall switches (not included).

Installing Ceiling Lights: A Guide by Vinlighting

Ceiling lights provide essential illumination and style for any room, whether it’s a small hallway or a spacious living area. Vinlighting is here to guide you through selecting and installing the perfect ceiling light to brighten your space beautifully and effectively.

1. Choose the Right Size Ceiling Light for Your Space

Selecting the correct size ceiling light ensures a balanced look and adequate lighting coverage. Here’s a guide to choosing the right size based on room dimensions:
  • Small Spaces (e.g., hallways, closets): For compact areas, choose a ceiling light 10-18 inches in diameter. Flush-mount fixtures are often ideal for these spaces, as they sit close to the ceiling, maximizing headroom and providing an even spread of light.
  • Medium Spaces (e.g., bedrooms, dining areas): For standard-sized rooms, a fixture with an 18-24 inch diameter is generally suitable. Semi-flush mounts work well, as they hang slightly below the ceiling, offering a combination of task and ambient lighting.
  • Large Spaces (e.g., living rooms, open areas): For expansive rooms, consider fixtures 24-36 inches in diameter or even larger, depending on the ceiling height and space requirements. Chandeliers or multi-light ceiling fixtures create a striking focal point and spread light evenly across the room.
Tip: Use this rule of thumb: add the room's dimensions in feet (e.g., a 10x10 foot room = 20) to get the ideal fixture diameter in inches (20 inches). Ceiling height also plays a role; lower ceilings suit flush or semi-flush fixtures, while higher ceilings can accommodate larger, hanging fixtures.

2. Prepare for Installation

Gathering the right tools and ensuring a safe environment is essential before starting:
  • Tools Needed: Gather a screwdriver, ladder, voltage tester, wire connectors, and a power drill if necessary.
  • Turn Off Power: At the breaker box, switch off the power to the room where you’ll be working. Use a voltage tester to confirm that there’s no power in the wiring for safety.
If you’re replacing an old fixture, carefully remove it by unscrewing it and disconnecting the wires. Keep any screws or parts that may be useful for the new fixture installation.

3. Install the Mounting Bracket

The mounting bracket is essential for securely attaching the ceiling light:
  • Secure the Bracket: Attach the mounting bracket to the ceiling junction box using the screws provided. Ensure the bracket is tight and aligned, as this is what will support the weight of the ceiling fixture.
  • Stability Check: For heavier ceiling lights, you may need to install additional support or use stronger screws to ensure that the fixture is securely mounted.

4. Connect the Wiring

Wiring is a critical step, and matching the wires correctly is crucial for safe installation:
  • Black Wire: Connects to the live (hot) wire.
  • White Wire: Connects to the neutral wire.
  • Green or Bare Copper Wire: Connects to the ground wire.

Instructions:

1. Attach the Ground Wire: Connect the green or bare copper wire from the ceiling light to the ground wire in the ceiling junction box. Use a wire connector to secure them.
2. Connect the Neutral Wires: Twist together the white wire from the light fixture with the white wire from the ceiling, securing it with a wire connector.
3. Connect the Live Wires: Twist the black wire from the fixture with the black wire from the ceiling, securing it with a wire connector.

Ensure all wire connections are tightly secured and insulated with wire connectors. If wiring feels complex, consult a licensed electrician to ensure proper handling.

5. Attach the Ceiling Light Fixture

Once wiring is complete, attach the ceiling light to the mounting bracket.
  • Secure the Fixture: Align the fixture with the mounting bracket, then use the provided screws or nuts to secure it in place.
  • Check for Level Alignment: Ensure the fixture is level and positioned correctly. Make any necessary adjustments before fully tightening the screws.

6. Install Light Bulbs and Covers

With the fixture in place, complete the setup by installing light bulbs and any additional covers or shades:
  • Insert Bulbs: Use the recommended bulbs with the correct wattage, as specified by the manufacturer.
  • Attach Shades or Covers: If your ceiling light includes shades, covers, or decorative glass, install these now. Ensure they are securely attached and evenly aligned for a polished look.

7. Test the Installation

After installation, it’s time to test your new ceiling light:
  • Restore Power: Go back to the breaker box and turn the power back on for the room.
  • Test the Light: Flip the wall switch to confirm the ceiling light illuminates properly. If the light turns on and appears stable, your installation is complete!
  • Final Adjustments: Make any last adjustments to height, alignment, or positioning as needed to ensure the fixture is level and balanced.

8. Additional Tips for Ceiling Light Installation

  • Consider Ceiling Height: For rooms with low ceilings, a flush or semi-flush mount fixture is often the best choice, providing light without reducing headroom. For rooms with high ceilings, larger hanging fixtures or chandeliers can create a dramatic effect.
  • Ensure Secure Mounting for Heavier Fixtures: For heavy fixtures, check that the ceiling junction box and mounting hardware can support the weight. In some cases, additional support such as a fan brace or ceiling beam may be necessary.
  • Seek Professional Help if Needed: If any step of the installation process feels uncertain, hiring a licensed electrician ensures a safe and compliant installation, especially with more complex or larger fixtures.
Vinlighting hopes this guide helps you enjoy your new ceiling light, brightening your home with style and functionality. Ceiling lights not only enhance your space but also provide the essential lighting you need for daily activities. Happy installing!
At Vinlighting, we’re here to make sure your lighting fits your unique style and space perfectly. Our skilled in-house team is ready to customize your order with precision and care.

Popular Customization Options

  • Adjust Hanging Length: Perfect for high ceilings or cozy spaces.
  • Choose Your Material Color or Finish: From sleek copper to elegant matte black.
  • Select Emitting Colors: Warm white, neutral, or cool light to suit your mood.
  • Add Dimming Features: Control brightness for the perfect ambiance.
  • Resize to Your Needs: Scale up or down to match your room’s dimensions.
  • Redesign from Scratch: Share your ideas, and we’ll craft a lighting fixture just for you!

What We Offer

  • Minor Adjustments: Quick and easy tweaks to get it just right.
  • Professional CAD Drawings: Visualize your custom design with expert precision.
  • 3D Rendering: See how your custom light will look in your space before it’s built!
  • HD Product Photos: Get detailed, high-quality images to ensure your customization needs are fully met.

Talk to Our Experts

Need advice or have a special request? We’re here to help:
  • Live Chat: Connect with us from 9 AM to 6 PM EST.
  • Email Us: Leave a message, and we’ll get back to you promptly.
Let’s make your lighting uniquely yours! 🌟

Shipping Made Simple

We’ve got you covered with easy and reliable shipping options:
  • Free Standard Shipping (4-6 weeks): Available for all orders in the US and Canada.
  • Expedited Shipping (2-4 weeks): Faster delivery is available—check our Shipping Policy for costs.

Hassle-Free Returns

Your satisfaction is our priority! If you’re not completely happy with your purchase, you can return it within 30 days in new and unused condition for a full refund. (Please note: Paid shipping fees are non-refundable as fulfillment has already been completed.)

To start a return, just email our support team at support@vinlighting.com, and we’ll walk you through the process step by step. For more details, visit our Returns Policy.

Shop with confidence, knowing we’re here to make things right!
Dream Aircraft Ceiling Lamp - Vinlighting

Dream Aircraft Ceiling Lamp

$665.00
$665.00

Dream Aircraft Ceiling Lamp

$665.00
Size: Dia 58cm x H 14cm / Ø 22.8″ x H 5.5″
Color: White & Pink
Kelvin range: Three-Color Changing Light