✅ Step 1: Choose the Right Size
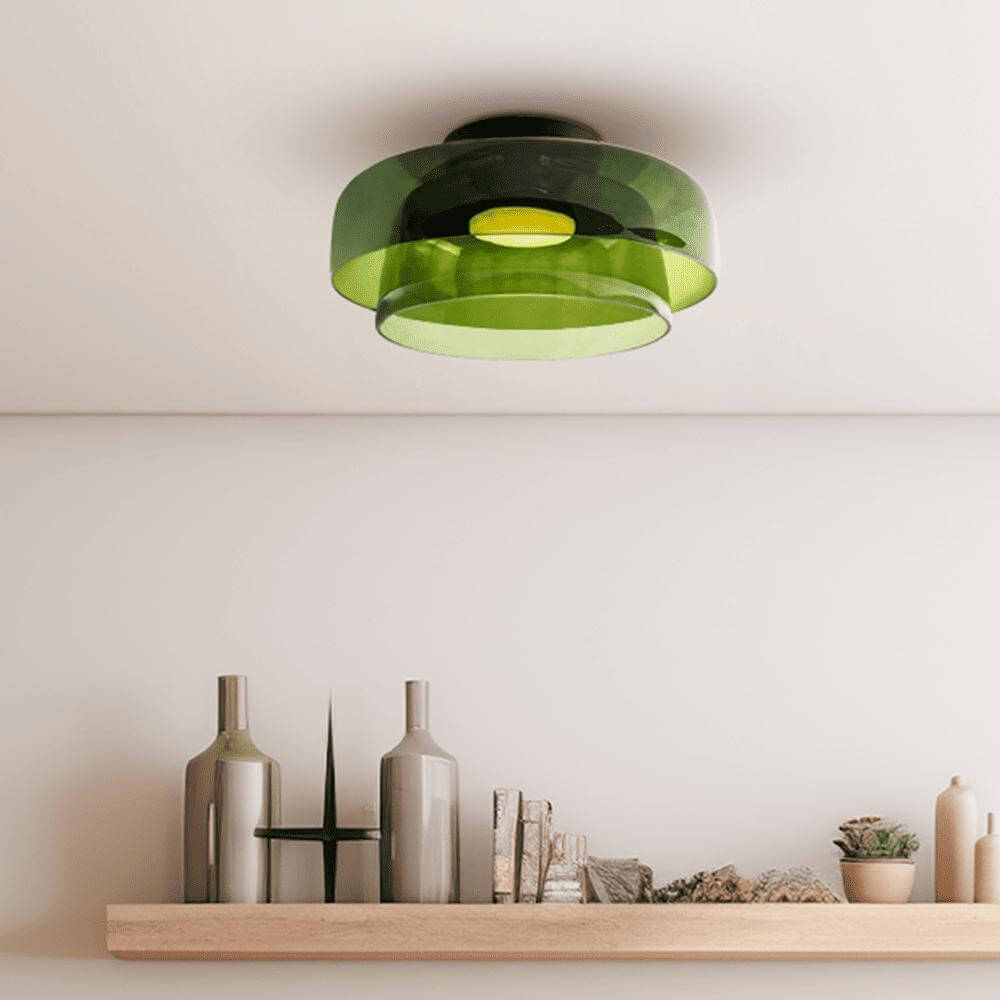
Small Rooms (Hallways, Closets):
Medium Rooms (Bedrooms, Dining Areas):
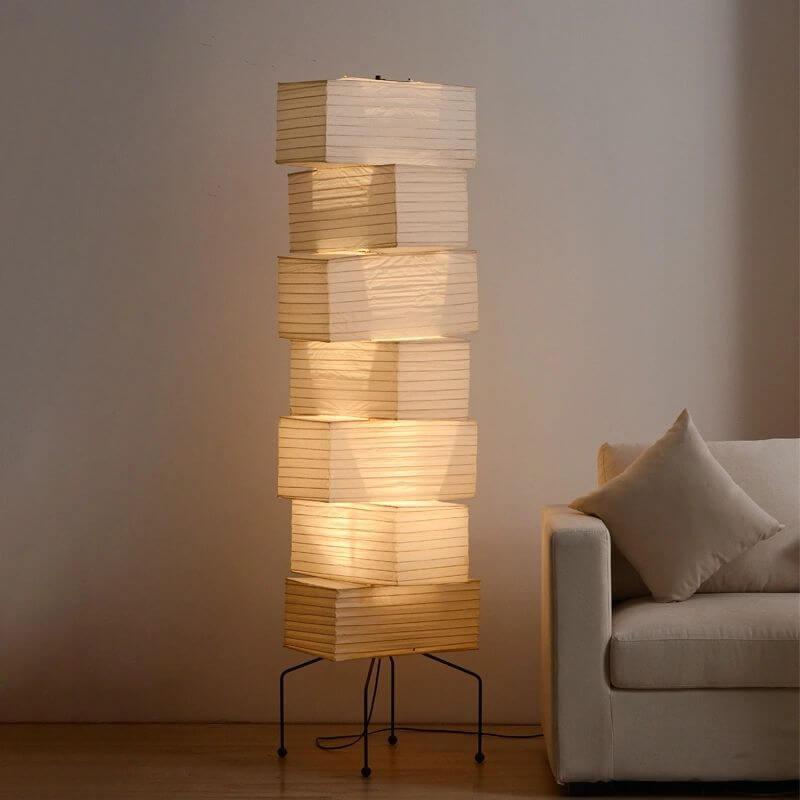
Large Rooms (Living Rooms, Open Spaces):
📏 Quick Tip:
Add room length + width (in feet) to get ideal fixture diameter in inches.
Example: 10 ft x 10 ft → 20" fixture.
✅ Step 2: Prepare for Installation
Tools You’ll Need:
-
Screwdriver
-
Ladder
-
Voltage tester
-
Wire connectors
-
Power drill (if needed)
Safety First:
Turn off power at the breaker.
Use a voltage tester to confirm no power.
Replacing a fixture? Remove it carefully and save the screws.
✅ Step 3: Install the Mounting Bracket
-
Attach the bracket to the ceiling box using provided screws
-
For heavy fixtures, consider a fan brace or extra support
-
Tug lightly to test stability
✅ Step 4: Connect the Wires
Wire Guide:
-
Black = Live
-
White = Neutral
-
Green/Bare = Ground
Steps:
-
Connect ground to ground
-
Connect white to white
-
Connect black to black
Secure tightly with wire connectors.
⚠️ Not confident? Call a licensed electrician.
✅ Step 5: Attach the Fixture
-
Align the light fixture with the mounting bracket
-
Secure it with screws or nuts
-
Check that it’s level before tightening fully
✅ Step 6: Add Bulbs & Covers
-
Insert bulbs (correct type & wattage)
-
Attach shades, covers, or decorative glass
-
Ensure everything is securely fastened and evenly aligned
✅ Step 7: Restore Power & Test
-
Turn power back on at the breaker
-
Flip the switch — the light should turn on smoothly
-
Make final tweaks to positioning if needed
🔧 Pro Tips for Ceiling Light Installation
📏 Ceiling Height Matters
⚖️ Support for Heavy Fixtures
👷 When to Call a Pro
-
If wiring seems complicated
-
For heavy or oversized fixtures
-
To ensure building code compliance
Vinlighting is here to make your installation simple and stylish. Explore our ceiling light collection to find the perfect fit for your room — from minimalist flush mounts to elegant statement pieces.


