✅ Step 1: Choose the Right Sconce
-
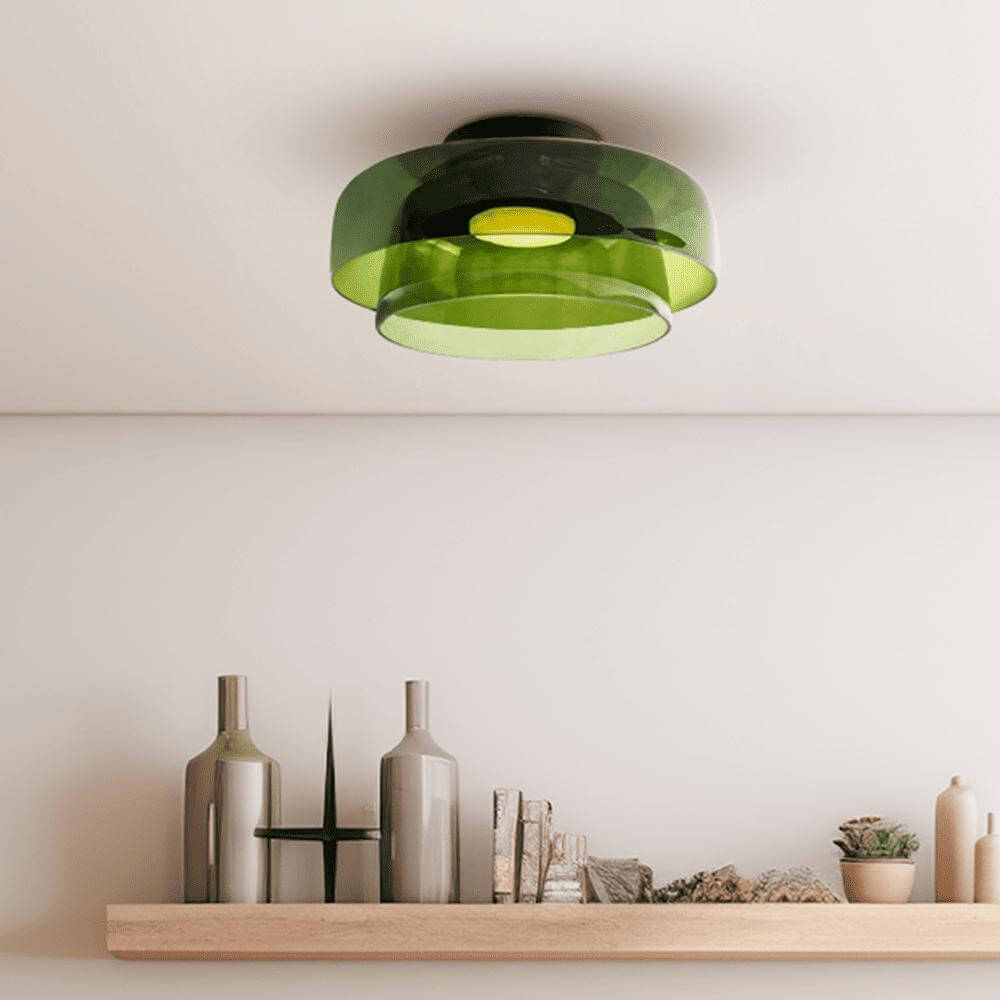
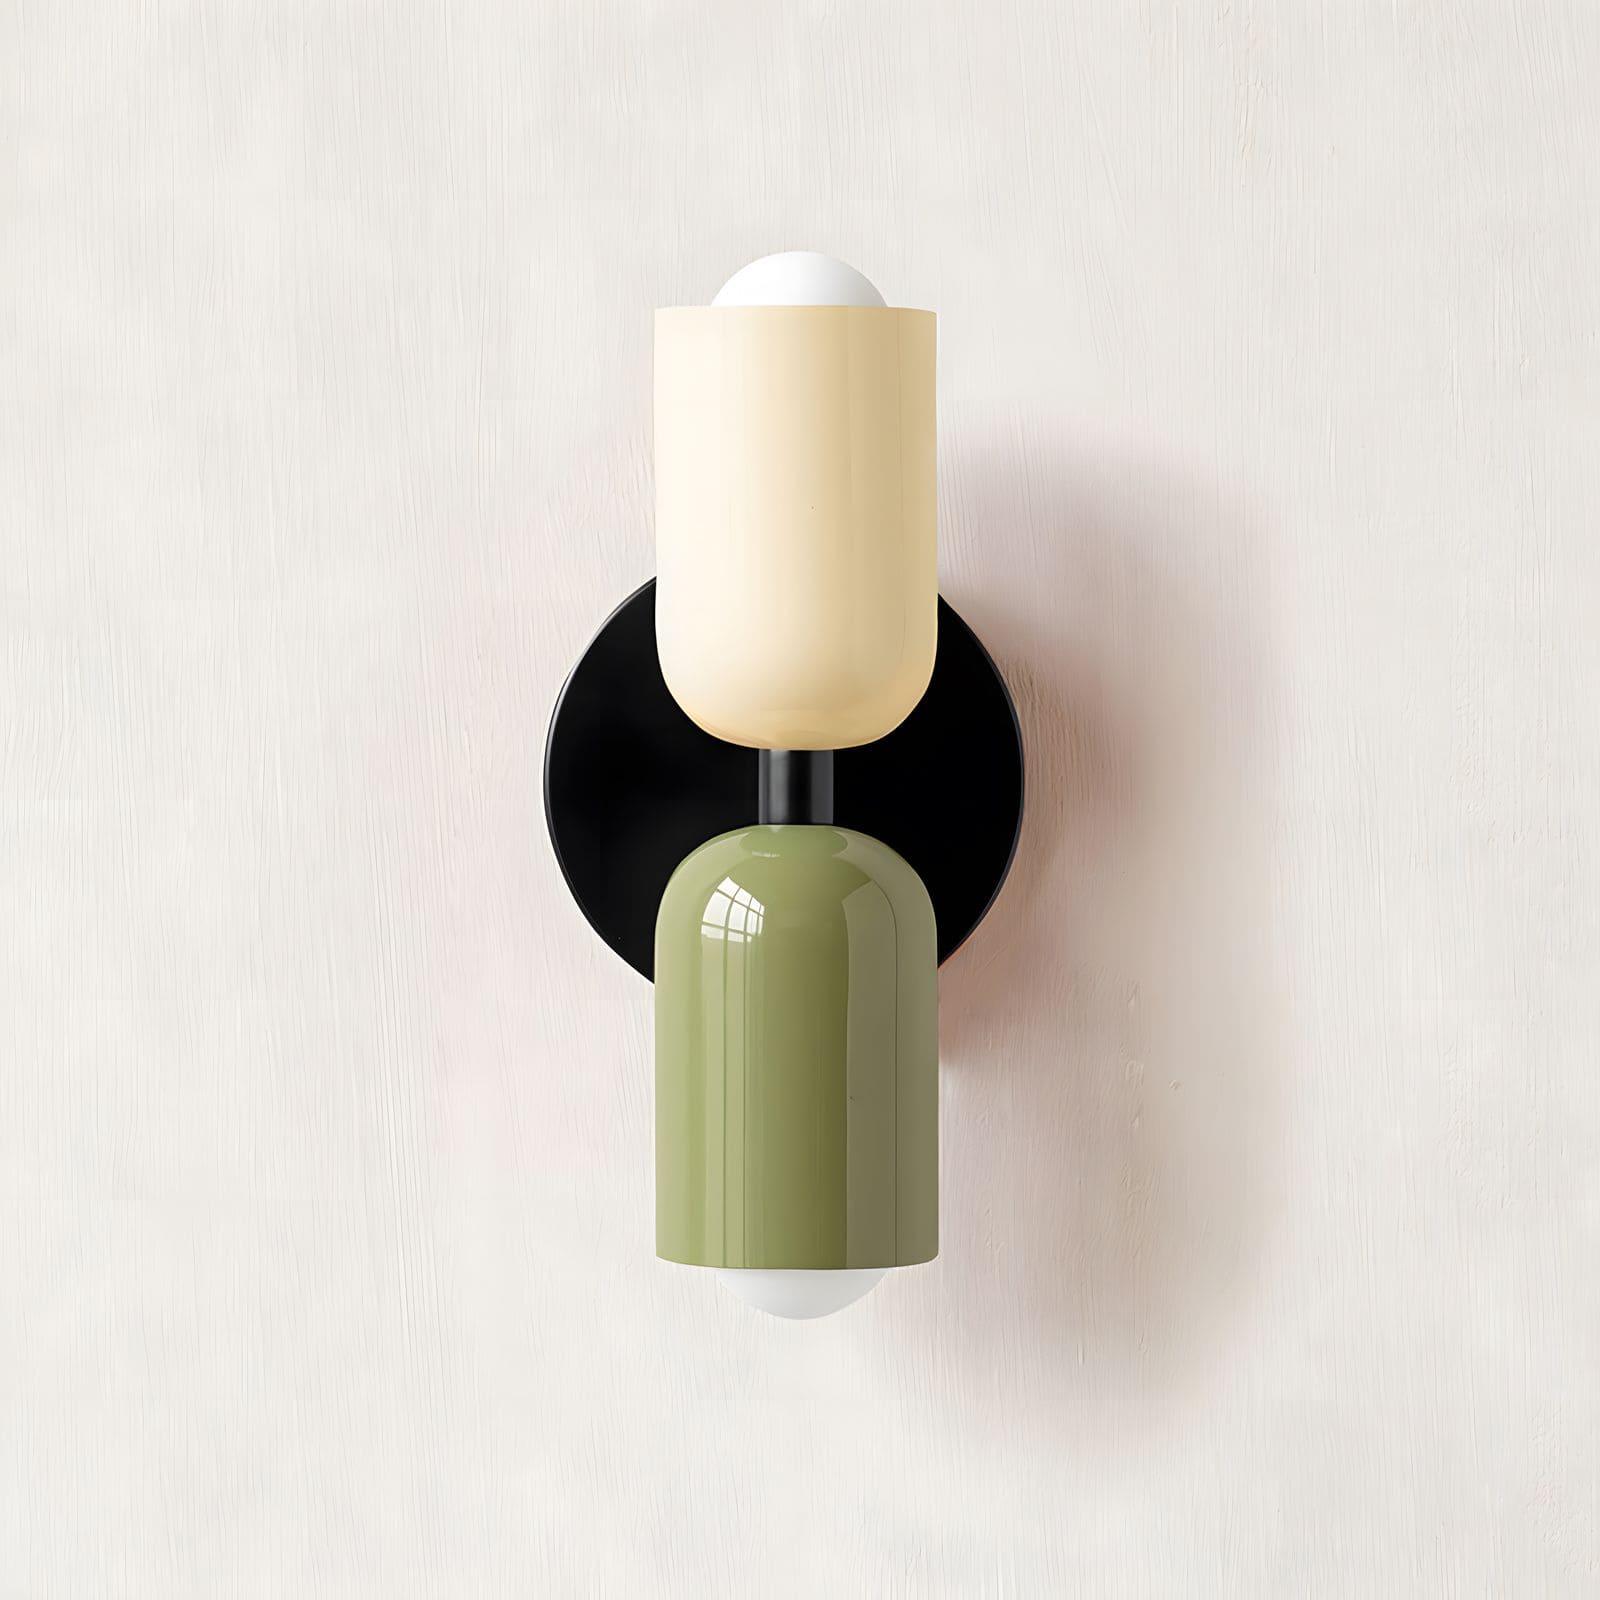
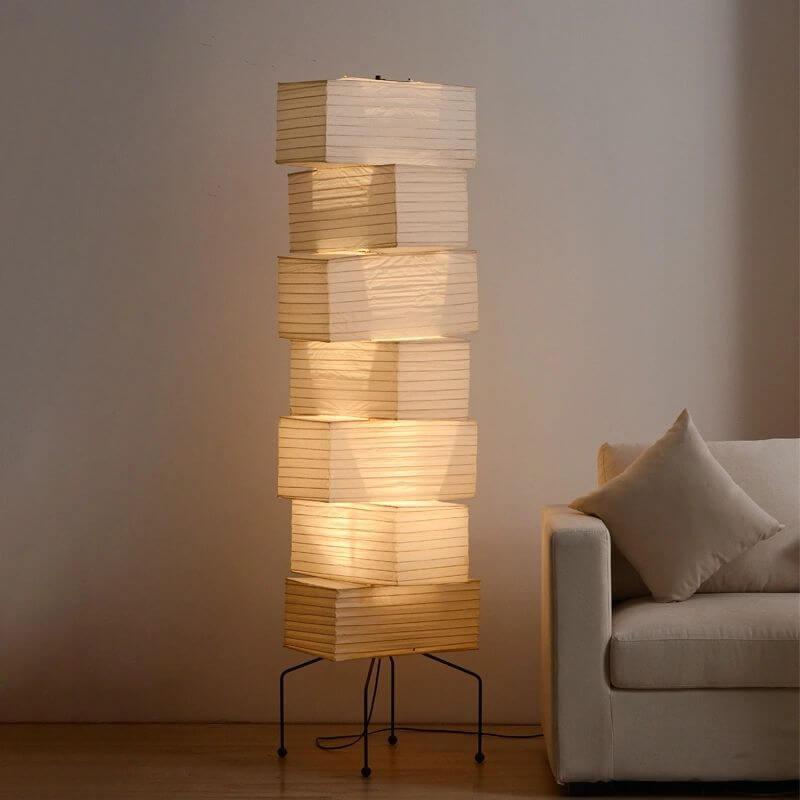
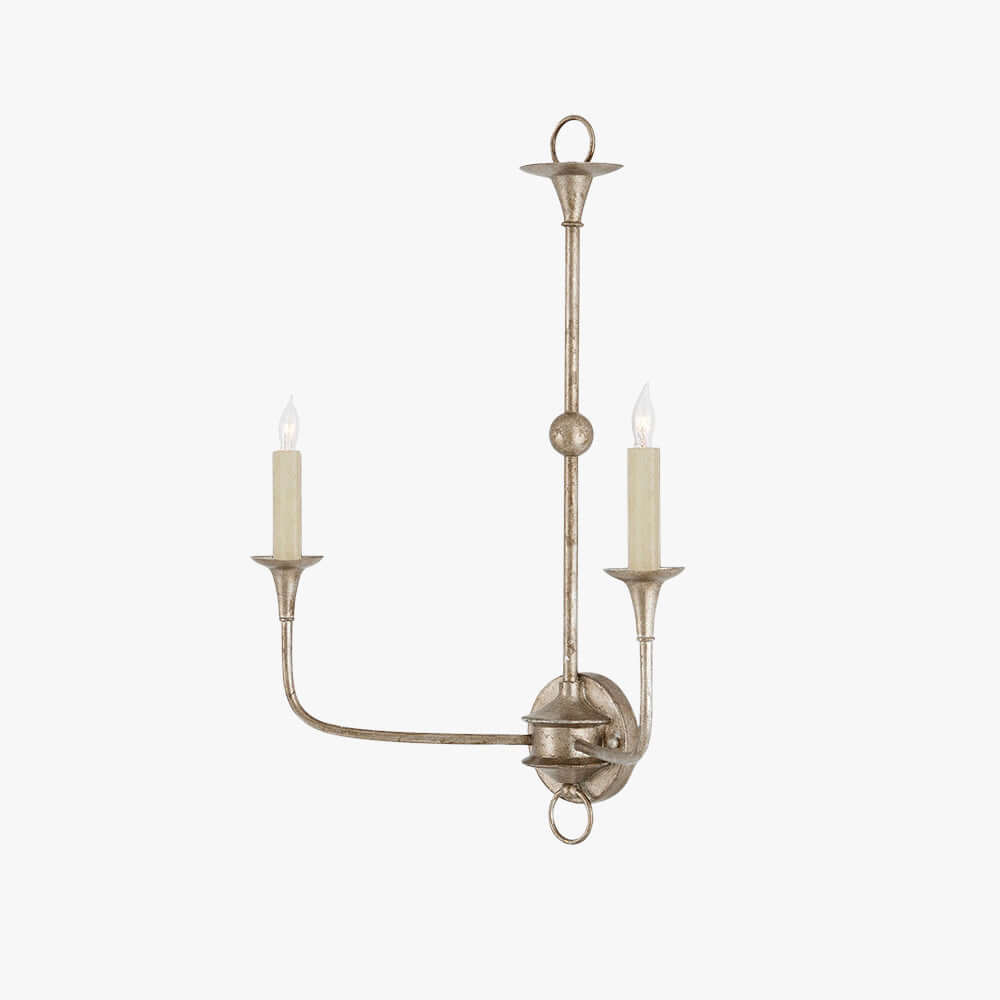
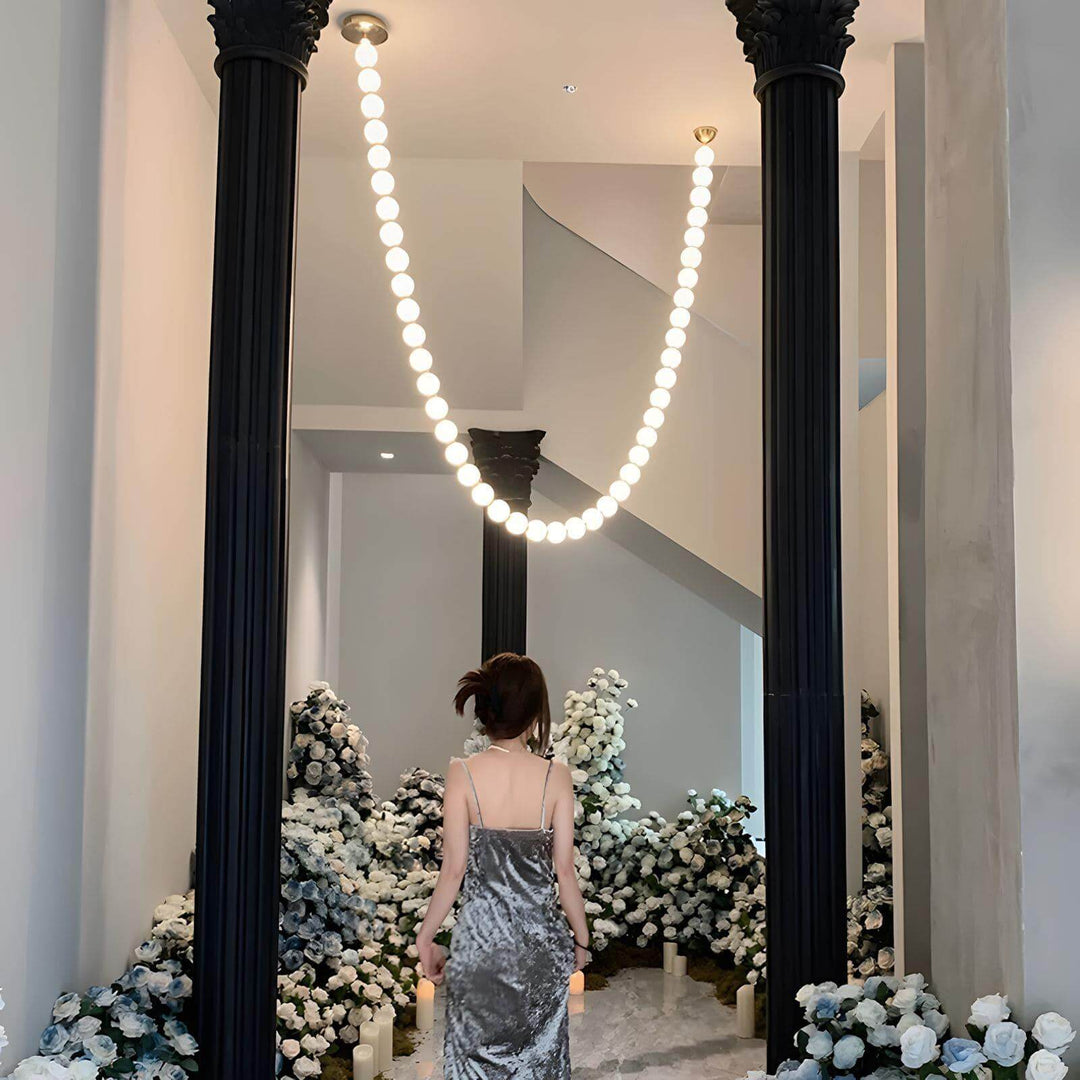
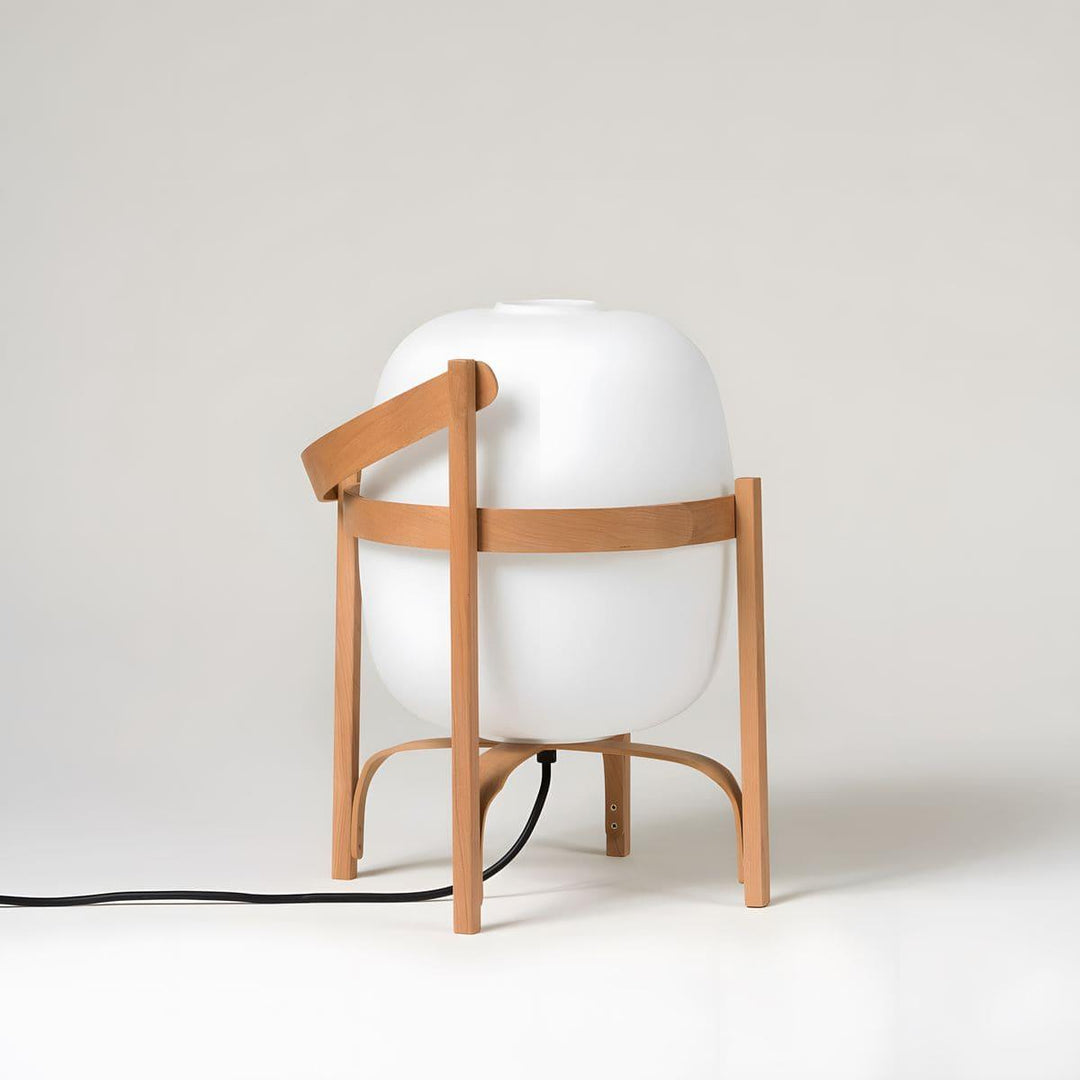
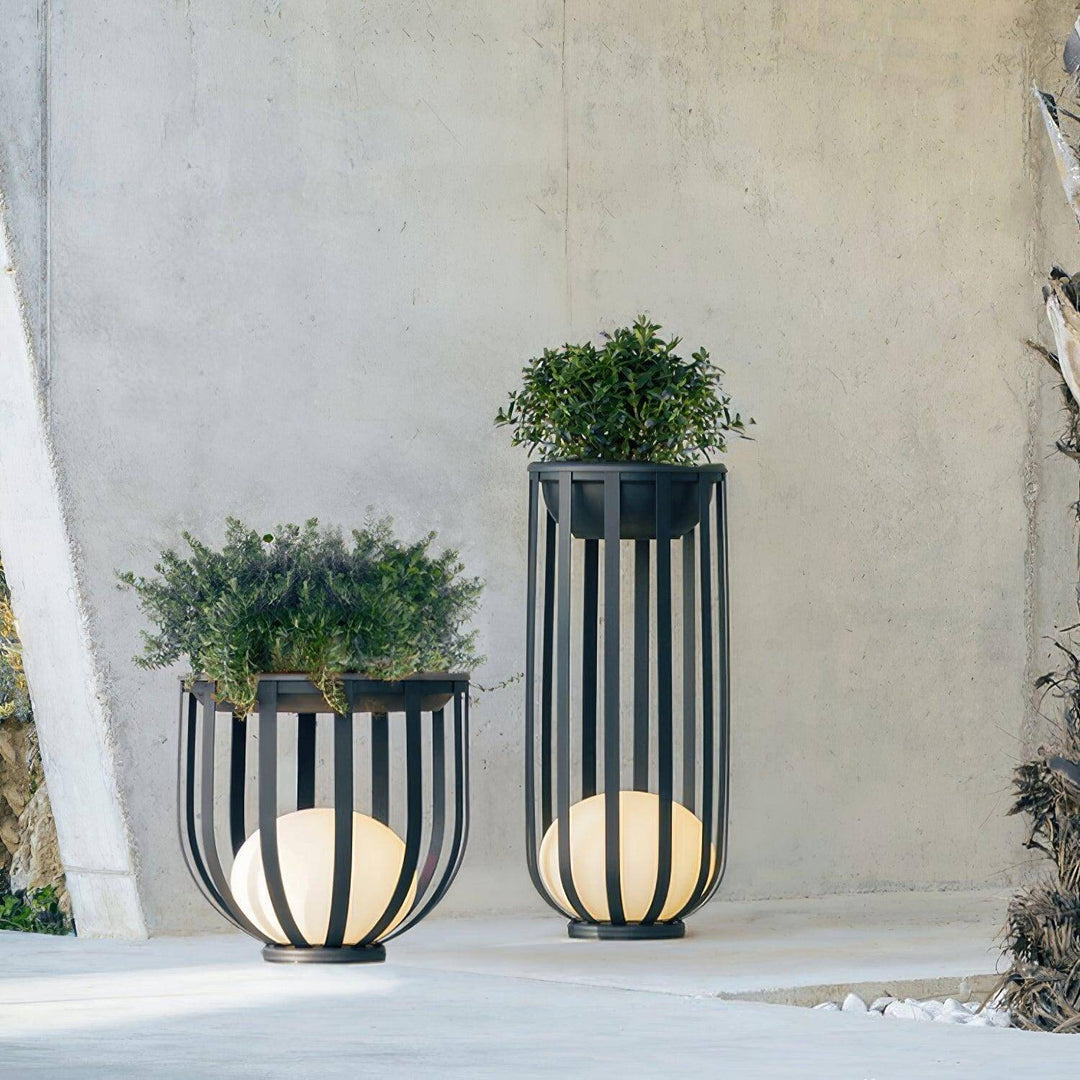
Style & Size: Match your room’s décor.
Modern = clean lines. Traditional = decorative details.
-
Purpose: Accent, task, or main lighting? Choose bulb type accordingly.
-
Placement:
📐 Pro Tip: Mount at 60–66" from the floor for most setups (eye level).
✅ Step 2: Gather Tools & Prep
You’ll Need:
-
Screwdriver
-
Voltage tester
-
Ladder
-
Wire connectors
-
Power drill (if needed)
Safety First:
Turn off power at the breaker.
Use a voltage tester to confirm wires are not live.
Replacing a fixture? Unscrew and disconnect wires carefully, saving reusable hardware.
✅ Step 3: Install the Mounting Bracket
-
Secure bracket to the wall junction box using provided screws
-
Make sure it’s straight and stable
-
For heavy sconces, reinforce the wall box if needed
✅ Step 4: Connect the Wires
Wire Guide:
-
Black = Live
-
White = Neutral
-
Green/Bare = Ground
Connect in this order:
-
Ground to ground
-
White to white
-
Black to black
Secure with wire connectors.
⚠️ Not confident? Hire a licensed electrician.
✅ Step 5: Attach the Fixture
-
Align sconce with the bracket
-
Secure with screws or mounting nuts
-
Ensure it’s level before final tightening
✅ Step 6: Add Bulbs & Covers
-
Insert bulbs (check recommended wattage/type)
-
Attach shades, covers, or decorative elements
-
Confirm everything is aligned and stable
✅ Step 7: Restore Power & Test
-
Turn power back on at the breaker
-
Flip the switch — your sconce should light up!
-
Make any last adjustments to alignment or tilt
🔧 Pro Tips for Wall Sconce Installation
📏 Ideal Height & Spacing
-
Mount 60–66" from the floor
-
In bathrooms, place on both sides of mirror (at face height)
-
For hallways, space sconces evenly for balance
⚖️ Weight Support
👷 When to Call a Pro
We hope this guide helps you install your wall sconces with ease and confidence. Looking for the perfect match for your space? Explore our wall sconce collection for designs that blend beauty and performance.


